Quick Overview
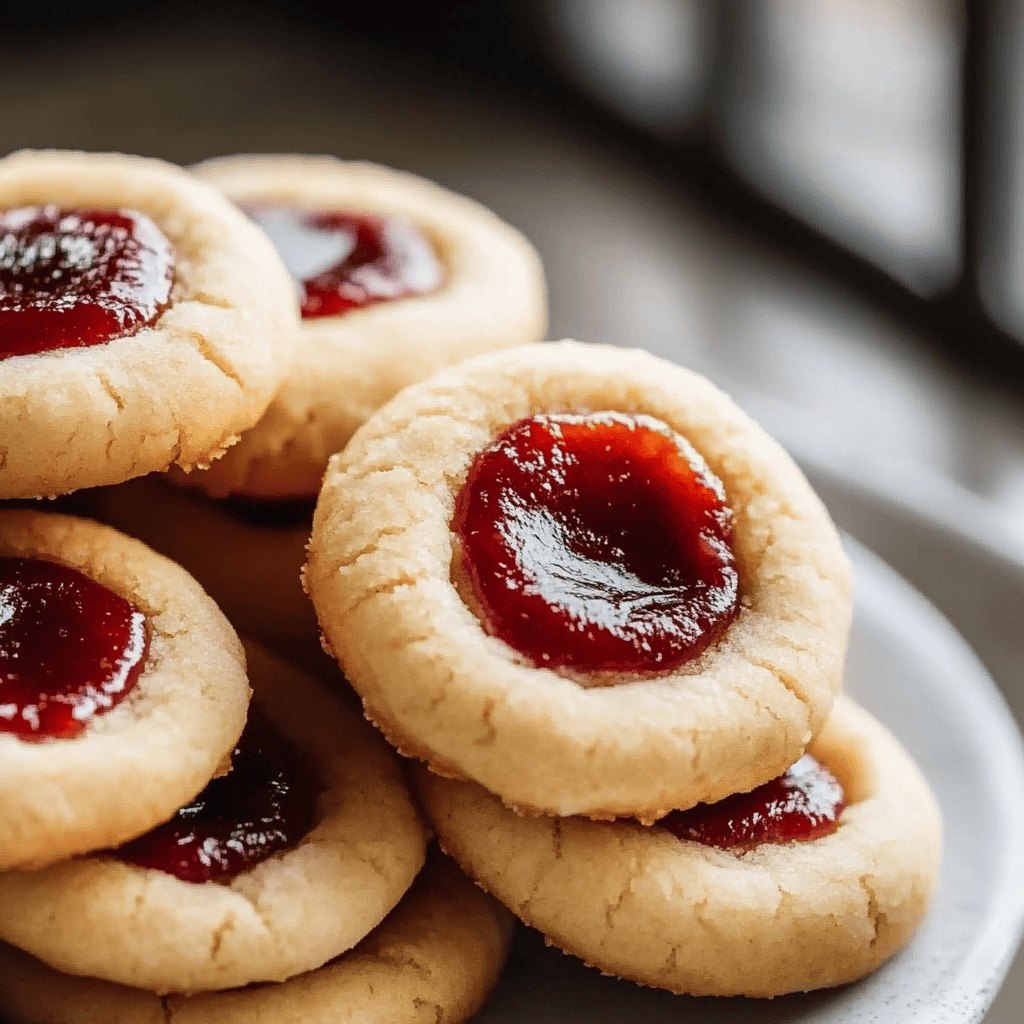
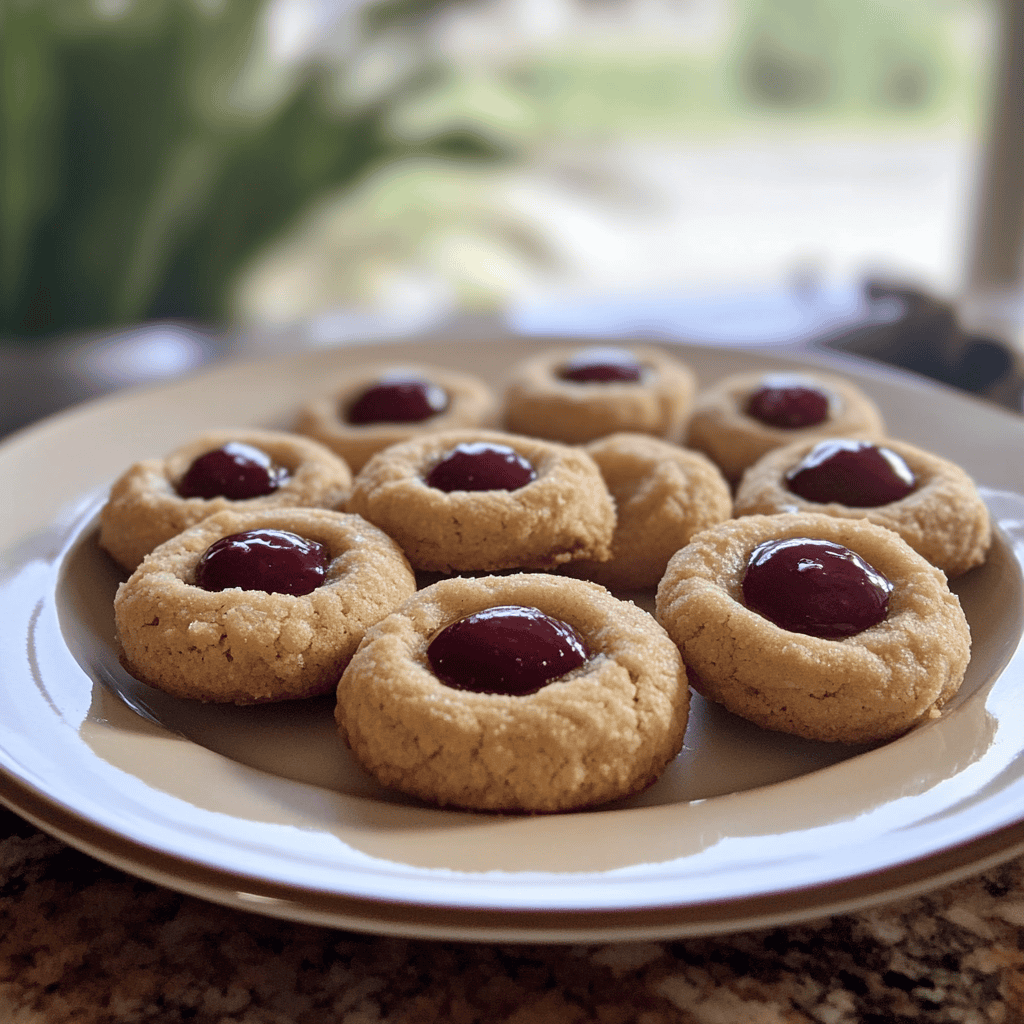
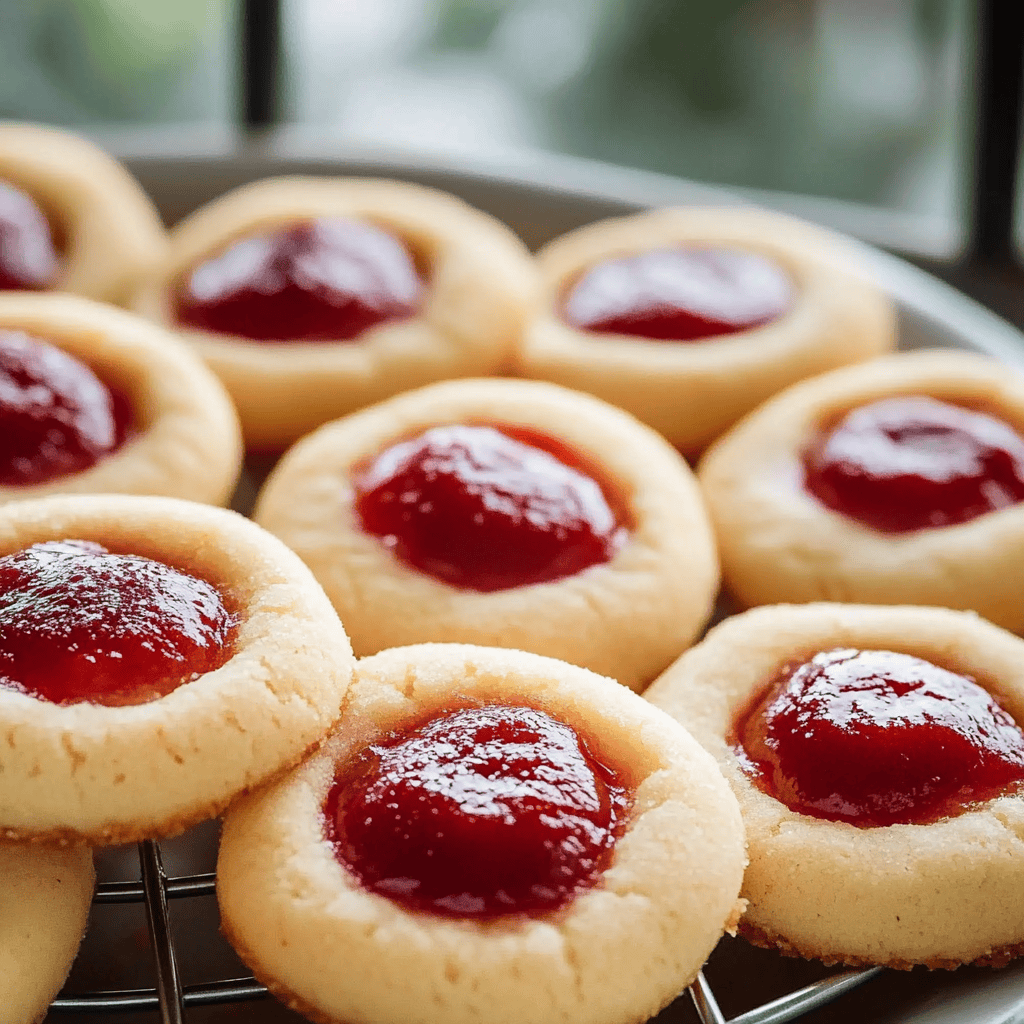
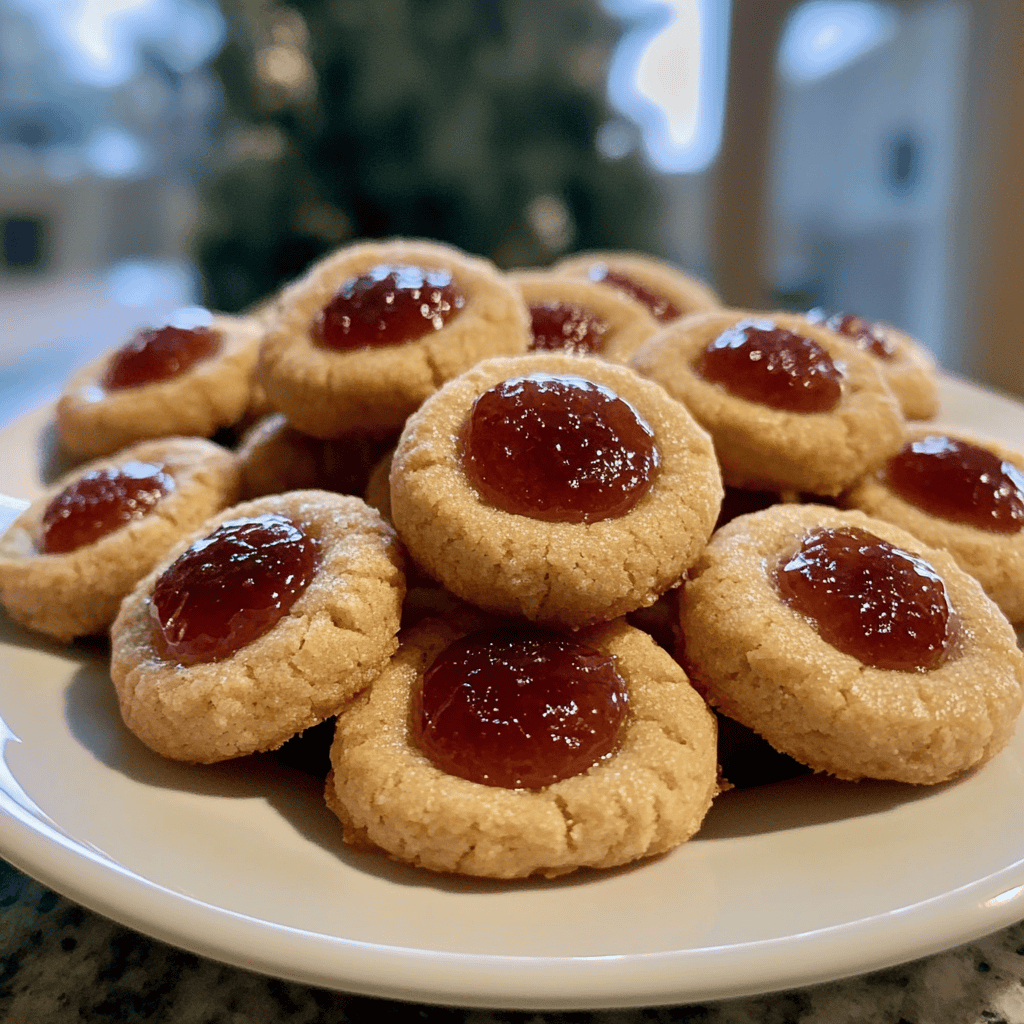
Thumbprint cookies are a delightful treat that combines buttery goodness with sweet fillings. These classic cookies are not only easy to make but also customizable according to your taste. With a tender texture and a sweet jam or chocolate center, they are perfect for any occasion. Whether you are baking for the holidays or just indulging yourself, these thumbprint cookies will surely impress your family and friends. Let’s dive into the world of baking and create these delicious gems together!
Ingredient Breakdown
Flour
You will need 2 cups of all-purpose flour for the base of your thumbprint cookies. This ingredient provides structure and balance to the cookie dough.
Butter
Use 1 cup (2 sticks) of unsalted butter at room temperature. The butter adds richness and creaminess while ensuring that the cookies remain tender.
Sugar
Incorporate 3/4 cup of granulated sugar to sweeten the dough. Sugar not only enhances the flavor but also contributes to achieving a lovely golden color when baked.
Egg Yolk
Add one large egg yolk to bind the ingredients together. The yolk helps give moisture and richness to the cookie while allowing it to hold its shape.
Vanilla Extract
Include 1 teaspoon of pure vanilla extract for flavor enhancement. This ingredient infuses a warm sweetness that complements the other flavors beautifully.
Jam or Chocolate
Choose 1/2 cup of your favorite jam or chocolate for filling. Popular choices include raspberry jam, apricot preserves, or melted chocolate for a decadent touch.
Step By Step Recipe: Thumbprint Cookies
Preheat the Oven
Start by preheating your oven to 350°F (175°C). This step ensures that your cookies bake evenly and achieve that perfect golden brown color.
Cream Butter and Sugar
In a mixing bowl, cream together the softened butter and granulated sugar until light and fluffy, about 3-4 minutes using an electric mixer. This process incorporates air into the mixture for a lighter texture in your cookies.
Add Egg Yolk and Vanilla
Next, add the egg yolk and vanilla extract to the creamed mixture. Mix well until fully combined, scraping down the sides of the bowl as needed to ensure everything blends uniformly.
Incorporate Flour
Gradually add in the all-purpose flour while mixing on low speed until just combined. Be careful not to overmix; this can lead to tough cookies instead of soft ones.
Chill Dough
Cover the dough with plastic wrap and refrigerate it for at least 30 minutes. Chilling helps firm up the dough, making it easier to handle when forming balls.
Shape Cookies
Once chilled, scoop about one tablespoon of dough and roll it into a ball in your hands. Place each ball on a lined baking sheet about 2 inches apart. This space allows room for spreading during baking.
Create Indentations
Using your thumb or a small spoon, press down gently in the center of each ball to create an indentation for filling. Make sure not to press too hard; you want enough space for filling but still maintain some thickness around the edges.
Fill with Jam or Chocolate
Spoon about half a teaspoon of jam or melted chocolate into each indentation carefully. Be cautious not to overfill as this could cause spilling during baking.
Bake Cookies
Bake in your preheated oven for about 12-15 minutes or until lightly golden around the edges. Keep an eye on them as every oven is different; you want them cooked but not browned too much.
Cool Before Serving
Remove from oven and allow them cool on baking sheets for about 5 minutes before transferring them to wire racks to cool completely. This step ensures they set correctly without breaking apart.
Serving and Storing Tips
Serving Suggestions
Thumbprint cookies can be served plain or dusted with powdered sugar for an extra touch of sweetness. They pair wonderfully with coffee or tea during afternoon gatherings or festive celebrations.
Storage Guidelines
Store cooled thumbprint cookies in an airtight container at room temperature for up to one week. If you plan to keep them longer, consider freezing them; they can last up to three months when properly stored in freezer-safe bags or containers.
Enjoy making these delightful thumbprint cookies!
Mistakes to avoid
One common mistake when making thumbprint cookies is overmixing the dough. When you mix too much, the cookies can become tough and lose their delicate texture. Instead, mix just until the ingredients are combined to maintain a soft and tender cookie.
Another mistake is not chilling the dough before baking. Chilling helps the butter solidify, ensuring the cookies hold their shape during baking. Skipping this step can result in flat and spread-out cookies that don’t have that classic thumbprint look.
Using the wrong type of jam is also a frequent error. Choose a thick jam or preserve so it stays put in the cookie’s center. Thin or runny jams can spill over while baking, creating a mess instead of a beautiful thumbprint.
Neglecting to preheat your oven is an issue many encounter. If you place your cookie dough in a cold oven, they won’t bake evenly. Always preheat your oven to ensure consistent baking results for perfectly shaped thumbprint cookies.
Lastly, don’t forget to check your cookie for doneness before taking them out of the oven. Thumbprint cookies should be lightly golden around the edges but slightly soft in the middle. Overbaking leads to dry cookies that lose their delightful texture.
Tips and tricks
To make perfect thumbprint cookies, consider using room temperature ingredients, especially butter and eggs. Softened butter blends more easily with sugar, leading to a lighter and fluffier dough. Room temperature eggs help create a uniform batter that bakes evenly, ensuring your cookies rise beautifully.
When forming thumbprints, use your thumb or a small spoon to create an indentation in each cookie before baking. Be gentle—press down just enough to form a well without breaking through the bottom of the cookie. This will hold your chosen jam or filling securely during baking.
Experiment with different fillings for your thumbprint cookies! While traditional recipes often call for raspberry or strawberry jam, feel free to try alternatives like chocolate ganache, lemon curd, or even peanut butter. Each filling provides a unique flavor profile and adds an exciting twist to this classic treat.
Always let your baked cookies cool on the baking sheet for at least five minutes before transferring them to a wire rack. This resting period allows them to firm up slightly and prevents breakage when moving them while still warm.
For added decoration and flavor, consider sprinkling some chopped nuts or coconut flakes around the edges of the indents after filling with jam. This not only enhances visual appeal but also adds an extra layer of texture and taste that complements the sweetness of thumbprint cookies nicely.
Suggestions for Thumbprint Cookies
Consider using alternative flours like almond flour or gluten-free blends if you’re looking to cater to specific dietary needs when making thumbprint cookies. These alternatives can provide different flavors and textures while maintaining a delicious outcome. Just be aware that adjustments may be needed in liquid content since alternative flours absorb moisture differently.
If you want to enhance flavor without compromising texture in your thumbprint cookies, try adding citrus zest such as lemon or orange into your dough mixture. The zest brightens up each bite and gives your cookies an aromatic twist that balances well with sweet fillings like jam or chocolate.
For those who enjoy chocolate flavors, dipping half of each cooled cookie in melted chocolate can take these treats to another level. Once dipped in chocolate and set on parchment paper, allow them to cool completely for a delightful surprise with each bite.
Don’t hesitate to personalize your thumbprint cookie presentations by using festive decorations for holidays or special occasions! Sprinkling edible glitter or colored sugar on top of filled cookies can add charm that delights both kids and adults alike during celebrations.
When storing leftover thumbprint cookies, place them in an airtight container at room temperature for optimal freshness. They remain delicious for several days this way; however, if you wish to prolong their shelf life further, freezing them is an excellent option too!
FAQs
What are Thumbprint Cookies?
Thumbprint cookies are delightful treats characterized by small indentations made in the center of each cookie before baking. These indentations typically hold various fillings like fruit jams or chocolate ganache. They offer a sweet balance between buttery richness from the cookie base and flavorful toppings that make every bite enjoyable.
Can I use different fillings for Thumbprint Cookies?
Absolutely! While traditional fillings include raspberry or strawberry jam, you can experiment with countless options such as chocolate chips, lemon curd, caramel sauce, or nut butters. Each variation offers unique tastes that can suit different preferences and occasions—get creative!
How do I store Thumbprint Cookies?
To keep your thumbprint cookies fresh longer, store them in an airtight container at room temperature away from direct sunlight. They generally last about one week this way; however, if you want them preserved even longer, freezing is also an option! Ensure they’re properly wrapped before freezing.
Can I make Thumbprint Cookies ahead of time?
Yes! You can prepare thumbprint cookie dough ahead of time and refrigerate it for up to three days before baking. Alternatively, once baked and cooled completely, they can be stored safely so you can enjoy them whenever desired without sacrificing taste!
What makes Thumbprint Cookies unique?
The distinctive feature of thumbprint cookies lies in their signature indentation filled with delicious toppings—a simple yet charming design that enhances presentation while offering versatility through various fillings! Their buttery texture pairs beautifully with fruity jams or rich chocolates too!
Are there gluten-free options for Thumbprint Cookies?
Definitely! You can substitute regular all-purpose flour with gluten-free flour blends when making thumbprint cookies suitable for those avoiding gluten-containing products. Just ensure you choose high-quality gluten-free flour designed specifically for baking so that texture remains satisfactory!
Summary
In summary, perfecting thumbprint cookies involves avoiding common mistakes like overmixing dough and neglecting chill time while employing helpful tips such as using room-temperature ingredients and experimenting with different fillings. Personalizing presentations through decorations adds charm while proper storage ensures lasting freshness after baking these delightful treats! Enjoy crafting delicious variations based on preference—it’s all about savoring every flavorful bite!