Quick Overview
Summer’s here, and there’s nothing quite like a scoop of refreshing ice cream to cool you down. Today, I’m excited to share the best (and easiest) ice cream you’ll ever make! This delightful treat is perfect for family gatherings or simply enjoying on a sunny afternoon. With just a handful of ingredients and a few simple steps, you’ll have creamy homemade ice cream that will impress everyone. Let’s dive into how you can whip up this delightful dessert in no time!
Ingredient Breakdown
Heavy Cream
Heavy cream is the star of this recipe. It provides the rich and creamy texture that makes your ice cream indulgent. Use 2 cups of heavy cream for the best results.
Sweetened Condensed Milk
Sweetened condensed milk adds sweetness and richness without needing extra sugar. You’ll need 1 cup for balance in flavor and texture.
Vanilla Extract
For that classic taste, vanilla extract is essential. Just 1 teaspoon will infuse your ice cream with aromatic notes that elevate its flavor.
Optional Add-Ins
Feel free to get creative! You can add chocolate chips, fruit pieces, or nuts to personalize your treat. About 1 cup of your favorite add-ins will do.
Step By Step Recipe: The Best (and Easiest) Ice Cream You’ll Ever Make
Step 1: Whip the Cream
Start by pouring 2 cups of heavy cream into a mixing bowl. Using an electric mixer or whisk, beat the cream on medium speed until soft peaks form. This should take about three to five minutes. Be careful not to overwhip; you want a smooth consistency.
Step 2: Mix in Sweetened Condensed Milk
In another bowl, combine 1 cup of sweetened condensed milk with 1 teaspoon of vanilla extract. Stir until well blended. This mixture will create the base for your ice cream and give it sweetness without being overly sugary.
Step 3: Combine Mixtures
Gently fold the whipped cream into the sweetened condensed milk mixture using a spatula. Start with a small amount of whipped cream to lighten the base before gradually adding more. Be careful not to deflate the whipped cream; this keeps your ice cream light and airy.
Step 4: Add Optional Ingredients
If you’re using any optional add-ins like chocolate chips or fruit pieces, now is the time to mix them in! Stir gently until evenly distributed throughout the mixture.
Step 5: Freeze
Transfer your mixture into an airtight container or loaf pan for freezing. Smooth down the top with a spatula for even freezing. Cover it tightly with a lid or plastic wrap to prevent freezer burn.
Step 6: Chill
Place your container in the freezer for at least six hours or overnight if possible. The longer it freezes, the firmer your ice cream will be!
Serving and Storing Tips
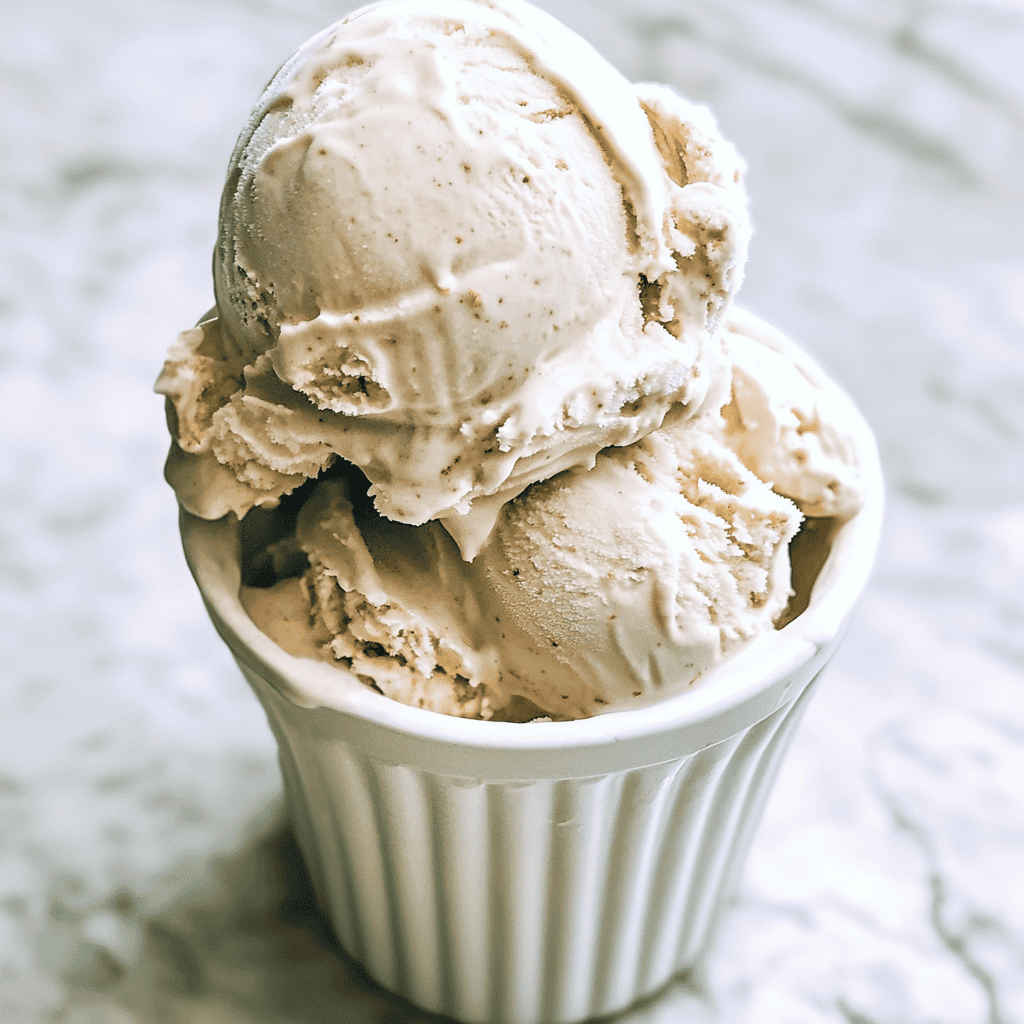
Serve in Bowls or Cones
When ready to serve, scoop out generous portions into bowls or cones. This homemade treat pairs wonderfully with fresh fruit or chocolate sauce for added indulgence.
Store Properly
To store any leftovers (if there are any!), keep your homemade ice cream in an airtight container in the freezer. It should last for about two weeks but is best enjoyed fresh.
Scoop Warm Water Technique
If you find it difficult to scoop after freezing, run your scooping utensil under warm water for a few seconds before serving! This trick makes it easier to serve perfect scoops every time.
Enjoy making this delicious treat at home with ease and watch as everyone loves The Best (and Easiest) Ice Cream You’ll Ever Make!
Mistakes to avoid
One common mistake when making ice cream is not measuring ingredients accurately. Precise measurements ensure that your ice cream has the right texture and flavor. Use a kitchen scale for dry ingredients and liquid measuring cups for liquids. Another pitfall is over-churning the mixture, which can lead to a grainy texture. Aim for a smooth and creamy consistency, stopping the churn when soft peaks form. Additionally, neglecting to chill the base before churning can result in less-than-ideal results. Always refrigerate your mixture for at least two hours to enhance flavor and consistency.
Using low-quality ingredients is another mistake many make. Quality affects both flavor and texture, so opt for fresh dairy products and real vanilla extract instead of imitation. Additionally, some people skip the mix-ins or toppings altogether, but adding these can create delightful contrasts in flavor and texture. Don’t forget about storage options either; using an airtight container is crucial to prevent freezer burn. Lastly, avoid opening the freezer too often during the freezing process; this can cause temperature fluctuations that affect ice cream quality.
Tips and tricks
To achieve The Best (and Easiest) Ice Cream You’ll Ever Make, start by selecting the right base recipe. A custard base offers richness while a simple milk-and-cream ratio provides ease of preparation. If you prefer a lighter option, consider using coconut milk or almond milk as substitutes for traditional dairy. When it comes to flavoring your ice cream, think beyond vanilla or chocolate; experiment with seasonal fruits or spices like cinnamon and nutmeg for unique tastes.
Chilling your mixture is critical! Refrigerate it for at least two hours before churning; this allows flavors to meld beautifully. If you’re short on time, you can put it in the freezer but stir every 15 minutes until chilled. When churning, keep an eye on the consistency; stop once it reaches soft-serve thickness—this ensures a creamy finish when frozen completely later.
Consider investing in an ice cream maker if you plan on making this treat regularly. They vary in price and features but can simplify the process significantly. For those without one, try using a food processor or blender instead. Finally, always allow your ice cream to sit at room temperature for about five minutes before scooping—this makes serving much easier!
Suggestions for The Best (and Easiest) Ice Cream You’ll Ever Make
For The Best (and Easiest) Ice Cream You’ll Ever Make, consider infusing flavors into your base before freezing it. You can steep herbs like mint or basil directly into the cream or add citrus zest for brightness. These methods provide depth without requiring additional effort.
Another suggestion is to create swirls of sauces within your ice cream mixture. Simply pour in caramel or fudge sauce during the last few minutes of churning to create beautiful marbled effects that are visually appealing as well as delicious.
For those who enjoy crunchy textures, think about adding nuts or cookie pieces just before transferring your ice cream into storage containers. This strategy adds layers of flavor while enhancing each bite’s texture.
Lastly, don’t forget about presentation! Serve your homemade ice cream in colorful bowls with garnishes such as fresh fruit, sprinkles, or whipped cream to impress family and friends during dessert time.
FAQs
How long does homemade ice cream last in the freezer?
Homemade ice cream typically lasts about two weeks in the freezer when stored properly in an airtight container. Over time, ice crystals may form due to air exposure, affecting texture and taste. To keep it fresh longer, minimize air space by packing it tightly into containers before sealing them shut.
Can I make vegan ice cream?
Absolutely! You can easily create vegan versions of The Best (and Easiest) Ice Cream You’ll Ever Make by substituting dairy with plant-based alternatives like coconut milk or cashew cream. Sweeteners such as maple syrup or agave nectar work well too! There are plenty of recipes available online tailored specifically for vegan diets.
What mix-ins work best with homemade ice cream?
Mix-ins really depend on personal preference! Popular choices include chocolate chips, crushed cookies, nuts like almonds or pecans, and fresh fruits like strawberries or blueberries. You can also get creative with unexpected ingredients like pretzel pieces which provide a delightful salty contrast against sweetness.
How can I fix icy homemade ice cream?
If your homemade ice cream turns out icy rather than creamy, it may indicate improper mixing technique or insufficient fat content in your recipe’s base mixture—consider adding more heavy cream next time! Another tip is to churn it longer during preparation until soft peaks form; this incorporates air which helps achieve smoother results.
Can I use my blender instead of an ice cream maker?
Yes! If you don’t have an ice cream maker handy but still want to make The Best (and Easiest) Ice Cream You’ll Ever Make using a blender works fine as well! Just blend until smooth then pour into a shallow dish—stir every 30 minutes until frozen to create a creamy consistency similar to churned varieties!
How do I know when my ice cream is ready?
Your homemade concoction should reach soft-serve consistency after churning—this usually takes around 20-30 minutes depending on equipment used. It’s best served immediately if you enjoy softer textures; otherwise transfer it into containers and freeze until firm enough for scooping which typically takes several hours overnight!
Summary
In summary, creating The Best (and Easiest) Ice Cream You’ll Ever Make involves avoiding key mistakes such as inaccurate measurements and using low-quality ingredients while implementing helpful tips like chilling mixtures prior to churning and considering various flavors for added excitement. Always keep storage measures in mind too! With these strategies in mind along with some fun suggestions from our list above plus answers provided through FAQs—you’ll be well-equipped to whip up delicious homemade treats everyone will love!