Quick Overview
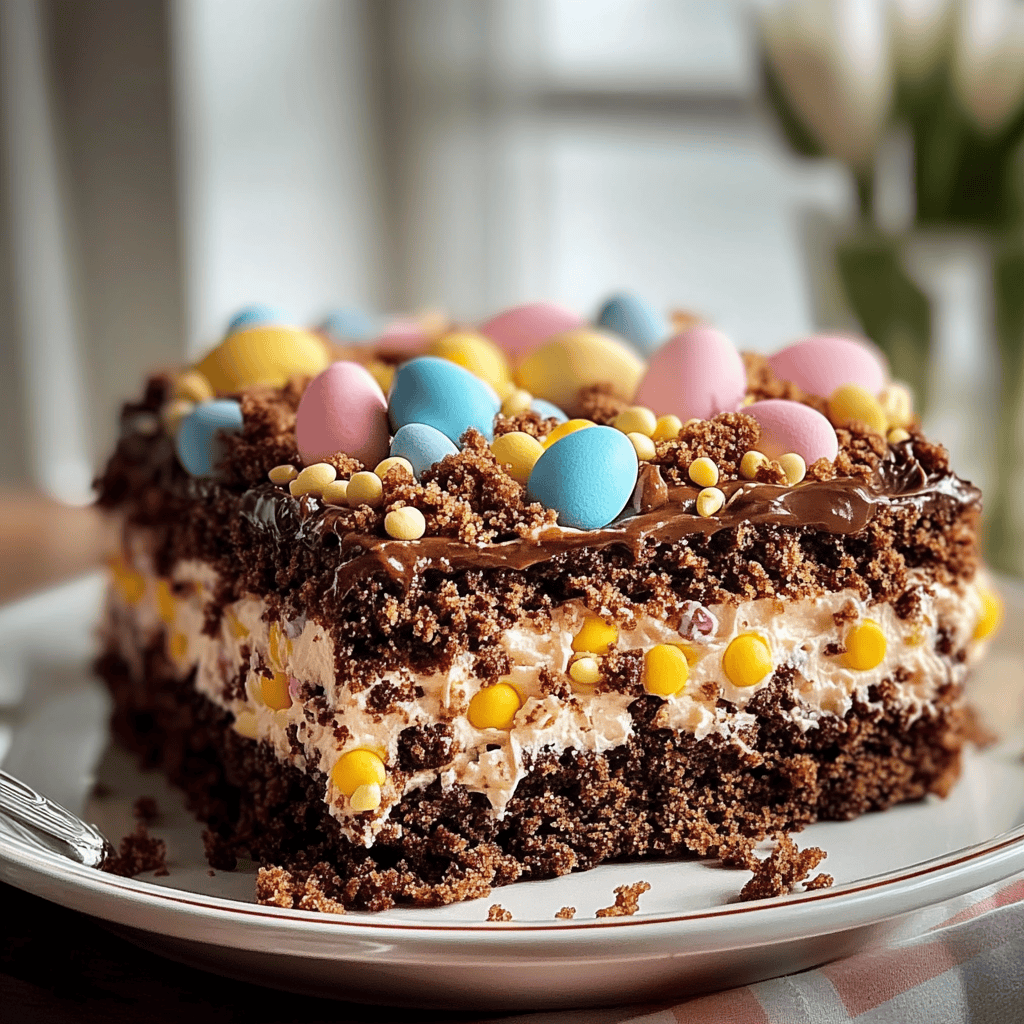
If you are looking for a fun and delicious treat to celebrate the upcoming holiday, look no further than this delightful Easter Dirt Cake Dessert. This dessert combines layers of rich chocolate pudding, creamy whipped topping, and crushed cookies for a visually appealing and tasty dish that will please guests of all ages. With its playful presentation and comforting flavors, this dessert is sure to become a family favorite during your springtime festivities.
Ingredient Breakdown
Chocolate Pudding Mix
You will need two boxes (3.9 oz each) of instant chocolate pudding mix for this recipe. This provides the rich chocolate flavor that forms the base of the cake. Instant pudding mix is quick to prepare and sets well in the fridge.
Milk
For mixing with the pudding, use 4 cups of cold milk. Whole milk is preferred for a creamier texture but any milk works. The milk activates the pudding mix and gives it a smooth consistency.
Whipped Topping
Use 12 ounces of whipped topping (like Cool Whip) for a light and airy texture in your dessert. This adds creaminess and balances the density of the pudding layers while making it easy to spread.
Crushed Oreos
You will need about 24 Oreo cookies crushed into fine crumbs. These act as the “dirt” in the cake. The chocolate flavor from Oreos complements the pudding perfectly and adds a crunchy texture.
Gummy Worms (Optional)
For decoration, grab a pack of gummy worms. They add an adorable touch that makes this dessert fun for kids. Placing them on top resembles a garden scene which fits perfectly with the theme of “dirt.”
Step By step Recipe: Easter Dirt Cake Dessert
Prepare Pudding Mixture
In a large bowl, combine two boxes of instant chocolate pudding mix with 4 cups of cold milk. Whisk until thoroughly mixed and there are no lumps remaining in the mixture. Let it sit for about 5 minutes so it can thicken properly before proceeding to layer it with other ingredients.
Mix in Whipped Topping
Once your pudding has set up nicely after five minutes, gently fold in 12 ounces of whipped topping using a spatula or wooden spoon. Be careful not to deflate the whipped topping; you want to keep it fluffy for that perfect creamy texture throughout your dessert.
Layer Ingredients in Dish
Select a large serving dish or trifle bowl for layering your dessert. Begin by adding half of the chocolate pudding mixture as your first layer at the bottom. Spread it evenly across the bottom using a spatula before moving on to the next layer.
Add Crushed Oreos
After spreading out the first layer of pudding, sprinkle half of your crushed Oreo cookies evenly on top. Press them down lightly to create an even surface before continuing with another layer of pudding over these crumbs for added crunchiness.
Repeat Layers
Repeat the process by adding another layer of your remaining chocolate pudding mixture followed by another layer of crushed Oreos on top again. Make sure everything is spread evenly so every slice gets an equal amount when served.
Decorate with Gummy Worms
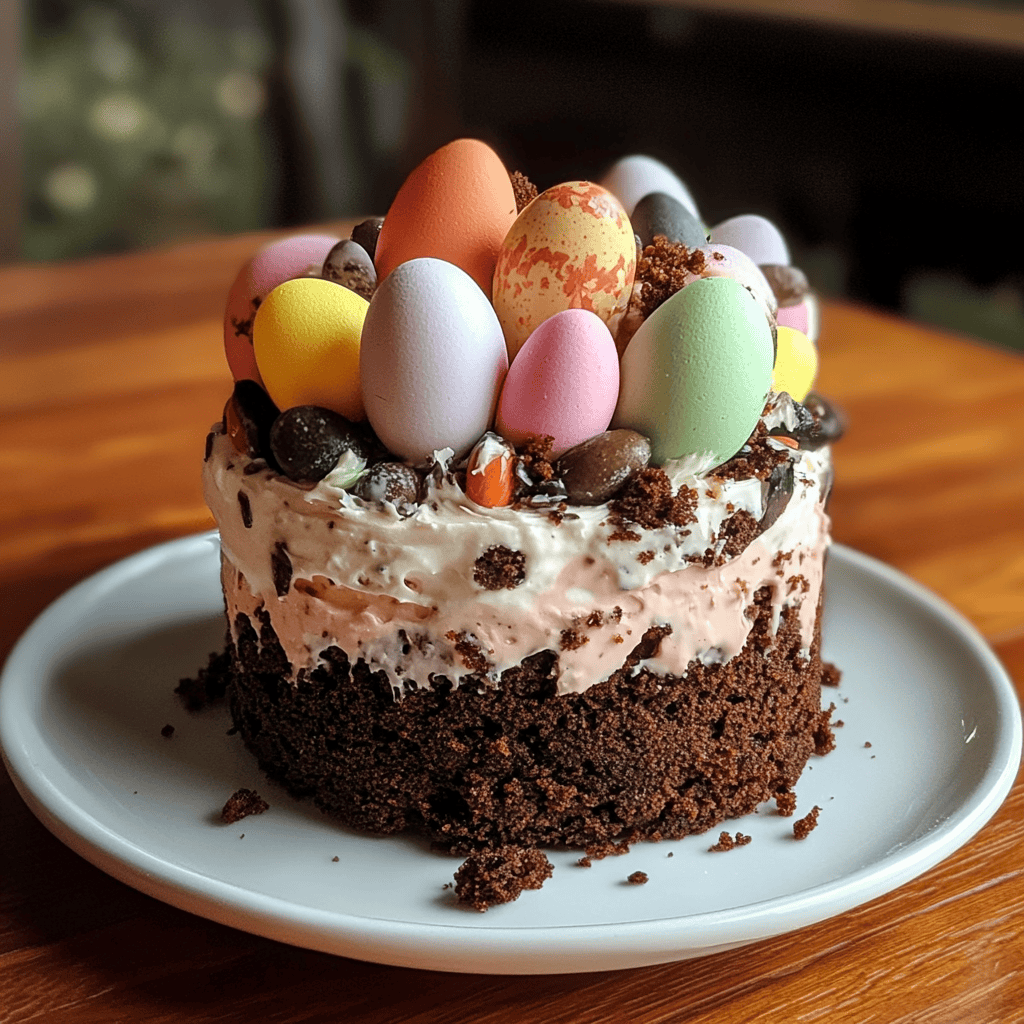
Finish off your dessert by carefully arranging gummy worms on top as decoration once all layers have been added. You can either let them lay across or stick some partially into the “dirt” layer for an adorable garden effect that kids will love!
Serving and Storing Tips
Serving Suggestions
Serve your Easter Dirt Cake Dessert chilled from the refrigerator for best results. Use a sharp knife or spatula to cut through each layer evenly while serving so everyone gets their share of deliciousness! Pairing this treat with fresh fruit can enhance its appeal during gatherings.
Storage Instructions
Cover any leftovers tightly with plastic wrap or transfer them into an airtight container before placing them back in the refrigerator. The dessert can last up to 3-4 days stored properly—however, note that cookies may lose their crunch if stored too long due to moisture absorption from other ingredients!
Mistakes to avoid
One common mistake when making Easter Dirt Cake Dessert is not allowing the cream cheese mixture to soften properly. If the cream cheese is too cold, it won’t blend smoothly with the other ingredients, resulting in a lumpy texture. Make sure to take it out of the fridge at least 30 minutes before starting.
Another error is using stale or low-quality cookies for the crust. Fresh Oreos or chocolate sandwich cookies work best for that rich, decadent flavor. Old or dry cookies can affect both taste and texture, leading to an unsatisfactory dessert.
Failing to chill the dessert long enough is another frequent oversight. For optimal results, let your Easter Dirt Cake Dessert set in the refrigerator for at least four hours. This allows the flavors to meld beautifully and makes for easier slicing.
Overloading on toppings can also ruin your dessert’s presentation and taste. While it’s tempting to add too many candies or decorations, a few thoughtfully placed treats will create a stunning visual without overwhelming the flavor profile.
Lastly, skipping the layering process can lead to an unbalanced dessert. Each layer—whether it’s cake mix, pudding, or crushed cookies—plays a crucial role in flavor and texture. Take your time with each layer for a stunning final product.
Tips and tricks
To achieve the best results with your Easter Dirt Cake Dessert, start by using high-quality ingredients. Opt for full-fat cream cheese and freshly whipped cream rather than pre-packaged whipped topping. This choice enhances flavor and texture significantly, giving you that homemade feel that everyone loves.
When mixing your cream cheese and sugar, use an electric mixer for a smooth consistency. Start on low speed to combine the ingredients without splattering, then increase speed until you achieve a creamy mixture. This technique ensures no lumps remain in your filling.
Consider incorporating different flavors into your pudding mix. While traditional chocolate works wonderfully, vanilla or even butterscotch pudding can add unique twists to your Easter Dirt Cake Dessert. Experiment with flavors that complement each other well for a delightful surprise.
Presentation plays a big role in serving this dessert. Use clear cups or jars so guests can see those beautiful layers of chocolatey goodness and vibrant candy toppings. You can also garnish with fresh mint leaves or edible flowers for an elegant touch that elevates your dessert’s appeal.
Don’t forget about dietary restrictions! Offering an alternative version for gluten-free guests can make everyone feel included at your gathering. Look for gluten-free chocolate sandwich cookies and ensure that all other ingredients are safe for those with allergies.
Suggestions for Easter Dirt Cake Dessert
Pair your Easter Dirt Cake Dessert with fresh berries like strawberries or raspberries. Their bright colors contrast beautifully against the dark chocolate layers while adding a refreshing burst of flavor that balances out the richness of the cake.
For an added crunch factor, consider drizzling melted chocolate over the top before serving. This creates a delicious shell that contrasts nicely with the creamy filling beneath, enhancing both flavor and texture in every bite.
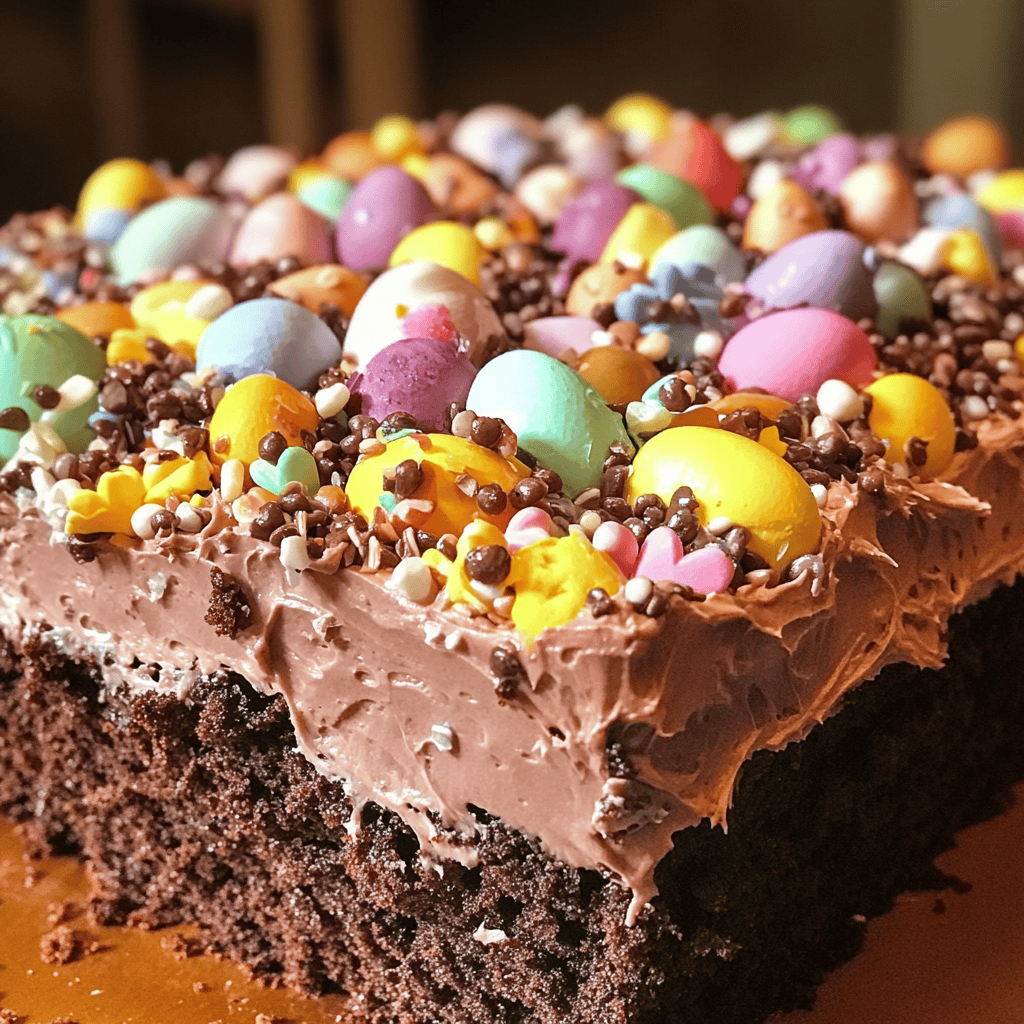
If you’re serving kids or want to make it more festive, add colorful sprinkles on top along with gummy worms or chocolate eggs as decoration. These fun additions not only appeal visually but also provide extra enjoyment during special occasions like Easter celebrations.
Keep leftovers fresh by covering them tightly with plastic wrap or transferring them into an airtight container after they have been chilled completely. This helps maintain their flavor and texture if you have any remaining cake after enjoying it at your gathering.
Lastly, consider serving this dessert alongside coffee or hot cocoa during your Easter brunch. The rich flavors of these beverages complement the sweetness of your Easter Dirt Cake Dessert beautifully and create a warm atmosphere perfect for family gatherings.
FAQs
What is Easter Dirt Cake Dessert?
Easter Dirt Cake Dessert is a delightful layered treat made primarily from chocolate pudding, cream cheese mixture, and crushed chocolate sandwich cookies resembling “dirt.” It often features fun toppings like gummy worms or candy eggs to celebrate Easter festivities while offering a deliciously sweet end to any meal.
How do I make my Easter Dirt Cake Dessert look more festive?
To elevate its presentation, consider adding colorful sprinkles or edible glitter on top before serving. Using clear glass dishes allows guests to see those beautiful layers inside while topping it off with seasonal decorations like mini chocolate eggs creates an appealing visual impact perfect for springtime celebrations.
Can I prepare Easter Dirt Cake Dessert in advance?
Absolutely! In fact, preparing this dessert one day ahead gives it ample time to chill in the refrigerator while allowing flavors to meld together beautifully—making it even tastier when served during gatherings like Easter brunches or parties with family and friends.
What variations can I try with my Easter Dirt Cake Dessert?
You can experiment by incorporating different pudding flavors such as vanilla or butterscotch instead of traditional chocolate pudding while also utilizing gluten-free cookies if necessary—ensuring everyone enjoys their slice of this delightful cake regardless of dietary restrictions!
How long does leftover Easter Dirt Cake Dessert last?
When stored properly in an airtight container within the fridge after serving has concluded (and allowed cooling), leftovers typically last about three days without losing too much quality; however, it’s best eaten within two days for optimum freshness!
Is there a way to lighten up this dessert recipe?
Yes! To reduce calories slightly from this decadent treat without sacrificing taste entirely—consider using reduced-fat cream cheese combined with low-fat whipped topping instead of regular versions; opting for fewer toppings may help as well!
Summary
In summary, creating a delicious Easter Dirt Cake Dessert involves mindful preparation techniques while avoiding common pitfalls like improper ingredient handling and presentation errors. By following helpful tips such as choosing quality ingredients and experimenting with flavors—or even considering dietary needs—you’ll craft something everyone will love! Remembering presentation adds charm too; finally storing leftovers properly ensures enjoyment continues beyond just one day!