
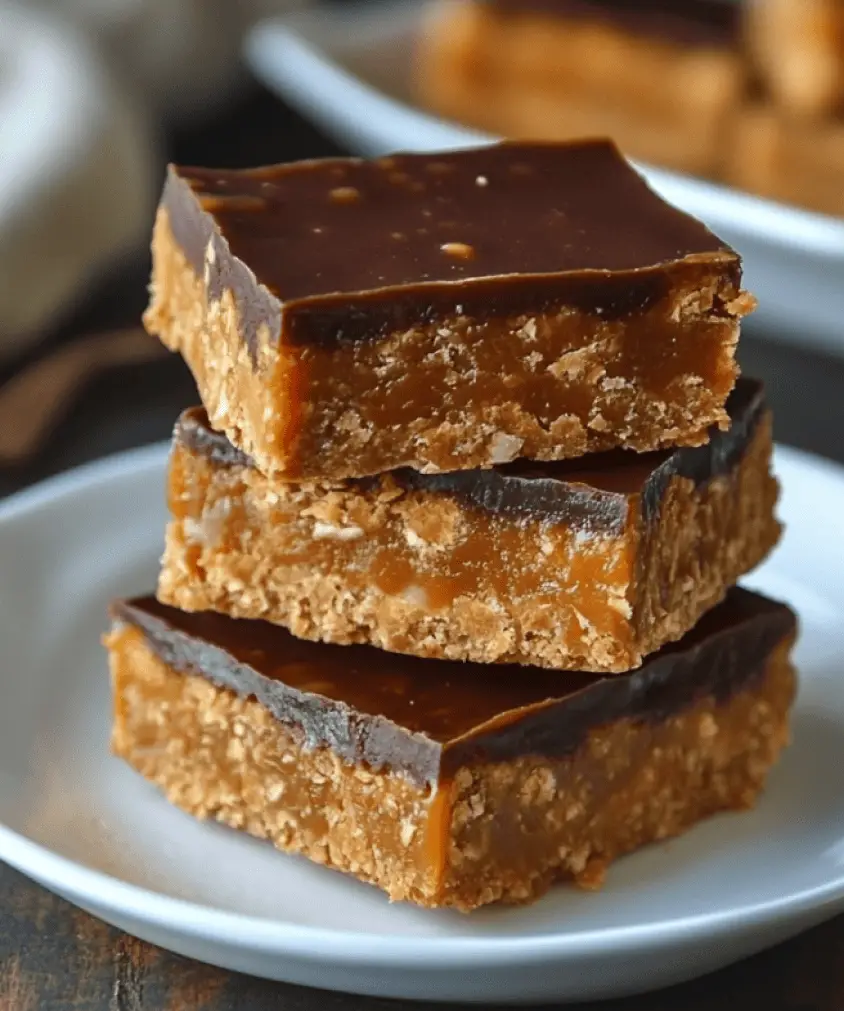
These Butterfinger Caramel Crunch Bars are an irresistible combination of crunchy Butterfinger pieces, gooey caramel, and a chocolatey base. They’re the perfect no-bake treat for satisfying your sweet tooth or sharing at parties. With just a few simple ingredients, you can whip up a batch of these decadent bars in no time. Let’s dive into this easy and indulgent recipe!
Ingredients
For the Base Layer:
- Semi-Sweet Chocolate Chips (2 cups)
- Unsalted Butter (1/4 cup)
- Graham Cracker Crumbs (1 cup)
For the Caramel Layer:
- Soft Caramel Candies (1 1/2 cups)
- Heavy Cream (2 tablespoons)
For the Topping:
- Butterfinger Candy Bars (4 regular-sized bars, crushed)
- Milk Chocolate Chips (1/2 cup, for drizzling)
Instructions
Step 1: Prepare the Base Layer
- Melt the Chocolate: In a microwave-safe bowl, melt the semi-sweet chocolate chips and unsalted butter in 20-second intervals, stirring between each interval until the mixture is smooth and fully melted.
- Add the Graham Cracker Crumbs: Stir in the graham cracker crumbs until fully combined, forming a thick, chocolatey mixture.
- Press into Pan: Line an 8×8-inch baking dish with parchment paper, leaving some overhang for easy removal. Press the chocolate-graham cracker mixture evenly into the bottom of the pan to form the base layer.
- Chill the Base: Place the pan in the refrigerator for about 15 minutes to set while you prepare the caramel layer.
Step 2: Make the Caramel Layer
- Melt the Caramel: In a microwave-safe bowl, combine the caramel candies and heavy cream. Microwave in 20-second intervals, stirring between each, until the caramel is melted and smooth.
- Spread the Caramel: Pour the melted caramel mixture over the chilled chocolate base, spreading it out evenly with a spatula.
Step 3: Add the Topping
- Crush the Butterfinger Bars: Place the Butterfinger candy bars in a plastic bag and crush them into small pieces using a rolling pin or mallet.
- Top the Bars: Sprinkle the crushed Butterfinger pieces evenly over the caramel layer, gently pressing them into the caramel to ensure they stick.
- Drizzle with Chocolate: Melt the milk chocolate chips in a microwave-safe bowl, then drizzle the melted chocolate over the top of the Butterfinger layer for added decadence.
Step 4: Set and Slice
- Chill the Bars: Place the bars in the refrigerator for 1-2 hours, or until they are completely set and firm.
- Slice and Serve: Once the bars are set, use the parchment paper overhang to lift them out of the pan. Slice them into squares or bars and enjoy!
Duration Time
- Preparation Time: 15 minutes
- Chilling Time: 1-2 hours
- Total Time: 1 hour 30 minutes
Nutritional Information (per bar, based on 16 servings)
- Calories: 280
- Total Fat: 15g
- Saturated Fat: 9g
- Cholesterol: 15mg
- Sodium: 100mg
- Total Carbohydrates: 36g
- Sugars: 28g
- Dietary Fiber: 1g
- Protein: 2g
FAQs
1. Can I use store-bought caramel sauce instead of melting caramels?
Yes! If you’re in a pinch, you can use store-bought caramel sauce. Just make sure it’s thick enough to create a solid layer.
2. How do I store these bars?
Store the bars in an airtight container in the refrigerator for up to 5 days. You can also freeze them for up to 3 months.
3. Can I use a different type of candy bar?
Absolutely! You can substitute Butterfinger with other candy bars like Snickers, Heath, or Reese’s Peanut Butter Cups for a different flavor profile.
4. Can I make these bars dairy-free?
Yes! Use dairy-free chocolate chips, caramel, and butter to make a dairy-free version of these bars.
5. Can I use dark chocolate instead of semi-sweet?
Yes! Dark chocolate will work just as well, giving the bars a richer, more intense flavor.
6. What other toppings can I add?
You can add a variety of toppings like chopped nuts, pretzels, or even a sprinkle of sea salt for an extra crunch and flavor contrast.
7. Can I make these bars gluten-free?
Yes! Simply use gluten-free graham cracker crumbs in the base layer to make the bars gluten-free.
8. How do I prevent the caramel from being too sticky?
Chilling the bars for the full 1-2 hours helps firm up the caramel layer, making it easier to slice and less sticky. You can also lightly grease your knife with cooking spray to help with slicing.
Conclusion
These Butterfinger Caramel Crunch Bars are a delightful combination of textures and flavors, from the crunchy Butterfinger topping to the gooey caramel and rich chocolate base. They’re easy to make, no-bake, and sure to be a hit at any gathering or celebration. Enjoy these decadent bars as a quick dessert or a fun indulgent snack!


