
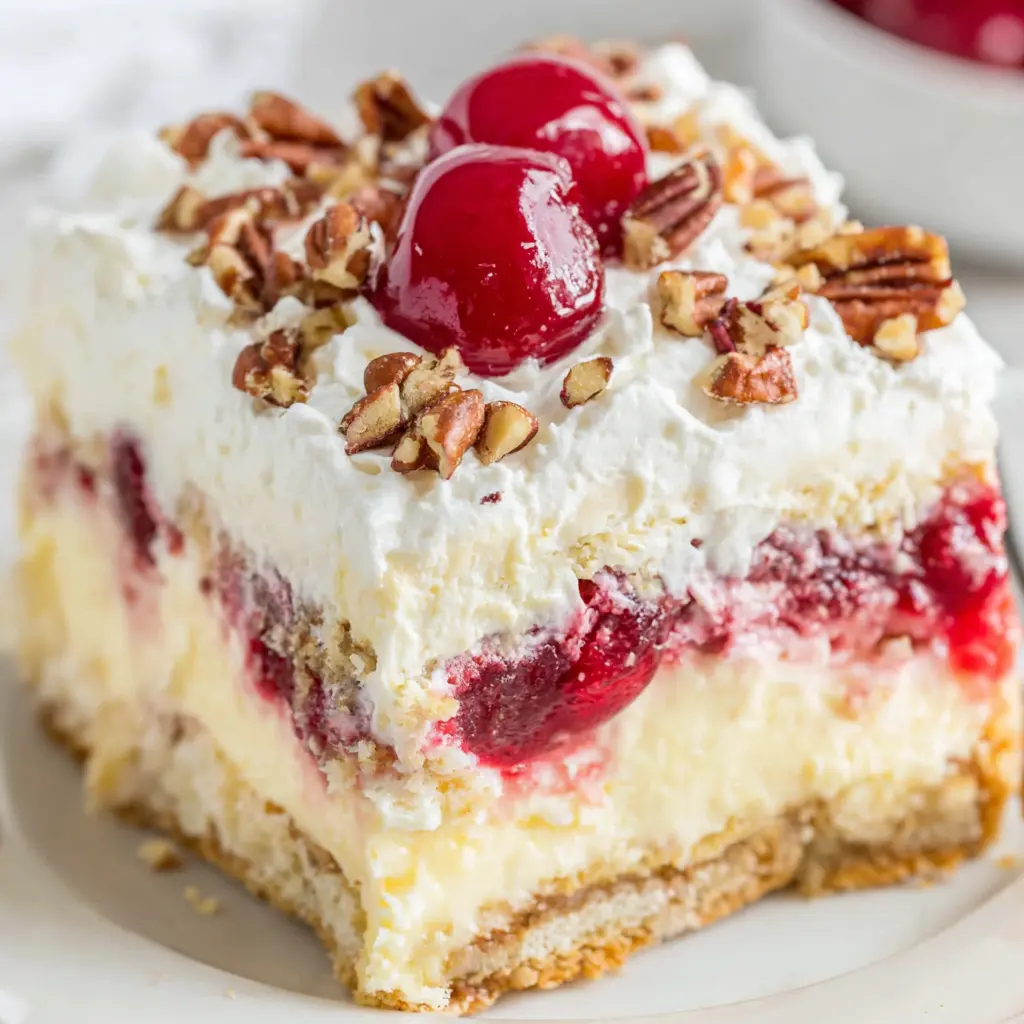
Cherry Cheesecake Lush is an irresistible no-bake dessert that perfectly layers creamy textures with fruity cherry sweetness. Each bite combines the rich tang of cream cheese and the crunch of cookie crumbs with luscious cherry pie filling to create a truly decadent treat that is as beautiful as it is delicious.
This dessert is perfect for those warm days when you want something cool and easy but still packed with flavors that satisfy any sweet tooth. Whether for family gatherings or holiday celebrations, this luscious cherry cheesecake will quickly become a favorite.
- No-bake layers make it simple and stress-free to prepare with minimal kitchen heat.
- Combines crunchy cookie base, creamy cheesecake filling, and sweet cherry topping for amazing texture contrast.
- Make ahead and chill, perfect for parties or last-minute guests.
- Classic American dessert flavors elevated with a visually stunning layered presentation.
Ingredients
- Vanilla sandwich cookies (14.3 oz package): Crushed finely to create a sweet, buttery crust that forms the base and adds a crisp texture.
- Salted butter (1/3 cup, melted): Binds the cookie crumbs together, enhancing richness with a hint of salt that balances sweetness.
- Cream cheese (8 oz, softened): The star ingredient providing the smooth and tangy cheesecake flavor in the creamy middle layer.
- Granulated sugar (3/4 cup): Sweetens the cheesecake layer perfectly without overpowering the cream cheese’s subtle tang.
- Vanilla extract (2 tsp): Adds a fragrant vanilla aroma that complements the cream cheese and cookie crust.
- Frozen whipped topping (16 oz tub, defrosted): Divided into layers, it lightens and enriches the cream cheese and pudding fillings with airy texture.
- Cheesecake flavored instant pudding mix (2 packages, 3.4 oz each): Creates a smooth, thick cheesecake-flavored pudding layer that holds the cherries beautifully.
- Whole milk (3 cups): Used to whisk the pudding mix into a creamy consistency for luscious layering.
- Cherry pie filling (2 cans, 21 oz each): Bursting with sweet, juicy cherries that top the dessert with a bright, tangy contrast to creamy layers.
- Pecans (1 cup, chopped): Adds a delightful nutty crunch that finishes the dessert with texture and flavor complexity.
Instructions
- Prepare the Cookie Crust Base
Butter a 9×13-inch glass baking dish to prevent sticking. In a food processor, finely crush the vanilla sandwich cookies until they become even, small crumbs. Mix in the melted butter until the crumbs are evenly coated and hold together when pressed. Press this mixture firmly into the bottom of the dish. Chilling the crust in the freezer for 10 minutes helps it set firmly, providing a sturdy foundation for the layers above.
- Make the Cream Cheese Layer
Using a hand or stand mixer, beat softened cream cheese with granulated sugar and vanilla extract until smooth and creamy. Add in 1 cup of thawed whipped topping and blend to lighten the mixture. This creamy layer is the heart of the dessert, balancing richness and sweetness. Spread it evenly over the chilled cookie crust. Return the dish to the freezer for 10 minutes to help the cream cheese layer firm up before adding the next layers.
- Prepare and Add the Cheesecake Pudding Layer
In a bowl, whisk together both packages of cheesecake pudding mix with the whole milk until it begins to thicken. Fold in 1/2 cup of whipped topping to lighten the consistency. Carefully spread this thick pudding over the chilled cream cheese layer to create a smooth, luscious middle layer. Chill the dish for 30 minutes or until the pudding is fully set, ensuring clean, defined layers in the final dessert.
- Add Cherry Pie Filling and Whipped Topping
Gently pour the cherry pie filling over the set cheesecake pudding layer. Spread carefully to avoid mixing into the layers beneath, preserving the clear separation of textures and flavors. Top the cherries with the remaining whipped topping, smoothing it into an even final layer. The whipped topping adds a light finish and balances the tartness of the cherries while also keeping the dessert visually appealing.
- Garnish and Chill for Final Set
Sprinkle chopped pecans evenly across the top of the whipped layer to add a crunchy texture that contrasts beautifully with the creamy layers. Refrigerate the assembled dessert for 1 to 2 hours to allow the flavors to meld and the layers to fully set before serving. This final chill is essential for the ideal texture and sliceability.
- Make sure the cream cheese is fully softened for a smooth, lump-free cheesecake layer.
- Allow adequate chilling time between layers to prevent them from blending and maintain visual appeal.
- Use good quality cherry pie filling for the best fresh cherry flavor and proper consistency.
Storage Tips
Store Cherry Cheesecake Lush covered tightly in the refrigerator for up to 3 days. The flavors will deepen with time, but for best texture, enjoy within two days. Avoid freezing as it can alter the texture of the layers.
Serving Suggestions
Serve this dessert chilled, sliced into squares on a pretty platter. Garnish with fresh cherries or a sprig of mint for an elegant presentation. It pairs beautifully with a cup of coffee or a light dessert wine.
- For a firmer crust, press the cookie crumbs firmly with a flat-bottomed cup before chilling.
- Use a rubber spatula to spread layers evenly without disturbing underlying layers.
- Chilling between steps is critical to maintain neat layer separation and a professional look.
FAQs
- Can I make this dessert ahead of time?
Absolutely! It keeps well in the refrigerator for up to 3 days and tastes even better once the flavors have melded.
- What can I substitute for the vanilla sandwich cookies?
You can use graham crackers or digestive biscuits as an alternative crust, though the flavor will be slightly different.
- Is it possible to use fresh cherries instead of pie filling?
Fresh cherries can be used if cooked down with sugar to form a compote, but pie filling provides the perfect texture and sweetness for this dessert.
- Can I use a homemade whipped cream instead of Cool Whip?
Yes, homemade whipped cream works well but may not hold as firmly as the stabilized Cool Whip, affecting the final texture slightly.
- How do I ensure the cheesecake layer is smooth?
Beat the cream cheese thoroughly until creamy and smooth before adding other ingredients, and use room temperature cream cheese to avoid lumps.
Cherry Cheesecake Lush
Equipment
- 1 9 x 13 glass baking dish
- 1 food processor
- 1 hand mixer or standing mixer
- 1 whisk
Ingredients
- 14.3 oz package vanilla sandwich cookies about 36 cookies, crushed to 2 ½ cups
- 1/3 cup salted butter melted and cooled (plus more for greasing dish)
- 8 oz cream cheese softened to room temperature
- 3/4 cup granulated sugar
- 2 teaspoons vanilla extract
- 16 oz frozen whipped topping Cool Whip, defrosted and divided
- 2 3.4 oz packages cheesecake flavored instant pudding mix
- 3 cups whole milk
- 2 21 oz cans cherry pie filling
- 1 cup pecans chopped
Instructions
- Grease a 9 x 13 glass baking dish with butter and set aside.
- Use a food processor to crush the vanilla sandwich cookies into small, even crumbs.
- Add melted butter to the cookie crumbs and pulse until combined.
- Press the cookie mixture firmly into the greased baking dish and place in the freezer for 10 minutes to chill.
- In a mixing bowl, beat together cream cheese, granulated sugar, vanilla extract, and 1 cup of the whipped topping until smooth and creamy.
- Spread the cream cheese mixture evenly over the chilled cookie crumb layer and return to the freezer for 10 minutes.
- Whisk together the cheesecake pudding mixes, whole milk, and 1/2 cup whipped topping until thickened.
- Spread the pudding mixture over the chilled cream cheese layer and refrigerate for 30 minutes, or until set.
- Carefully pour the cherry pie filling over the set pudding layer, spreading gently to avoid mixing the layers.
- Top with the remaining whipped topping and sprinkle chopped pecans on top.
- Chill the assembled dessert in the refrigerator for 1 to 2 hours before serving.
Notes
- Use full-fat cream cheese for best texture.
- Chilling between layers helps maintain distinct layers.
- Store leftovers covered in the fridge for up to 3 days.


