
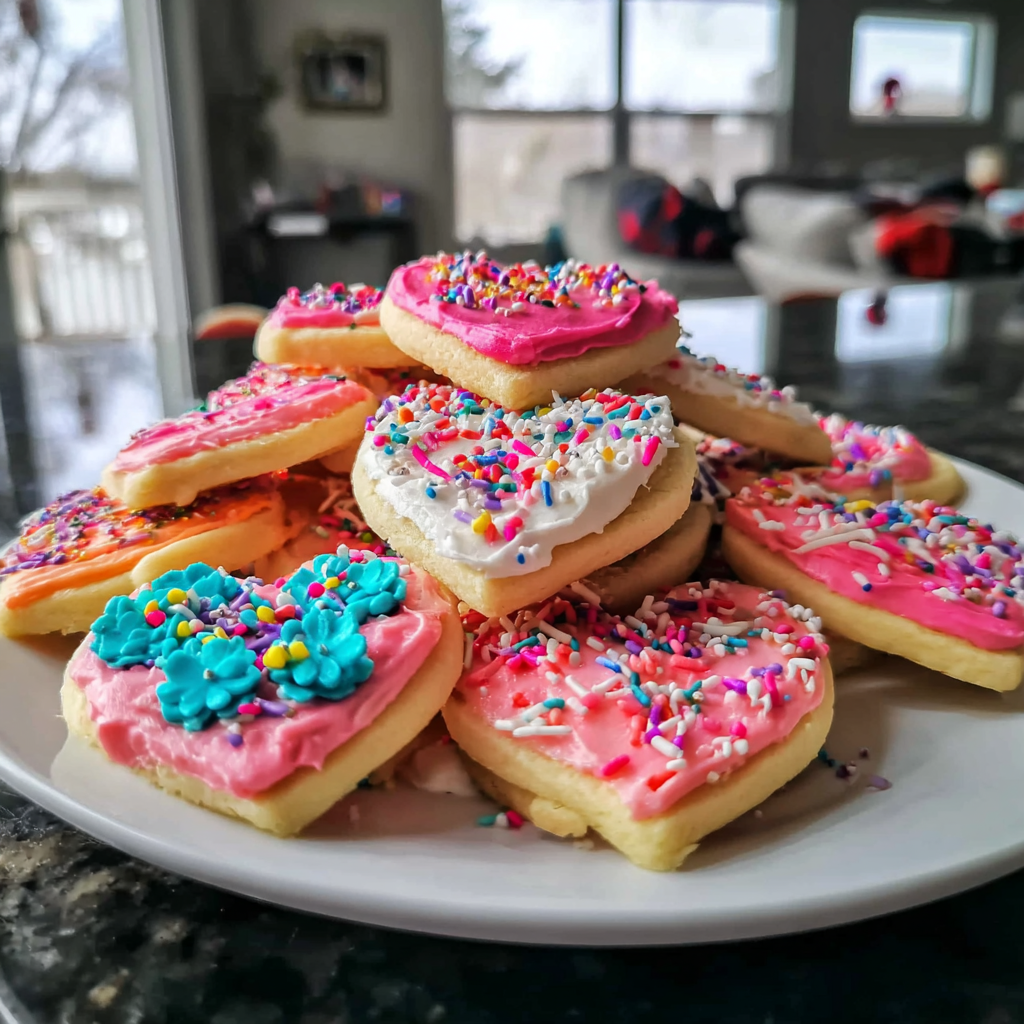
Valentine’s Day is the perfect occasion to indulge in sweet treats that are both fun to make and delightful to share. Decorating cookies for this special day offers a heartwarming experience, blending creativity with the joy of gifting something handmade. Whether you’re baking for a loved one or hosting a festive gathering, these decorated Valentine’s cookies bring colors and smiles to every celebration.
The process is simple enough for beginners yet allows plenty of room for personal artistic expression. From mixing the dough to adding vibrant icing and sprinkles, each step is a chance to infuse love into every bite. Let’s dive into this charming cookie decorating guide to make your Valentine’s even sweeter.
- Easy-to-follow steps suitable for bakers of all levels, ensuring great results.
- Customizable decorations with royal icing and food coloring allow creative freedom.
- The buttery, tender cookies pair perfectly with festive Valentine’s Day themes.
Ingredients
- All-purpose flour: The base of the cookie dough providing structure and tenderness in every bite.
- Unsalted butter: Softened butter adds richness and a smooth texture to the cookies.
- Granulated sugar: Sweetens the dough evenly while helping to create a slight crispness.
- Large egg: Acts as a binder and adds moisture, helping the dough hold together.
- Vanilla extract: Provides warm, aromatic flavor that complements the sweet dough.
- Baking powder: A leavening agent that helps cookies rise just enough to stay soft.
- Salt: Balances sweetness and enhances the overall flavor profile.
- Royal icing: Essential for decorating, hardens on drying to create detailed designs.
- Food coloring: Gel colors deliver vibrant hues for eye-catching decorations.
- Sprinkles: Add sparkle and texture, making each cookie festive and fun.
Instructions
- Preheat Oven and Prepare Workspace
Start by heating your oven to 350°F (175°C) to ensure it reaches the perfect baking temperature. Meanwhile, clear and lightly flour your work surface to prevent the dough from sticking during rolling and cutting.
- Cream Butter and Sugar
In a mixing bowl, beat the softened butter with the granulated sugar until the mixture is creamy and light-colored. This step is crucial as it aerates the dough, resulting in tender cookies with a delicate crumb.
- Add Egg and Vanilla Extract
Beat in the egg and vanilla extract to the butter-sugar mixture until fully combined. These ingredients add moisture and flavor, making the dough smooth and easy to handle.
- Combine Dry Ingredients
In a separate bowl, sift together the all-purpose flour, baking powder, and salt. Sifting ensures no lumps remain and evenly distributes the baking powder, which helps cookies bake evenly.
- Incorporate Dry Ingredients into Wet
Gradually add the dry flour mixture into the wet ingredients, mixing gently until a consistent dough forms. Avoid over-mixing to keep the cookies tender and soft.
- Roll and Cut Cookie Shapes
Lightly flour your surface and roll out the dough evenly to about 1/4 inch thickness. Use Valentine’s themed cookie cutters to cut out shapes. This step makes the cookies festive and perfect for decorating.
- Bake Cookies
Place the cut-out cookies onto a parchment-lined baking sheet and bake in the oven for 10-12 minutes. Watch for golden edges to signal perfect doneness, as over-baking can make them too crisp.
- Cool Cookies Completely
Remove cookies from the oven and transfer them to a cooling rack. Cooling completely is essential before decorating to prevent icing from melting and running.
- Prepare and Color Royal Icing
Make royal icing according to your favorite recipe or package instructions. Divide into small bowls and add gel food coloring to create vibrant shades for decorating your cookies creatively.
- Decorate with Icing and Sprinkles
Use piping bags or toothpicks to apply the colored royal icing on cookies. Add sprinkles immediately after icing application for extra texture and festive appeal. Let the icing dry completely before serving or storing.
- Use gel food coloring instead of liquid to achieve brighter colors without thinning the icing.
- Allow royal icing to dry fully for several hours to avoid smudging and preserve detailed designs.
- Store decorated cookies in an airtight container to keep them fresh and maintain decoration quality.
Storage Tips
Place fully dried decorated cookies in an airtight container and store them at room temperature. They will stay fresh for up to a week. For longer storage, layer them between parchment paper and freeze for up to a month, thawing before serving.
Serving Suggestions
These Valentine’s Day cookies are perfect to serve with warm beverages like hot cocoa or tea. They also make charming gifts when wrapped in cellophane with a festive ribbon, or as party favors at any celebration.
- Chill dough before rolling if it feels too soft to handle, preventing stickiness and warping shapes.
- Use piping bags and fine tips for more precise and intricate icing details.
- Practice simple designs first, then gradually add complexity as you gain confidence.
FAQs
- Can I make the dough ahead of time?
Yes, cookie dough can be wrapped in plastic and refrigerated for up to 48 hours before rolling and baking, which can improve flavor and texture.
- What type of royal icing should I use?
A stiff consistency royal icing is best for outlining and details, while a slightly thinner “flood” consistency works well for filling in shapes.
- How do I prevent icing colors from bleeding?
Let each color dry before applying adjacent colors to prevent running and color mixing. Using gel colors also helps maintain vibrant hues.
- Can I substitute butter with margarine?
Butter offers the best flavor and texture, but margarine can be used in a pinch, though it may alter taste and firmness.
- How long should I let cookies dry after decorating?
Royal icing should dry for at least 4-6 hours, or overnight, to fully harden before stacking or wrapping.
- Are these cookies gluten-free?
This recipe uses all-purpose flour, so it is not gluten-free. For gluten-free options, substitute with an appropriate gluten-free blend.
- Can I air fry these cookies?
Baking is recommended for consistent results, but if using an air fryer, reduce temperature and check frequently for doneness.
Valentines Cookie Decorating
Equipment
- 1 oven
- 1 mixing bowl
- 1 baking sheet
- 1 Rolling Pin
Ingredients
- 2 cups all-purpose flour
- 1 cup unsalted butter softened
- 1 cup granulated sugar
- 1 large egg
- 1 teaspoon vanilla extract
- 1/2 teaspoon baking powder
- 1/4 teaspoon salt
- Royal icing for decoration
- Food coloring
- Sprinkles
Instructions
- Preheat the oven to 350°F (175°C).
- In a bowl, cream together butter and sugar until smooth.
- Add the egg and vanilla extract and mix thoroughly.
- In a separate bowl, whisk together the flour, baking powder, and salt.
- Gradually combine the dry ingredients with the wet mixture.
- Roll the dough out on a floured surface to desired thickness and cut into shapes.
- Arrange cookies on a baking sheet and bake for 10 to 12 minutes until lightly golden.
- Allow cookies to cool completely before decorating.
- Prepare royal icing, divide into bowls, and tint with food coloring.
- Decorate the cooled cookies with icing and sprinkles as desired.
Notes
- Use gel food coloring for more vibrant and intense colors.
- Allow icing to dry fully before storing to prevent smudging.
- Keep decorated cookies fresh in an airtight container.


