
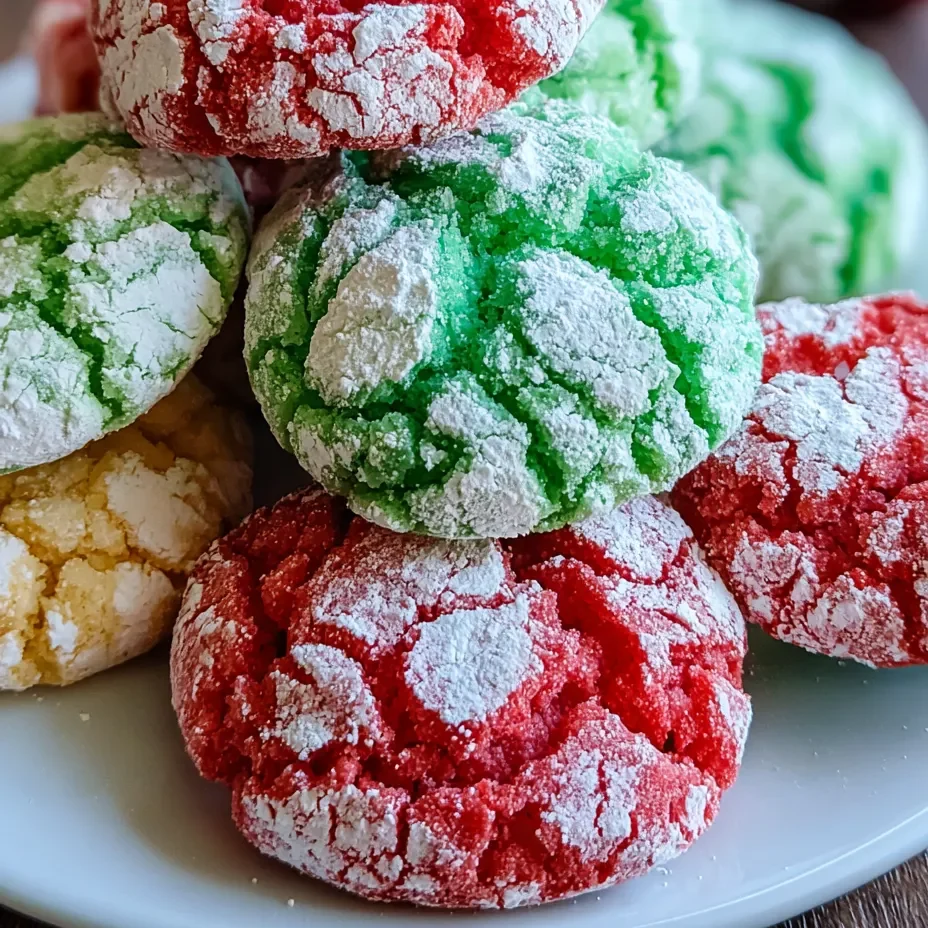
Okay, so imagine if a brownie and a powdered sugar snowball had a baby that decided to dress up in Christmas colors and show up looking like it just rolled through a winter wonderland. That’s what we’re dealing with here. Christmas Crinkle Cookies are basically soft, fudgy, brownie-like cookies rolled in powdered sugar that crack beautifully when they bake, creating this gorgeous crinkled effect that looks like snow-covered mountains. You make them in festive red and green (plus chocolate if you’re feeling extra), and they’re so photogenic they should have their own Instagram account. The texture is perfection—crispy outside, chewy inside, with that powdered sugar coating that looks magical. I made these for a holiday party once and someone asked if I’d ordered them from a fancy bakery. Another person tried to steal the recipe card right off my table. These cookies inspire thievery and false assumptions about my professional status.
Why You’ll Love This Recipe
Festive AF. Red, green, and chocolate? These scream Christmas louder than Mariah Carey in November.
That crinkle effect. The cracks that form when baking create an impressive, professional look with zero effort.
Soft and fudgy. Brownie texture in cookie form. The dream is real.
Make-ahead friendly. The dough needs to chill anyway, so you can prep ahead and bake when ready.
Freezer-friendly. Roll them in sugar, freeze them, bake from frozen whenever you need fresh cookies.
Cookie exchange winner. Bring these and you’ll be the star. Guaranteed recipe requests.
The Good Stuff You’ll Need
For the Base Cookie Dough:
- 1 cup all-purpose flour
- 1/2 cup unsweetened cocoa powder (for chocolate version)
- 1 tsp baking powder
- 1/4 tsp salt
- 1/2 cup (1 stick) unsalted butter, softened
- 1 cup granulated sugar
- 2 large eggs
- 1 tsp vanilla extract
- 2 oz unsweetened chocolate, melted and cooled (for chocolate cookies)
For Red Cookies:
- Replace cocoa powder with 1/2 cup additional flour (1 1/2 cups total)
- Add red gel food coloring (1-2 tsp)
- Optional: 1/4 tsp almond extract
For Green Cookies:
- Replace cocoa powder with 1/2 cup additional flour (1 1/2 cups total)
- Add green gel food coloring (1-2 tsp)
- Optional: 1/4 tsp peppermint extract
For Coating:
- 1 1/2 to 2 cups powdered sugar (you’ll need a lot)
Equipment:
- Three bowls if making all three colors
- Cookie scoop
- Baking sheets lined with parchment
Let’s Do This
Step 1: Prep Your Dough(s)
Decide if you’re making one color, two colors, or all three. You can make separate batches or divide one batch into portions and color them differently.
For a single batch that you’ll divide: Make the base recipe below, then divide into 2-3 portions and add coloring/flavorings to each.
In a medium bowl, whisk together flour, cocoa powder (if using), baking powder, and salt. Set aside.
Step 2: Make the Cookie Dough
In a large bowl (or stand mixer), beat softened butter and sugar on medium-high speed for 3-4 minutes until light and fluffy.
Add eggs one at a time, beating well after each addition.
Mix in vanilla extract and melted chocolate (if making chocolate version).
Add the flour mixture and mix on low speed until just combined. Don’t overmix.
For Colored Versions: If making red or green, divide the dough and add gel food coloring to each portion. Mix until the color is uniform. Add extract if using (almond for red, peppermint for green).
The dough will be soft. Cover and refrigerate for at least 2 hours, preferably 4 hours or overnight. This is CRUCIAL—the dough needs to be cold to hold its shape and create those cracks.
Step 3: Prep for Baking
Preheat oven to 350°F (175°C). Line two baking sheets with parchment paper.
Place powdered sugar in a shallow bowl. You’ll need a generous amount—these cookies get rolled HEAVILY in sugar.
Step 4: Roll and Coat
Scoop chilled dough using a tablespoon or small cookie scoop (about 1 to 1.5 tablespoons each).
Roll into balls with your hands. If the dough is too sticky, chill it longer or lightly flour your hands.
Roll each ball generously in powdered sugar, coating completely. Don’t be shy—you want a THICK coating. The sugar is what creates the contrast with the cracks.
Roll in the powdered sugar a SECOND time for extra coverage. This is the secret to those dramatic cracks.
Place on prepared baking sheets about 2 inches apart—they spread slightly.
Step 5: Bake
Bake for 10-12 minutes. The cookies should look set around the edges but still soft in the center. They’ll have beautiful cracks forming on top.
DO NOT OVERBAKE. These are meant to be soft and fudgy. They continue cooking on the pan after you pull them out.
Let cool on the baking sheet for 5 minutes (they’re fragile when hot), then transfer to a wire rack.
The cracks will be most dramatic right after baking and will set as they cool.
Step 6: Admire and Serve
Arrange on a festive platter, alternating colors for maximum holiday impact.
Dust with extra powdered sugar right before serving for that fresh-snow effect.
Serve with milk, hot chocolate, or coffee.
Try not to eat them all before guests arrive. This is a real challenge.
Serving Suggestions
These are basically perfect as-is, but here are some ideas:
- Serve on a platter with other holiday cookies for variety
- Package in clear bags tied with ribbon for gifts
- Arrange in a cookie tin for holiday gift boxes
- Serve alongside hot chocolate or eggnog
- Stack them on a tiered stand for impressive presentation
- Pair with ice cream for a festive dessert
Switch It Up
Peppermint Crinkle: Add 1/2 tsp peppermint extract to the dough and top with crushed candy canes before baking.
Espresso Chocolate: Add 2 tsp instant espresso powder to the chocolate version for mocha crinkles.
Lemon Crinkle: Skip cocoa, add lemon zest and lemon extract for citrus cookies (use yellow food coloring).
Red Velvet: Use red food coloring with chocolate dough and add 1 tsp white vinegar for tanginess.
Matcha Green: Replace green food coloring with 2 tbsp matcha powder for natural color and flavor.
Orange Chocolate: Add orange zest to chocolate dough for chocolate-orange crinkles.
Stuffed Crinkles: Press a Hershey’s Kiss or caramel into the center before rolling in sugar.
Storage and Make-Ahead Tips
These store beautifully and are perfect for advance holiday prep.
Store in an airtight container at room temperature for up to 5 days. Put parchment between layers if stacking.
The dough can be refrigerated for up to 3 days before baking. Let it sit at room temp for 10 minutes before rolling if it’s too hard.
Freeze rolled, sugar-coated dough balls on a baking sheet, then transfer to freezer bags for up to 3 months. Bake from frozen, adding 1-2 extra minutes.
Baked cookies freeze well for up to 2 months. Thaw at room temperature.
Don’t dust with extra powdered sugar until right before serving—it gets absorbed over time.
Why This Works So Damn Well
Christmas Crinkle Cookies work because of the science behind the cracking. The thick coating of powdered sugar on the outside dries quickly in the oven, creating a shell. As the cookie expands and spreads during baking, this shell cracks, revealing the colorful dough underneath. The contrast between the white sugar and the colored dough creates those dramatic, beautiful cracks.
Chilling the dough is essential. Cold dough spreads more slowly in the oven, which allows the powdered sugar coating time to set before the cookie expands. If you skip chilling, the cookies spread too fast and you won’t get those gorgeous cracks—just a sugar-coated blob.
The texture comes from the ratio of ingredients. Using both butter and eggs creates richness and chewiness. The melted chocolate (in the chocolate version) adds moisture and that fudgy brownie texture. Not overbaking is crucial—these should be soft and slightly underdone when you pull them out.
Rolling twice in powdered sugar ensures enough coating for dramatic visual effect. A thin coating won’t show the cracks as well. The thick coating also adds sweetness that balances the cookies (which aren’t overly sweet on their own).
Gel food coloring works better than liquid because it doesn’t add extra moisture to the dough, which could affect texture. It also gives more vibrant colors with less product.
When to Make These
Christmas Cookie Platters: These are THE statement cookie. The colors and cracks are showstoppers.
Cookie Exchange: Bring these and win the exchange. Guaranteed compliments and recipe requests.
Holiday Parties: Any December gathering needs these festive beauties on the dessert table.
Baking with Kids: Kids love rolling dough balls and coating them in sugar. Easy participation.
Teacher Gifts: Package a dozen in a cute box and you’re the favorite parent.
Santa’s Cookies: Upgrade from regular sugar cookies. Santa deserves crinkles.
Questions People Actually Ask
Q: My cookies didn’t crack. What happened? A: Your dough wasn’t cold enough, or you didn’t coat them heavily enough in powdered sugar. Make sure to chill the dough thoroughly and double-coat in sugar.
Q: The colors are bleeding through the powdered sugar. Is that normal? A: Yes! That’s part of the effect. The cracks reveal the colored dough underneath. If you want more white, roll in sugar a third time.
Q: Can I use liquid food coloring instead of gel? A: Gel works better because liquid adds moisture that can affect texture and spread. If using liquid, add it sparingly and you may need slightly more flour.
Q: My cookies spread too much. Help! A: Your dough wasn’t chilled long enough, or your oven temp is too low. Make sure dough is cold and check your oven temp with a thermometer.
Q: The cookies are hard, not soft. What did I do wrong? A: You overbaked them. These need to come out when they still look slightly underdone. They firm up as they cool.
Q: Can I make these without the colored dough? A: Absolutely! Classic chocolate crinkles (just brown dough) are delicious and still have the gorgeous crackled effect.
Q: The powdered sugar is melting into the cookie. Why? A: This happens in humid environments or if the cookies are still warm. Store in a dry place and dust with extra sugar before serving.
Print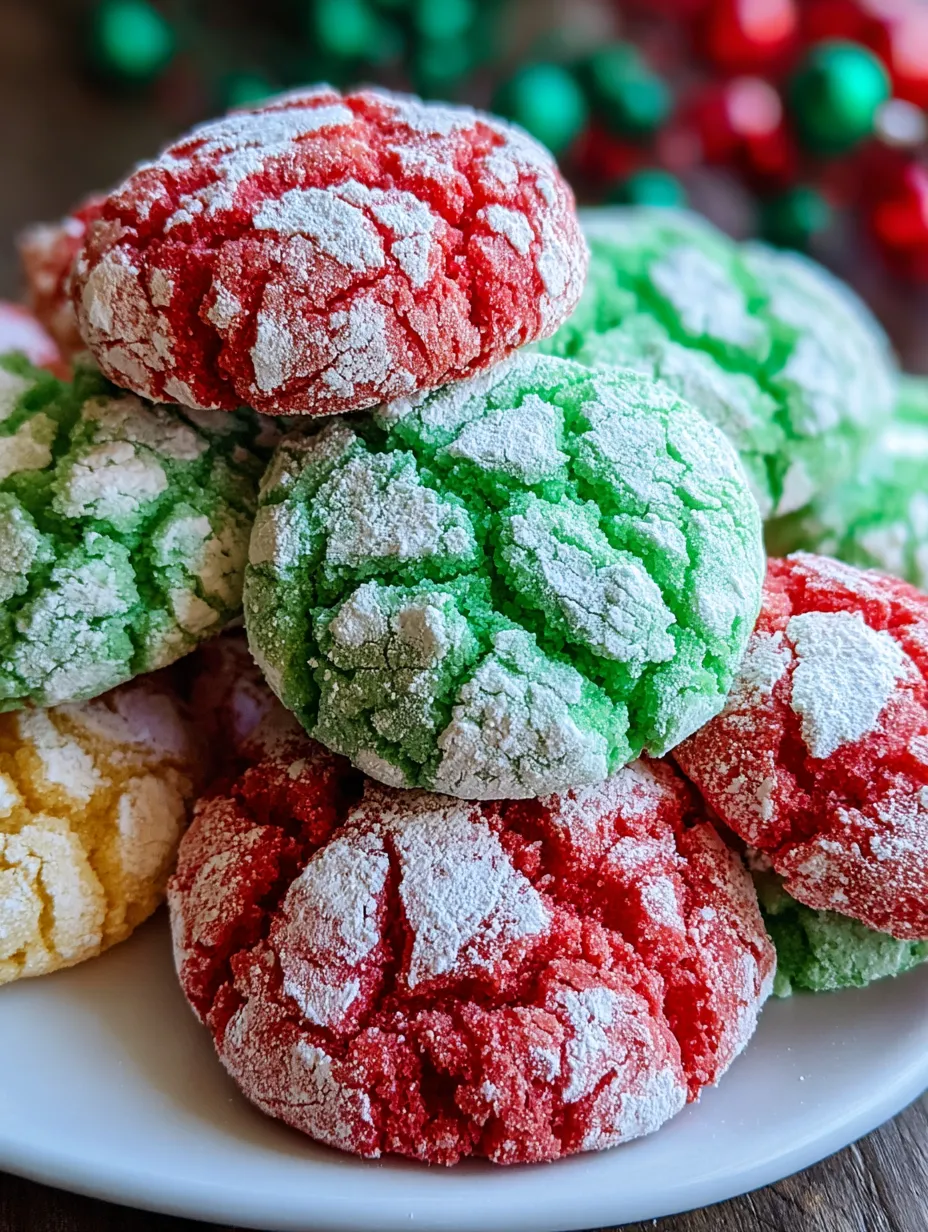
Christmas Crinkle Cookies
- Total Time: 32 minutes
- Yield: 36 cookies 1x
Description
Okay, so imagine if a brownie and a powdered sugar snowball had a baby that decided to dress up in Christmas colors and show up looking like it just rolled through a winter wonderland. That’s what we’re dealing with here. Christmas Crinkle Cookies are basically soft, fudgy, brownie-like cookies rolled in powdered sugar that crack beautifully when they bake, creating this gorgeous crinkled effect that looks like snow-covered mountains. You make them in festive red and green (plus chocolate if you’re feeling extra), and they’re so photogenic they should have their own Instagram account. The texture is perfection—crispy outside, chewy inside, with that powdered sugar coating that looks magical. I made these for a holiday party once and someone asked if I’d ordered them from a fancy bakery. Another person tried to steal the recipe card right off my table. These cookies inspire thievery and false assumptions about my professional status.
Ingredients
For the Base Cookie Dough:
- 1 cup all-purpose flour
- 1/2 cup unsweetened cocoa powder (for chocolate version)
- 1 tsp baking powder
- 1/4 tsp salt
- 1/2 cup (1 stick) unsalted butter, softened
- 1 cup granulated sugar
- 2 large eggs
- 1 tsp vanilla extract
- 2 oz unsweetened chocolate, melted and cooled (for chocolate cookies)
For Red Cookies:
- Replace cocoa powder with 1/2 cup additional flour (1 1/2 cups total)
- Add red gel food coloring (1-2 tsp)
- Optional: 1/4 tsp almond extract
For Green Cookies:
- Replace cocoa powder with 1/2 cup additional flour (1 1/2 cups total)
- Add green gel food coloring (1-2 tsp)
- Optional: 1/4 tsp peppermint extract
For Coating:
- 1 1/2 to 2 cups powdered sugar (you’ll need a lot)
Equipment:
- Three bowls if making all three colors
- Cookie scoop
- Baking sheets lined with parchment
Instructions
Step 1: Prep Your Dough(s)
Decide if you’re making one color, two colors, or all three. You can make separate batches or divide one batch into portions and color them differently.
For a single batch that you’ll divide: Make the base recipe below, then divide into 2-3 portions and add coloring/flavorings to each.
In a medium bowl, whisk together flour, cocoa powder (if using), baking powder, and salt. Set aside.
Step 2: Make the Cookie Dough
In a large bowl (or stand mixer), beat softened butter and sugar on medium-high speed for 3-4 minutes until light and fluffy.
Add eggs one at a time, beating well after each addition.
Mix in vanilla extract and melted chocolate (if making chocolate version).
Add the flour mixture and mix on low speed until just combined. Don’t overmix.
For Colored Versions: If making red or green, divide the dough and add gel food coloring to each portion. Mix until the color is uniform. Add extract if using (almond for red, peppermint for green).
The dough will be soft. Cover and refrigerate for at least 2 hours, preferably 4 hours or overnight. This is CRUCIAL—the dough needs to be cold to hold its shape and create those cracks.
Step 3: Prep for Baking
Preheat oven to 350°F (175°C). Line two baking sheets with parchment paper.
Place powdered sugar in a shallow bowl. You’ll need a generous amount—these cookies get rolled HEAVILY in sugar.
Step 4: Roll and Coat
Scoop chilled dough using a tablespoon or small cookie scoop (about 1 to 1.5 tablespoons each).
Roll into balls with your hands. If the dough is too sticky, chill it longer or lightly flour your hands.
Roll each ball generously in powdered sugar, coating completely. Don’t be shy—you want a THICK coating. The sugar is what creates the contrast with the cracks.
Roll in the powdered sugar a SECOND time for extra coverage. This is the secret to those dramatic cracks.
Place on prepared baking sheets about 2 inches apart—they spread slightly.
Step 5: Bake
Bake for 10-12 minutes. The cookies should look set around the edges but still soft in the center. They’ll have beautiful cracks forming on top.
DO NOT OVERBAKE. These are meant to be soft and fudgy. They continue cooking on the pan after you pull them out.
Let cool on the baking sheet for 5 minutes (they’re fragile when hot), then transfer to a wire rack.
The cracks will be most dramatic right after baking and will set as they cool.
Step 6: Admire and Serve
Arrange on a festive platter, alternating colors for maximum holiday impact.
Dust with extra powdered sugar right before serving for that fresh-snow effect.
Serve with milk, hot chocolate, or coffee.
Try not to eat them all before guests arrive. This is a real challenge.
Notes
These are basically perfect as-is, but here are some ideas:
- Serve on a platter with other holiday cookies for variety
- Package in clear bags tied with ribbon for gifts
- Arrange in a cookie tin for holiday gift boxes
- Serve alongside hot chocolate or eggnog
- Stack them on a tiered stand for impressive presentation
- Pair with ice cream for a festive dessert
- Prep Time: 20 minutes
- Cook Time: 12 minutes
Nutrition
- Calories: ~75 kcal
- Fat: ~3g
- Carbohydrates: ~12g
- Protein: ~1g


