
Alright, so you want ice cream but you also want to feel like you’re making somewhat responsible life choices? Meet your new best friend: Healthy Ice Cream that actually tastes good. This isn’t some sad, icy, flavorless “nice cream” situation — we’re talking about genuinely creamy, legitimately delicious ice cream that happens to be made with simple, wholesome ingredients. The secret? Frozen bananas blended until they’re silky smooth, combined with whatever flavors your heart desires. It’s naturally sweet, creamy without dairy (though we can add some if you want), and so easy to customize that you’ll be making different flavors every week. It’s the kind of dessert that lets you have seconds without the guilt spiral, and honestly? Sometimes it tastes better than the “real” stuff.
Why You’ll Love This Recipe
- Naturally sweetened with fruit — no refined sugar needed
- Dairy-free base that’s still incredibly creamy
- Ready in 5 minutes with a good blender
- Endless flavor possibilities to keep it exciting
- Kid-approved and actually nutritious
- Perfect for those late-night sweet tooth emergencies
- Way cheaper than store-bought healthy ice cream
The Good Stuff You’ll Need
For the Base (Classic Vanilla):
- 4 large ripe bananas, sliced and frozen solid (this is crucial!)
- 1/4 cup milk of choice (almond, oat, coconut, or regular)
- 2 tsp vanilla extract
- Pinch of salt
- 2-3 tbsp honey or maple syrup (optional, for extra sweetness)
For Chocolate Version:
- Base recipe above
- 3 tbsp unsweetened cocoa powder
- 2 tbsp honey or maple syrup
- 1/4 cup mini chocolate chips (optional)
For Strawberry Version:
- 3 frozen bananas
- 1 cup frozen strawberries
- 2 tbsp honey
- 1 tsp vanilla extract
- 1/4 cup milk
For Peanut Butter Cup:
- Base recipe
- 1/3 cup natural peanut butter
- 2 tbsp cocoa powder
- 2 tbsp honey
- 1/4 cup chocolate chips
For Mint Chocolate Chip:
- Base recipe
- 1/2 tsp peppermint extract
- 2-3 drops green food coloring (optional)
- 1/3 cup mini chocolate chips
Optional Mix-Ins:
- Crushed cookies or graham crackers
- Chopped nuts (almonds, pecans, walnuts)
- Shredded coconut
- Fresh fruit chunks
- Nut butter swirls
- Sugar-free chocolate chips
- Granola for crunch
Let’s Do This
Step 1: Prep Those Bananas
Slice ripe (but not brown) bananas and freeze them in a single layer for at least 4 hours or overnight.
This is THE most important step — properly frozen bananas are everything.
Don’t skip the freezing time or you’ll just have banana smoothie.
Step 2: Let Them Soften Slightly
Remove frozen banana slices from freezer and let sit at room temperature for 5-10 minutes.
They should still be frozen but slightly softened — this helps your blender not have a meltdown.
Step 3: Blend to Perfection
Add frozen bananas to a high-powered blender or food processor.
Add milk, vanilla, and salt (plus any flavor add-ins).
Blend on high, stopping to scrape down sides as needed.
Step 4: The Patience Game
At first it’ll look crumbly and weird — keep going!
After 3-4 minutes, it’ll suddenly transform into smooth, creamy soft-serve.
This is the magic moment. Don’t give up before it happens.
Step 5: Add Mix-Ins
Once smooth and creamy, pulse in any mix-ins like chocolate chips, nuts, or cookie pieces.
Don’t over-blend or they’ll disappear — you want chunks!
Step 6: Serve or Freeze
For soft-serve consistency: serve immediately with your favorite toppings.
For traditional scoopable ice cream: transfer to a freezer-safe container and freeze for 2-3 hours.
Let sit at room temperature for 5-10 minutes before scooping if frozen solid.
Serving Suggestions
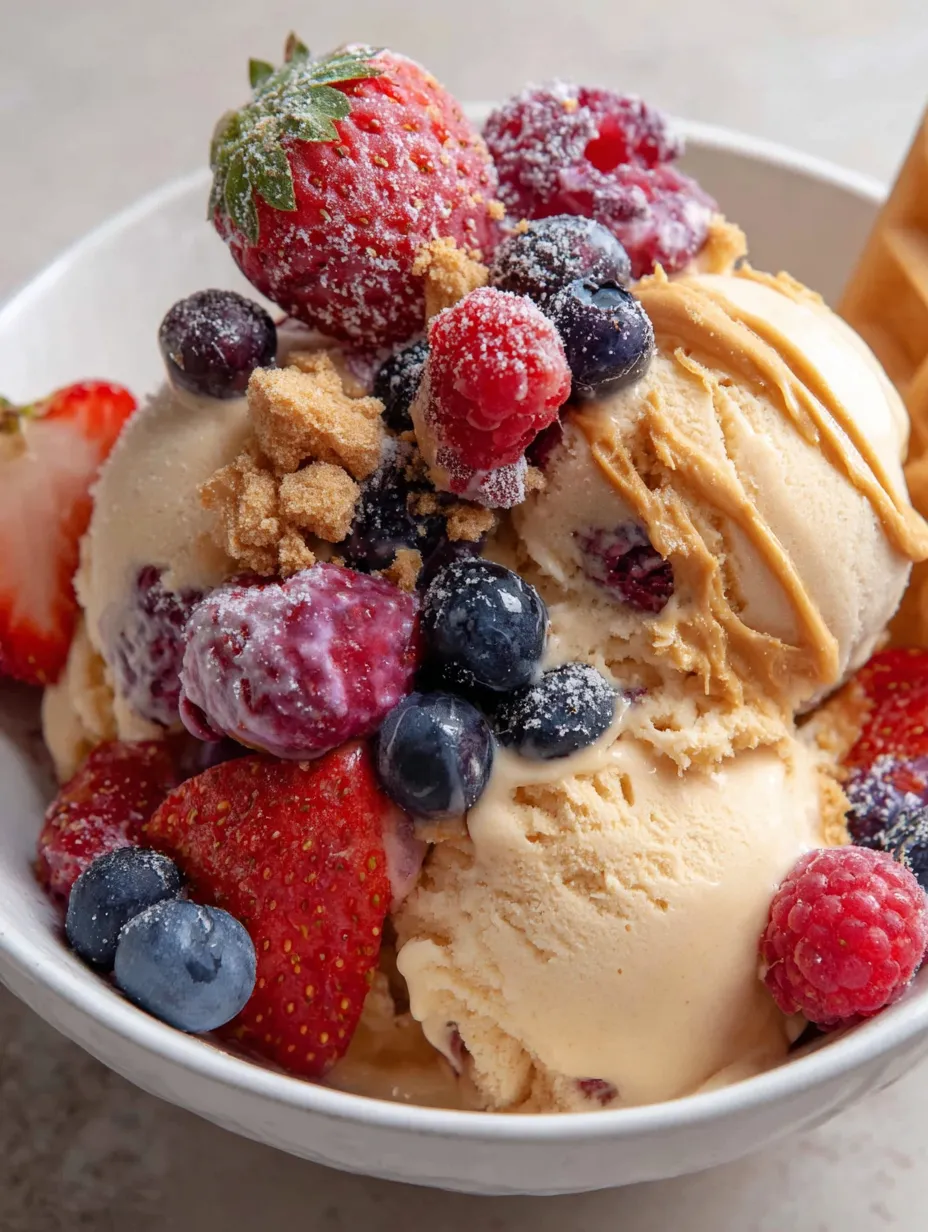
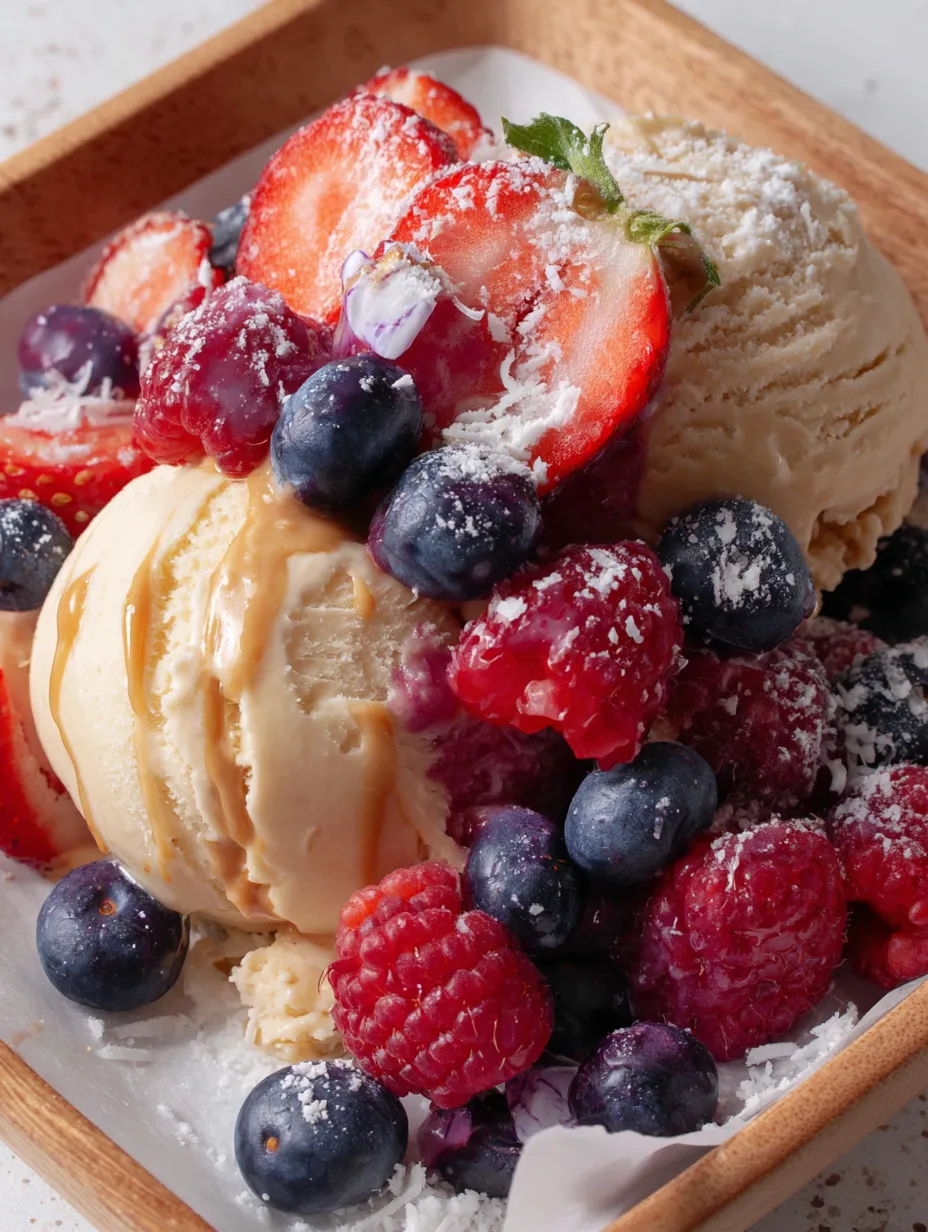
Top with fresh berries, sliced banana, or other fresh fruit.
Drizzle with melted dark chocolate or nut butter.
Sprinkle with granola, crushed cookies, or toasted nuts.
Serve in a waffle cone for the full ice cream experience.
Switch It Up
Coffee Lover: Add 1-2 tsp instant espresso powder to the base.
Tropical Paradise: Use coconut milk and add 1/2 cup frozen mango or pineapple.
Cookie Dough: Fold in small pieces of edible cookie dough.
Salted Caramel: Swirl in date caramel and sprinkle with sea salt.
Birthday Cake: Add sprinkles and a splash of almond extract.
Storage Tips
Store in an airtight container in the freezer for up to 1 week.
It will freeze harder than soft-serve, so let it soften before scooping.
For best texture, store in a shallow container so it freezes evenly.
If it gets too hard, let it sit out for 10-15 minutes or microwave for 10-15 seconds.
Questions People Actually Ask
Q: Can I taste the banana? A: In the vanilla version, yes slightly. But when you add strong flavors like chocolate or peanut butter, the banana flavor disappears into the background.
Q: What if I don’t like bananas? A: Try using frozen cauliflower (I know, but trust me!), avocado, or frozen coconut cream as the base instead.
Q: My blender can’t handle frozen fruit — help! A: Let the fruit thaw more, add more liquid, or use a food processor instead. A high-powered blender makes this much easier.
Q: Can I make this without any added sweetener? A: Absolutely! Ripe bananas are naturally sweet. Taste and decide if you need more sweetness.
Q: How ripe should my bananas be? A: Ripe but not brown — yellow with a few brown spots is perfect. Overripe makes it too sweet and brown.
Q: Can I add protein powder? A: Yes! Add 1-2 scoops of your favorite protein powder. You may need extra liquid to blend.
Print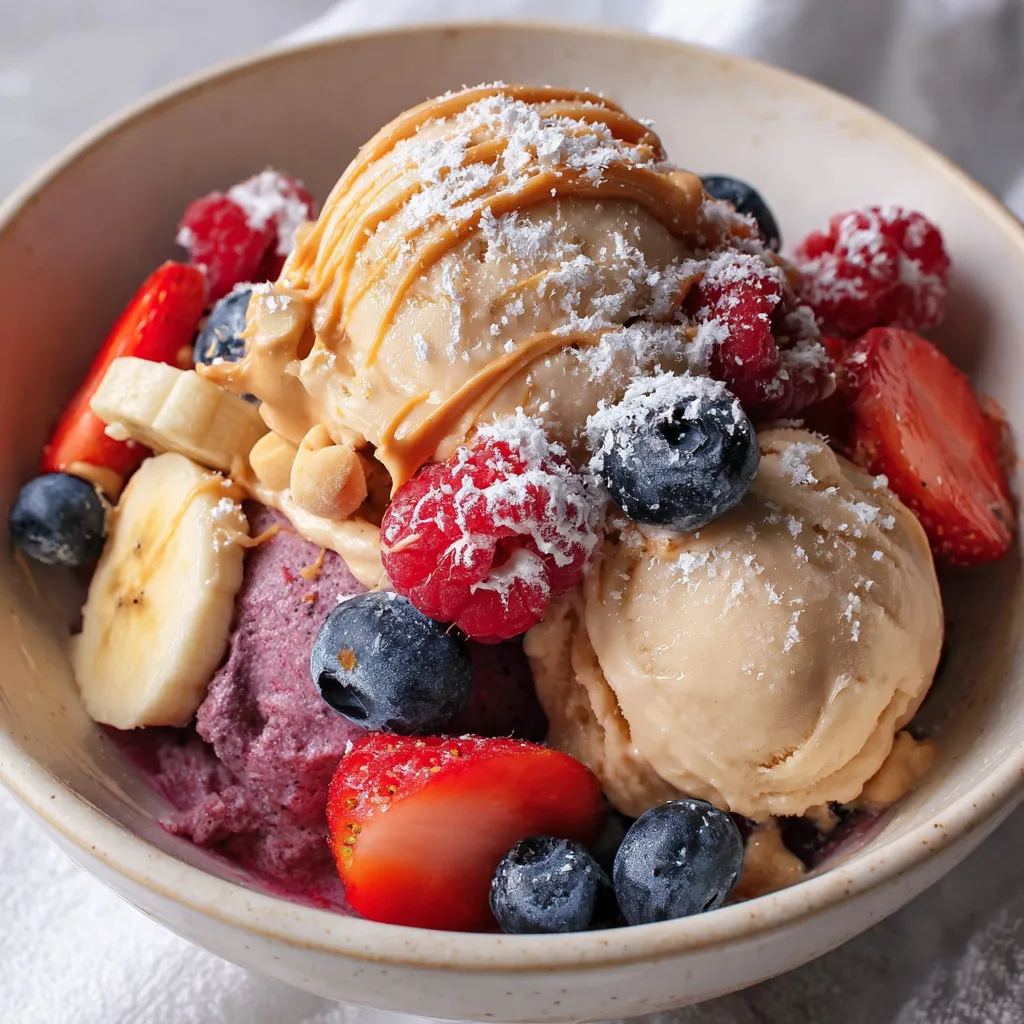
Healthy Ice Cream
- Total Time: 5 minutes
- Yield: 4 cups 1x
Description
Alright, so you want ice cream but you also want to feel like you’re making somewhat responsible life choices? Meet your new best friend: Healthy Ice Cream that actually tastes good. This isn’t some sad, icy, flavorless “nice cream” situation — we’re talking about genuinely creamy, legitimately delicious ice cream that happens to be made with simple, wholesome ingredients. The secret? Frozen bananas blended until they’re silky smooth, combined with whatever flavors your heart desires. It’s naturally sweet, creamy without dairy (though we can add some if you want), and so easy to customize that you’ll be making different flavors every week. It’s the kind of dessert that lets you have seconds without the guilt spiral, and honestly? Sometimes it tastes better than the “real” stuff.
Ingredients
For the Base (Classic Vanilla):
- 4 large ripe bananas, sliced and frozen solid (this is crucial!)
- 1/4 cup milk of choice (almond, oat, coconut, or regular)
- 2 tsp vanilla extract
- Pinch of salt
- 2–3 tbsp honey or maple syrup (optional, for extra sweetness)
For Chocolate Version:
- Base recipe above
- 3 tbsp unsweetened cocoa powder
- 2 tbsp honey or maple syrup
- 1/4 cup mini chocolate chips (optional)
For Strawberry Version:
- 3 frozen bananas
- 1 cup frozen strawberries
- 2 tbsp honey
- 1 tsp vanilla extract
- 1/4 cup milk
For Peanut Butter Cup:
- Base recipe
- 1/3 cup natural peanut butter
- 2 tbsp cocoa powder
- 2 tbsp honey
- 1/4 cup chocolate chips
For Mint Chocolate Chip:
- Base recipe
- 1/2 tsp peppermint extract
- 2–3 drops green food coloring (optional)
- 1/3 cup mini chocolate chips
Optional Mix-Ins:
- Crushed cookies or graham crackers
- Chopped nuts (almonds, pecans, walnuts)
- Shredded coconut
- Fresh fruit chunks
- Nut butter swirls
- Sugar-free chocolate chips
- Granola for crunch
Instructions
Slice ripe (but not brown) bananas and freeze them in a single layer for at least 4 hours or overnight.
This is THE most important step — properly frozen bananas are everything.
Don’t skip the freezing time or you’ll just have banana smoothie.
Remove frozen banana slices from freezer and let sit at room temperature for 5-10 minutes.
They should still be frozen but slightly softened — this helps your blender not have a meltdown.
Add frozen bananas to a high-powered blender or food processor.
Add milk, vanilla, and salt (plus any flavor add-ins).
Blend on high, stopping to scrape down sides as needed.
At first it’ll look crumbly and weird — keep going!
After 3-4 minutes, it’ll suddenly transform into smooth, creamy soft-serve.
This is the magic moment. Don’t give up before it happens.
Once smooth and creamy, pulse in any mix-ins like chocolate chips, nuts, or cookie pieces.
Don’t over-blend or they’ll disappear — you want chunks!
For soft-serve consistency: serve immediately with your favorite toppings.
For traditional scoopable ice cream: transfer to a freezer-safe container and freeze for 2-3 hours.
Let sit at room temperature for 5-10 minutes before scooping if frozen solid.
Notes
Top with fresh berries, sliced banana, or other fresh fruit.
Drizzle with melted dark chocolate or nut butter.
Sprinkle with granola, crushed cookies, or toasted nuts.
Serve in a waffle cone for the full ice cream experience.
- Prep Time: 5 minutes
Nutrition
- Calories: ~70 kcal
- Carbohydrates: ~18g
- Protein: ~1g


