
What the heck is this?
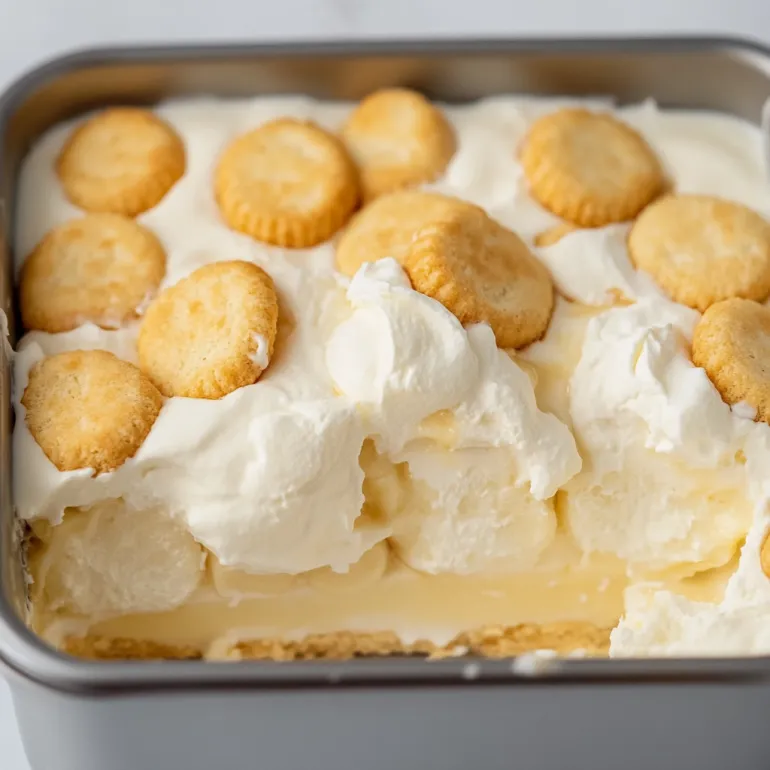
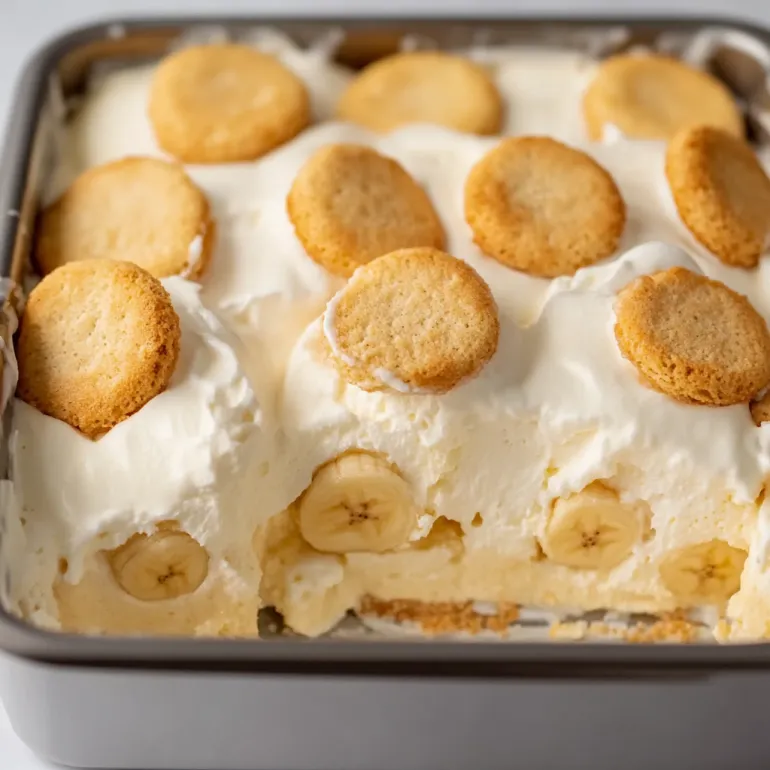
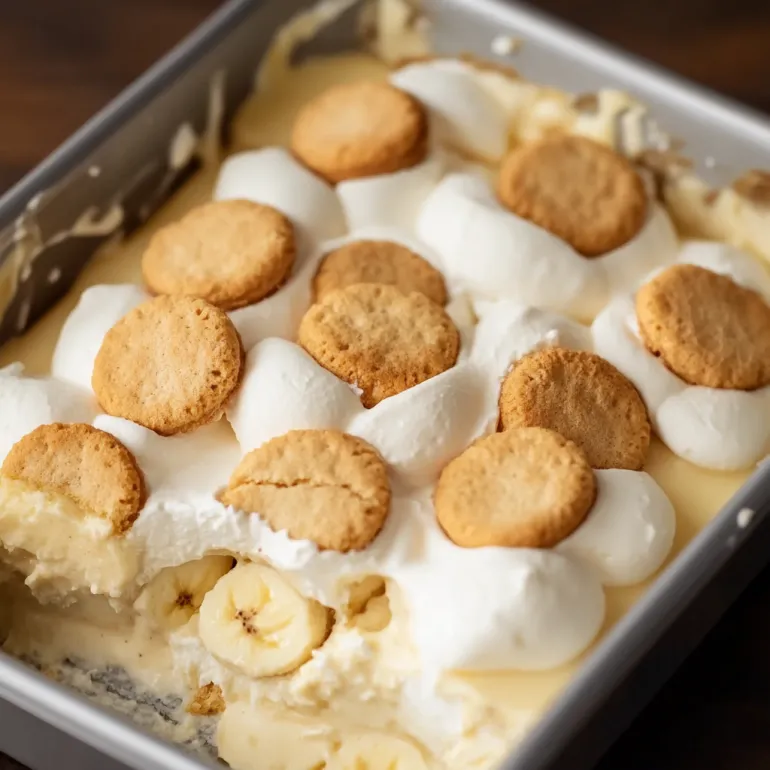
This isn’t your average snack-pack banana pudding. We’re going full comfort food nostalgia here — layers of creamy vanilla pudding, ripe banana slices, and classic vanilla wafers, all topped with a cloud of whipped cream (or meringue if you’re feeling old-school fancy). It’s cool, rich, ridiculously easy, and somehow tastes even better after sitting in the fridge for a few hours. Grandma probably made a version of this in a giant glass trifle dish, and you best believe it disappeared in 10 minutes flat. It’s retro, it’s sweet, and it’s the kind of dessert people fight over at potlucks.
Why You’ll Love This Recipe
Zero baking. Zero stress.
It’s layered and luscious and looks way fancier than the effort it takes.
You can make it the night before — in fact, you should.
Kids love it, grown-ups love it, your weird coworker who “doesn’t like sweets” will secretly take a second helping.
Tastes like childhood — but better.
Perfect for BBQs, holidays, or late-night cravings.
The Good Stuff You’ll Need
For the Pudding Base:
1 (14 oz) can sweetened condensed milk
1 1/2 cups cold water
1 (3.4 oz) box instant vanilla pudding mix
3 cups heavy whipping cream (or 1 container Cool Whip if you’re going shortcut-mode)
For the Layers:
5–6 ripe bananas (not mushy, just soft with brown freckles)
1 box Nilla Wafers (or any vanilla cookie you love)
For the Topping:
Whipped cream (fresh or from a can — we don’t judge)
Extra crushed wafers for garnish
Banana slices or mint if you want to show off
Let’s Do This
Step 1: Make the Pudding
In a large mixing bowl, whisk together the sweetened condensed milk and cold water until smooth.
Add in the pudding mix and whisk for 2 minutes until thickened.
Cover and refrigerate for at least 5 minutes (longer is fine).
In another bowl, whip the heavy cream until stiff peaks form (or open your Cool Whip if that’s your vibe).
Gently fold the whipped cream into the chilled pudding mixture until smooth and dreamy.
Step 2: Slice Those Bananas
Peel and slice your bananas into 1/4-inch rounds. Try not to eat half of them while you work.
Step 3: Assemble the Magic
In a trifle dish, 9×13 baking dish, or individual cups, start layering:
- A layer of vanilla wafers
- A layer of banana slices
- A thick layer of pudding
Repeat until you’ve used up all your goodies, ending with pudding on top.
Step 4: Chill & Set
Cover and refrigerate for at least 4 hours — overnight is best. The wafers get all soft and cakey in the best way.
Step 5: Serve & Slay
Top with whipped cream and crushed wafers right before serving. Add a few banana slices or mint sprigs if you’re feeling fancy. Dig in with a big spoon and try not to eat half the dish standing over the sink.
Serving Suggestions
Serve in wine glasses or mason jars for a dinner party flex.
Want to make it extra-rich? Add a layer of cream cheese between pudding layers.
Goes great after BBQ ribs, fried chicken, or honestly… anything.
Switch It Up
Chocolate Banana Pudding: Swap vanilla pudding for chocolate — trust.
Boozy Version: Add a splash of bourbon to the whipped cream or pudding. Just not for the kids.
Make It Mini: Use ramekins or clear plastic cups for parties. Instant cute factor.
Cookie Chaos: Use Chessmen cookies or Biscoff for a twist.
Make-Ahead Tips
Best made the night before for max flavor and texture.
Don’t top with bananas or whipped cream until right before serving — they get sad and brown.
Leftovers will last 3–4 days in the fridge, but good luck having any.
Questions People Actually Ask
Q: Can I use homemade pudding?
A: Absolutely — if you’re into that. But instant works like a charm and saves you from sweating over a saucepan.
Q: What’s the best dish to use?
A: Trifle bowl = showstopper. 9×13 = practical. Cups or jars = adorable. All work.
Q: Can I make it dairy-free?
A: Yep! Use dairy-free whipped topping and a plant-based milk + pudding combo that sets (check the label).
Q: My bananas turned brown. What gives?
A: It happens — banana slices brown with air exposure. Assemble close to serving time or brush slices with lemon juice to slow oxidation.
Southern-Style Banana Pudding: The Nostalgic Dessert That Still Slaps
- Total Time: 20 minutes
- Yield: 8–10 servings
Description
This isn’t your average snack-pack banana pudding. We’re going full comfort food nostalgia here — layers of creamy vanilla pudding, ripe banana slices, and classic vanilla wafers, all topped with a cloud of whipped cream (or meringue if you’re feeling old-school fancy). It’s cool, rich, ridiculously easy, and somehow tastes even better after sitting in the fridge for a few hours. Grandma probably made a version of this in a giant glass trifle dish, and you best believe it disappeared in 10 minutes flat. It’s retro, it’s sweet, and it’s the kind of dessert people fight over at potlucks.
Ingredients
For the Pudding Base:
1 (14 oz) can sweetened condensed milk
1 1/2 cups cold water
1 (3.4 oz) box instant vanilla pudding mix
3 cups heavy whipping cream (or 1 container Cool Whip if you’re going shortcut-mode)
For the Layers:
5–6 ripe bananas (not mushy, just soft with brown freckles)
1 box Nilla Wafers (or any vanilla cookie you love)
For the Topping:
Whipped cream (fresh or from a can — we don’t judge)
Extra crushed wafers for garnish
Banana slices or mint if you want to show off
Instructions
Step 1: Make the Pudding
In a large mixing bowl, whisk together the sweetened condensed milk and cold water until smooth.
Add in the pudding mix and whisk for 2 minutes until thickened.
Cover and refrigerate for at least 5 minutes (longer is fine).
In another bowl, whip the heavy cream until stiff peaks form (or open your Cool Whip if that’s your vibe).
Gently fold the whipped cream into the chilled pudding mixture until smooth and dreamy.
Step 2: Slice Those Bananas
Peel and slice your bananas into 1/4-inch rounds. Try not to eat half of them while you work.
Step 3: Assemble the Magic
In a trifle dish, 9×13 baking dish, or individual cups, start layering:
A layer of vanilla wafers
A layer of banana slices
A thick layer of pudding
Repeat until you’ve used up all your goodies, ending with pudding on top.
Step 4: Chill & Set
Cover and refrigerate for at least 4 hours — overnight is best. The wafers get all soft and cakey in the best way.
Step 5: Serve & Slay
Top with whipped cream and crushed wafers right before serving. Add a few banana slices or mint sprigs if you’re feeling fancy. Dig in with a big spoon and try not to eat half the dish standing over the sink.
Serving Suggestions
Serve in wine glasses or mason jars for a dinner party flex.
Want to make it extra-rich? Add a layer of cream cheese between pudding layers.
Goes great after BBQ ribs, fried chicken, or honestly… anything.
Notes
Chocolate Banana Pudding: Swap vanilla pudding for chocolate — trust.
Boozy Version: Add a splash of bourbon to the whipped cream or pudding. Just not for the kids.
Make It Mini: Use ramekins or clear plastic cups for parties. Instant cute factor.
Cookie Chaos: Use Chessmen cookies or Biscoff for a twist.
- Prep Time: 20 minutes
Nutrition
- Calories: ~320 kcal per serving
- Fat: ~15g
- Carbohydrates: ~40g
- Protein: ~4g


