Description
So someone had the brilliant idea to take everything good about fall – the pumpkin, the spices, the cozy vibes – and marry it to chocolate chips. The result? These soft, pillowy, cake-like cookies that taste like autumn decided to become portable. They’re the kind of cookies that make you want to put on a flannel shirt and go apple picking, even if you’re just sitting on your couch in July.
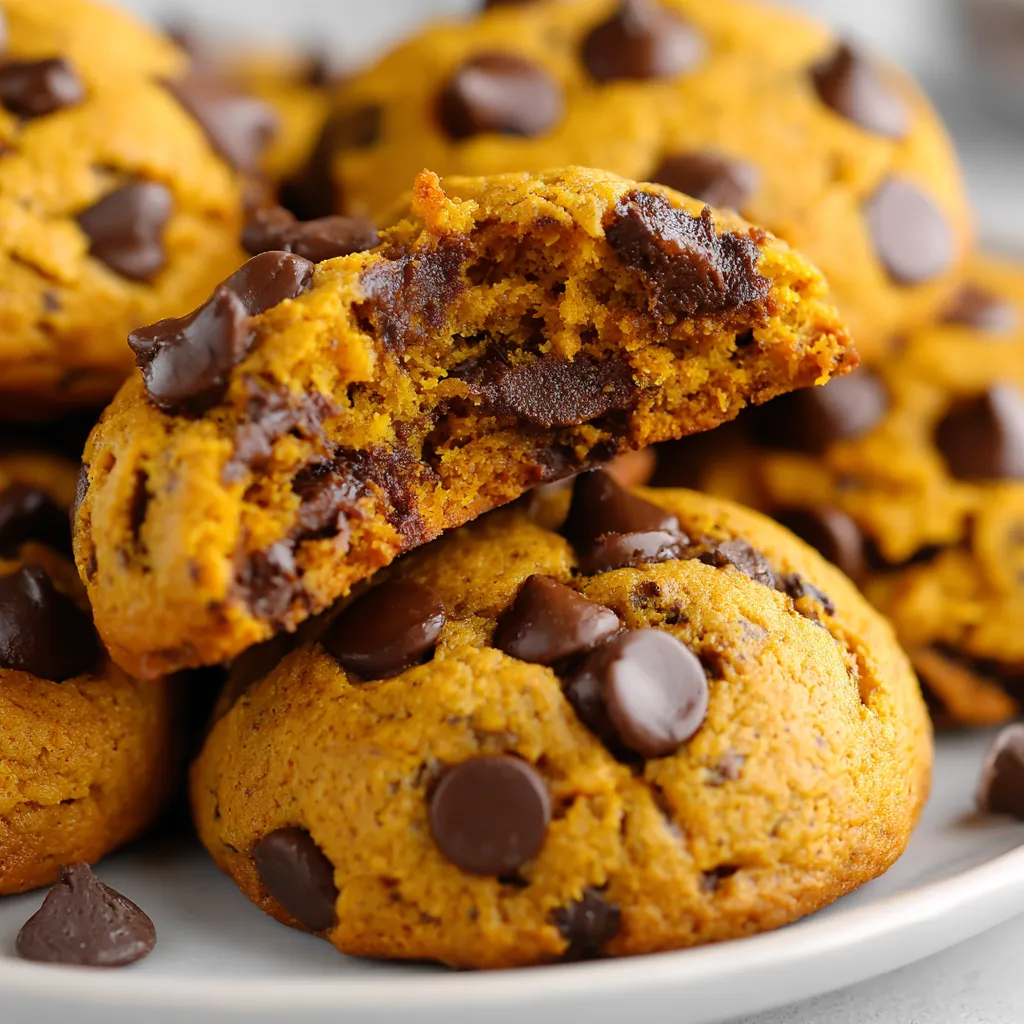
These aren’t your standard crispy chocolate chip cookies. These are SOFT. Like, almost too soft to call them cookies but too structured to call them cake. They’re somewhere in that perfect middle ground where you can hold them in your hand but they basically melt in your mouth. The pumpkin keeps them ridiculously moist, the spices make your kitchen smell like a candle store, and the chocolate chips remind everyone that we’re still having fun here.
This is the cookie you make when you want something festive without being annoying about it. No cutesy shapes. No complicated decorating. Just straightforward, delicious cookies that happen to be orange and taste like the best parts of fall.
Ingredients
For the Cookies:
- 2½ cups all-purpose flour
- 1 teaspoon baking soda
- 1 teaspoon baking powder
- 1 tablespoon pumpkin pie spice (or make your own, see below)
- ½ teaspoon salt
- ½ cup unsalted butter, softened (1 stick)
- ¾ cup granulated sugar
- ¾ cup light brown sugar, packed
- 1 cup pumpkin puree (NOT pumpkin pie filling, we’ll discuss)
- 1 large egg
- 1 teaspoon vanilla extract
- 2 cups chocolate chips (semi-sweet, milk, or a mix)
DIY Pumpkin Pie Spice (if you want to be extra):
- 2 teaspoons ground cinnamon
- 1 teaspoon ground ginger
- ½ teaspoon ground nutmeg
- ½ teaspoon ground allspice
- ¼ teaspoon ground cloves
Optional Additions:
- ½ cup chopped pecans or walnuts
- White chocolate chips instead of regular
- A sprinkle of flaky sea salt on top
Special Equipment:
- Cookie sheets (at least 2)
- Parchment paper or silicone mats
- Cookie scoop (for uniform cookies and not touching dough with warm hands)
- Wire cooling rack
Instructions
Preheat your oven to 350°F. Line your baking sheets with parchment paper or silicone mats because nobody has time to scrape cookies off pans. Set them aside and feel good about being prepared.
In a medium bowl, whisk together flour, baking soda, baking powder, pumpkin pie spice, and salt. This is your dry mixture. Give it a good whisk so the spices are evenly distributed. Set it aside and admire how it smells like fall already.
In a large bowl (or stand mixer if you’re fancy), beat the softened butter with both sugars until light and fluffy. This takes about 2-3 minutes. Don’t rush it. This is where we’re incorporating air and creating structure. The mixture should look pale and creamy, not gritty.
Add the pumpkin puree to the butter mixture and beat until combined. It might look a little separated or weird – that’s completely normal. Don’t panic. Add the egg and vanilla and beat until everything is smooth and unified. Now it should look like a proper batter.
Add your dry ingredients to the wet ingredients all at once. Mix on low speed (or by hand with a wooden spoon) until JUST combined. You should still see a few flour streaks. Now fold in the chocolate chips gently. Don’t overmix this or you’ll develop too much gluten and end up with tough cookies instead of soft pillows of joy.
Here’s where patience pays off. If you have 30 minutes, refrigerate the dough. Chilled dough spreads less and creates thicker cookies. But if you’re impatient (no judgment), you can bake them right away. They’ll be flatter and spread more, but still delicious.
Use a cookie scoop or spoon to drop rounded tablespoons of dough onto your prepared baking sheets. Leave about 2 inches between each cookie because they will spread. Not aggressively, but they need their personal space. If you’re fancy, you can add a few extra chocolate chips on top for that professional bakery look.
Bake for 12-15 minutes. They should look slightly underbaked in the center and just set around the edges. The tops will look matte, not shiny. DO NOT OVERBAKE. Seriously. They will continue cooking on the hot pan after you take them out. Overbaked pumpkin cookies are sad, dry, and disappointing.
Let the cookies sit on the baking sheet for 5 minutes. This is crucial. They need to firm up before you move them or they’ll fall apart. After 5 minutes, transfer them to a wire rack to cool completely. Or eat one warm with melting chocolate chips. We’re not the cookie police.
Grab a cookie. Notice how soft and cakey it is. How the pumpkin flavor is present but not overwhelming. How the chocolate chips add richness and keep things from being too healthy-tasting. How the spices make everything feel cozy. This is what fall tastes like, even if it’s spring.
Notes
Pumpkin Puree vs Pie Filling: Use PLAIN pumpkin puree, not pumpkin pie filling. Pie filling has sugar and spices already added and will mess up your ratios. Check the label. If the only ingredient is pumpkin, you’re good.
Measuring Pumpkin: Pack it into the measuring cup and level it off. Too much pumpkin makes the cookies spread weirdly and take forever to bake.
Butter Temperature: Softened means you can press your finger into it easily, but it still holds its shape. Not melted, not cold, right in between.
The Underbake: These cookies continue cooking after you take them out. What looks slightly underbaked in the oven becomes perfectly soft and chewy at room temperature.
Uniform Size: Use a cookie scoop so they’re all the same size and bake evenly. Nobody likes burnt small cookies and raw big cookies on the same sheet.
The Second Day: These cookies somehow taste even better the next day after the flavors have melded. Keep them in an airtight container.
- Prep Time: 15 minutes
- Cook Time: 12-15 minutes
- Cuisine: American cuisine
Nutrition
- Calories: ~110 kcal
- Fat: ~5g
- Carbohydrates: ~16g
- Protein: ~1g