
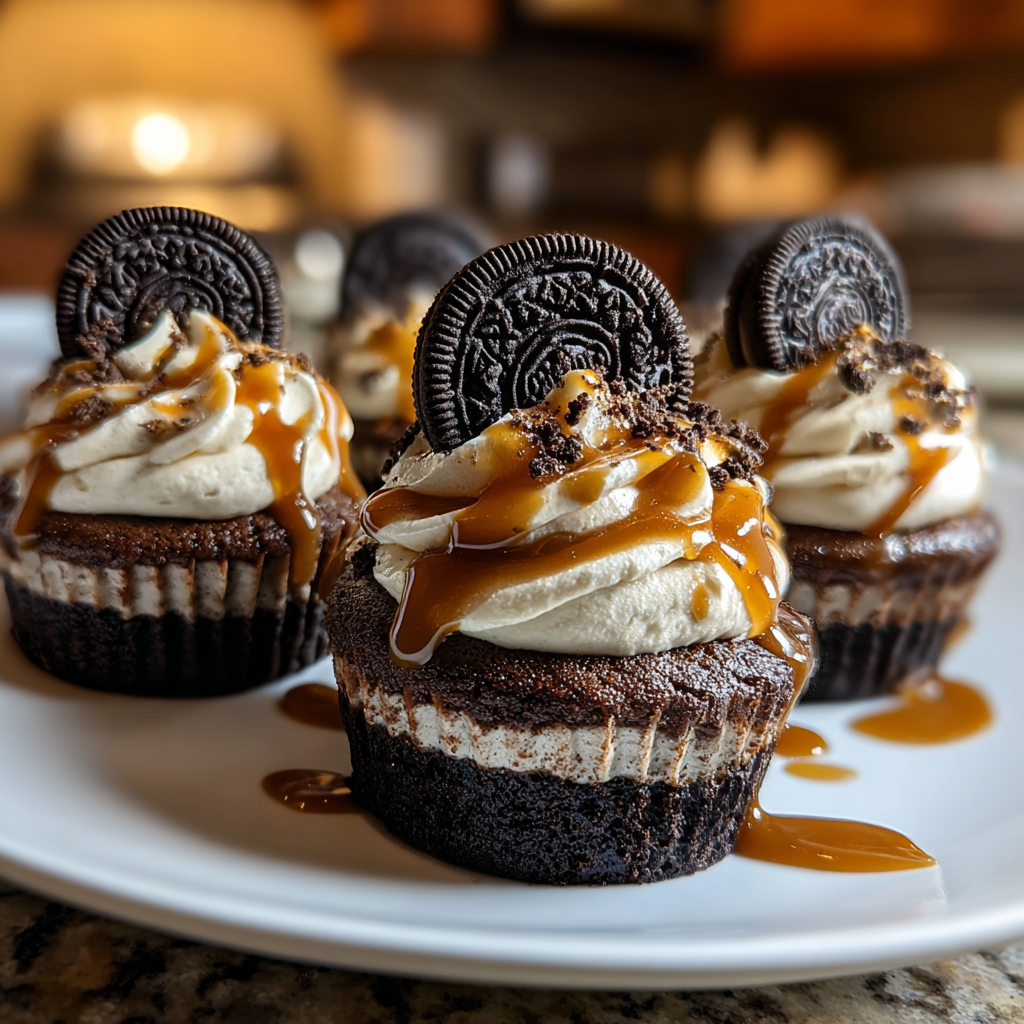
Oreo No-Bake Cheesecake Cups are a delightful combination of crunchy Oreo crusts filled with a rich, creamy cheesecake mixture. This individual-sized treat is ideal for gatherings or simple indulgence, perfectly balanced with decadent flavors and a light whipped topping.
Whether you’re hosting a party or craving a sweet comfort dessert, these cups offer an easy yet impressive option. The blend of textures from the crumbly cookie base and silky cheesecake filling makes every bite a delicious experience.
- Easy to prepare with no complicated baking skills required.
- Individual portions make serving and sharing effortless and mess-free.
- A perfect blend of crunchy Oreos and creamy cheesecake for irresistible flavors.
Ingredients
- Oreo Cookies (20 cookies): Finely crushed to create a crunchy, flavorful base for each cheesecake cup.
- Unsalted Butter (5 tablespoons, melted): Binds the Oreo crumbs together to form a firm and rich crust.
- Cream Cheese (8 ounces, softened): Provides the creamy and smooth texture essential for cheesecake filling.
- Granulated Sugar (1/2 cup): Sweetens the cheesecake mixture, balancing the tanginess of cream cheese.
- Sour Cream (1/4 cup): Adds tang and moisture, enhancing the cheesecake’s creaminess.
- Whipped Cream (1 cup, for topping): Light and fluffy topping that adds a pleasant creaminess and visual appeal.
- Mini Chocolate Chips (1/4 cup, optional): Adds texture and a subtle chocolate burst within the cheesecake filling.
Instructions
- Preheat and Prepare the Crust
Preheat your oven to 350°F (175°C) to ensure even cooking. Crush the Oreo cookies finely to create a crumbly base, then mix them with melted butter. The butter helps bind the crumbs into sturdy crusts that will hold the cheesecake filling without falling apart.
- Form Oreo Base in Muffin Tin
Line a muffin tin with cupcake liners to simplify serving and cleanup. Press about one tablespoon of the Oreo and butter mixture firmly into each liner to create an even crust layer. Firm pressure helps the crust set properly, providing a solid foundation for the filling.
- Prepare the Cheesecake Filling
Beat softened cream cheese with granulated sugar until light and fluffy to ensure a smooth texture. Add sour cream and mix thoroughly to balance the flavor and moisture. For an optional chocolate touch, gently fold in mini chocolate chips, stirring carefully to maintain a smooth batter.
- Fill and Bake the Cups
Spoon the cheesecake filling evenly over each Oreo crust, filling just below the rim. Bake for 15-18 minutes until the filling is mostly set but still slightly jiggly in the center, which guarantees a creamy consistency after chilling. Allow to cool completely to room temperature before refrigerating.
- Chill and Garnish
After cooling, refrigerate the cheesecake cups for at least 3 hours to firm up the filling. Once chilled, top each cup with a generous dollop of whipped cream and a sprinkle of crushed Oreos for added texture and contrast.
- Softening the cream cheese ahead of time is crucial for a smooth, lump-free filling.
- Baking the cheesecake cups briefly sets the filling perfectly, ensuring the right texture.
- These cups should be refrigerated for best taste and structure — avoid skipping chilling.
Storage Tips
Store these cheesecake cups in an airtight container in the refrigerator for up to 3 days to maintain freshness. For longer storage, freeze them without whipped cream topping for up to one month; thaw in the fridge before serving.
Serving Suggestions
Serve these Oreo No-Bake Cheesecake Cups chilled for the best texture. Pair them with fresh berries or drizzle with chocolate syrup for extra decadence. They make a lovely sweet finish to any meal or a tempting snack with afternoon coffee.
- Use room temperature cream cheese to prevent lumps and achieve a smooth filling.
- Press the Oreo crust firmly to ensure it holds together when serving.
- Chilling time is essential; rushing this step will affect texture and flavor.
FAQs
- Can I use a different cookie for the crust?
Yes, graham crackers or chocolate wafer cookies can be substituted for Oreos, but the taste and color will vary slightly.
- Is it necessary to bake these cheesecake cups?
Baking helps set the cheesecake filling for a perfect texture, but you can refrigerate them without baking for a softer, no-bake style.
- Can I prepare these cups ahead of time?
Absolutely! These cups can be assembled a day in advance and stored refrigerated until ready to serve.
- How do I prevent the crust from being soggy?
Mixing the Oreo crumbs with melted butter and pressing firmly before baking creates a sturdy, crisp crust that resists sogginess.
- Can I freeze these cheesecake cups?
Yes, freeze without the whipped cream topping in an airtight container for up to one month. Thaw overnight in the refrigerator before serving.
- Can I use regular whipped cream instead of store-bought?
Freshly whipped heavy cream works wonderfully and adds a rich, creamy texture as a topping.
- What do I do if my cream cheese is too cold?
Let it sit at room temperature for about 30 minutes before mixing to ensure smooth blending and avoid lumps.
Oreo No-Bake Cheesecake Cups
Equipment
- 1 muffin tin
- 12 cupcake liners
- 1 mixing bowl
- 1 mixer
Ingredients
- 20 Oreo cookies for crust
- 5 tbsp unsalted butter melted
- 8 oz cream cheese softened
- 1/2 cup granulated sugar
- 1/4 cup sour cream
- 1 cup whipped cream for topping
- Optional: 1/4 cup mini chocolate chips
Instructions
- Preheat the oven to 350°F (175°C). Crush Oreo cookies into fine crumbs and combine with melted butter.
- Line a muffin tin with cupcake liners and press about one tablespoon of the Oreo mixture into each liner to form the crust.
- In a mixing bowl, beat the softened cream cheese with sugar until fluffy, then mix in sour cream until smooth. Fold in mini chocolate chips if desired.
- Fill each crust with the cheesecake mixture almost to the top. Bake for 15-18 minutes until set but slightly jiggly in the center.
- Allow the cheesecake cups to cool completely, then refrigerate until chilled.
- Top with whipped cream and sprinkle crushed Oreos before serving.
Notes
- Press crust mixture firmly for a stable base.
- Refrigerate at least 2 hours before serving for best texture.
- Store leftovers covered in the fridge up to 3 days.
- Mini chocolate chips add extra texture but are optional.


