Description
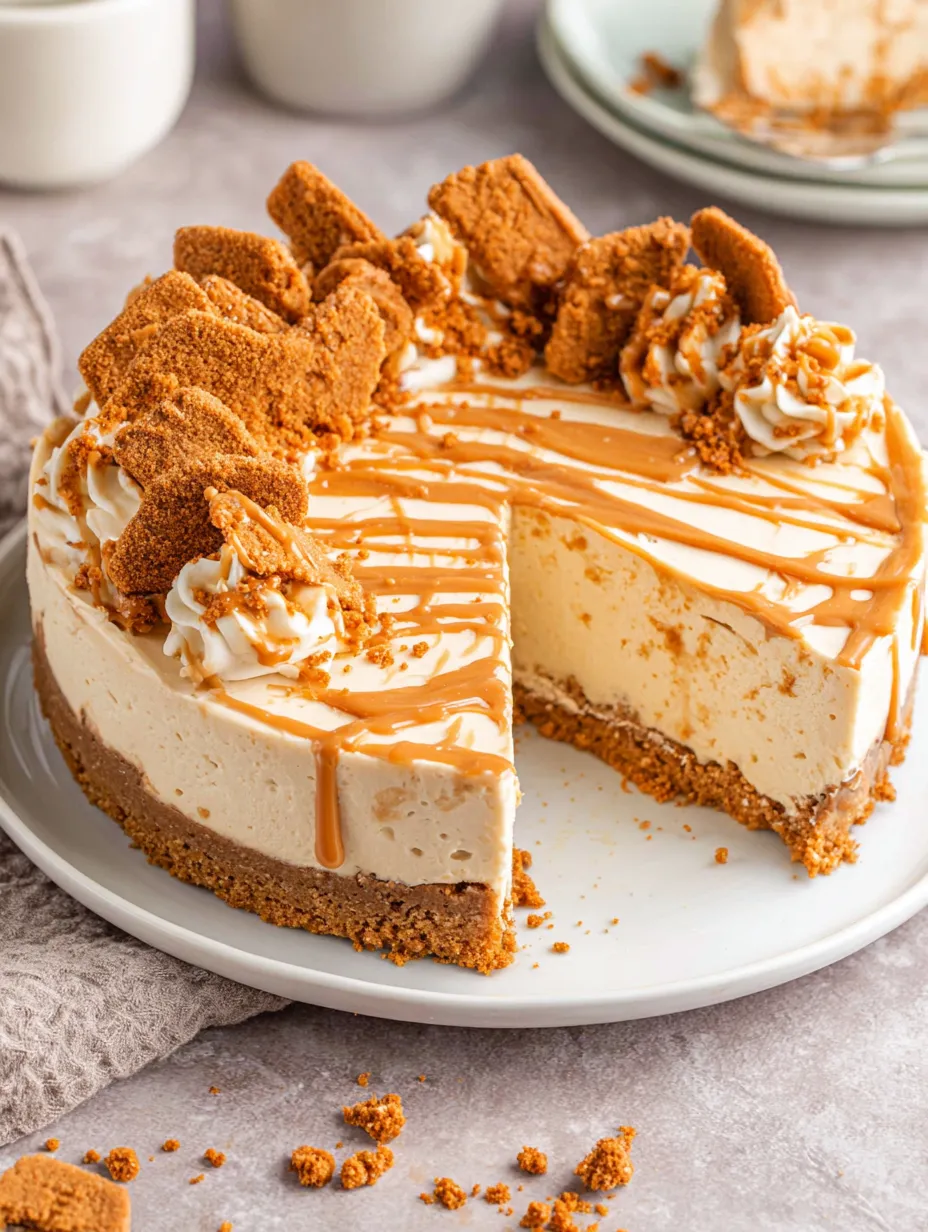
Okay, so someone looked at those addictive Biscoff cookies (you know, the ones you steal from airplane snack baskets and hotel coffee trays) and thought “what if this was an ENTIRE CHEESECAKE” and honestly, that person is a visionary. This is a no-bake cheesecake that tastes like caramelized cookie butter dreams, requires zero oven time, and looks like you went to pastry school. The crust is made from crushed Biscoff cookies, the filling is loaded with Biscoff spread, and the whole thing is topped with more cookies and a swirl of that glossy, spiced cookie butter. It’s crunchy, creamy, not-too-sweet, and has that warm cinnamon-caramel thing happening that makes people close their eyes and make sounds. I brought this to a dinner party once and someone asked if I’d consider catering their wedding. Another person ate three slices and said “I regret nothing.” A third person just pointed at it and whispered “again” when they finished their first piece. This cheesecake creates DEVOTION.
Ingredients
For the Crust:
- 2 cups Biscoff cookie crumbs (about 24–26 cookies, crushed—or one 8.8 oz package)
- 5 tbsp unsalted butter, melted
- 2 tbsp granulated sugar (optional, if you want it sweeter)
- Pinch of salt
For the Filling:
- 16 oz (two 8-oz blocks) cream cheese, softened to room temp (critical!)
- 1 cup Biscoff cookie butter spread (the smooth kind, not crunchy)
- 3/4 cup powdered sugar
- 1 tsp vanilla extract
- 1/2 tsp ground cinnamon (optional but recommended)
- 1 1/2 cups heavy whipping cream, cold
For the Topping:
- 1/2 cup heavy whipping cream
- 1/4 cup Biscoff spread
- Extra Biscoff cookies for decorating (whole or crushed)
- Optional: crushed cookies, more cookie butter drizzle, caramel sauce
Instructions
If you have whole cookies, crush them up. You can use a food processor (easiest), put them in a ziplock bag and smash them with a rolling pin (therapeutic), or buy pre-made Biscoff crumbs if you’re feeling efficient.
Mix the cookie crumbs with melted butter, sugar if using, and a pinch of salt in a bowl until it looks like wet sand. Every crumb should be coated.
Press this mixture firmly into the bottom of a 9-inch springform pan. Use the bottom of a measuring cup or glass to really pack it down. Get into those edges.
You can also press it slightly up the sides if you want a taller crust (totally optional but looks impressive).
Refrigerate while you make the filling. This helps it set and stay together.
In a large bowl (or stand mixer), beat the softened cream cheese on medium-high speed for 2-3 minutes until it’s completely smooth and fluffy. No lumps allowed—scrape down the sides.
Add the Biscoff spread and beat until fully combined and smooth, another 2 minutes. The color should be uniform and gorgeous.
Add powdered sugar, vanilla, and cinnamon if using. Beat until smooth and creamy.
In a separate bowl, whip the cold heavy cream with a hand mixer (or stand mixer with whisk attachment) on medium-high speed until stiff peaks form. This takes about 3-4 minutes. Don’t overbeat or you’ll make butter.
Gently fold about 1/3 of the whipped cream into the Biscoff mixture to lighten it up. Use a spatula and fold (don’t stir) to keep it airy.
Fold in the remaining whipped cream in two additions, being gentle. You want to maintain that fluffy, mousse-like texture.
Pour the filling over your chilled crust. Smooth the top with a spatula—make it as even and pretty as you can.
Tap the pan gently on the counter a few times to release any air bubbles.
Cover loosely with plastic wrap (don’t let it touch the surface) or foil.
Refrigerate for at least 6 hours, but preferably overnight. This isn’t optional—it needs time to set properly.
When you’re ready to serve, make the Biscoff drizzle. In a small bowl, whisk together 1/2 cup heavy cream and 1/4 cup Biscoff spread until smooth and pourable.
If it’s too thick, add a tiny bit more cream. If it’s too thin, add more Biscoff.
Microwave for 10-15 seconds if you want it more liquidy for drizzling.
Remove the cheesecake from the fridge. Run a thin knife around the edge to loosen it from the pan.
Release the springform pan sides carefully.
Drizzle or spread the Biscoff cream mixture over the top. You can do a neat pattern or go wild with swirls.
Arrange whole Biscoff cookies around the edge (standing up looks dramatic) or crushed cookies in the center.
Drizzle extra melted Biscoff spread over everything for maximum cookie butter vibes.
Let it sit at room temperature for 10-15 minutes before slicing for the cleanest cuts.
Use a sharp knife dipped in hot water (wipe clean between cuts) for perfect slices.
Notes
This is already a showstopper, but here are some next-level ideas:
- Serve with whipped cream on the side for people who want extra richness
- Drizzle caramel sauce over individual slices
- Pair with strong coffee or espresso to balance the sweetness
- Add a scoop of vanilla ice cream for full dessert overload
- Sprinkle with sea salt flakes for a sweet-salty situation
- Serve smaller slices—this is RICH (in the best way)
- Prep Time: 30 minutes
Nutrition
- Calories: ~420 kcal
- Fat: ~32g
- Carbohydrates: ~32g
- Protein: ~5g