Quick Overview
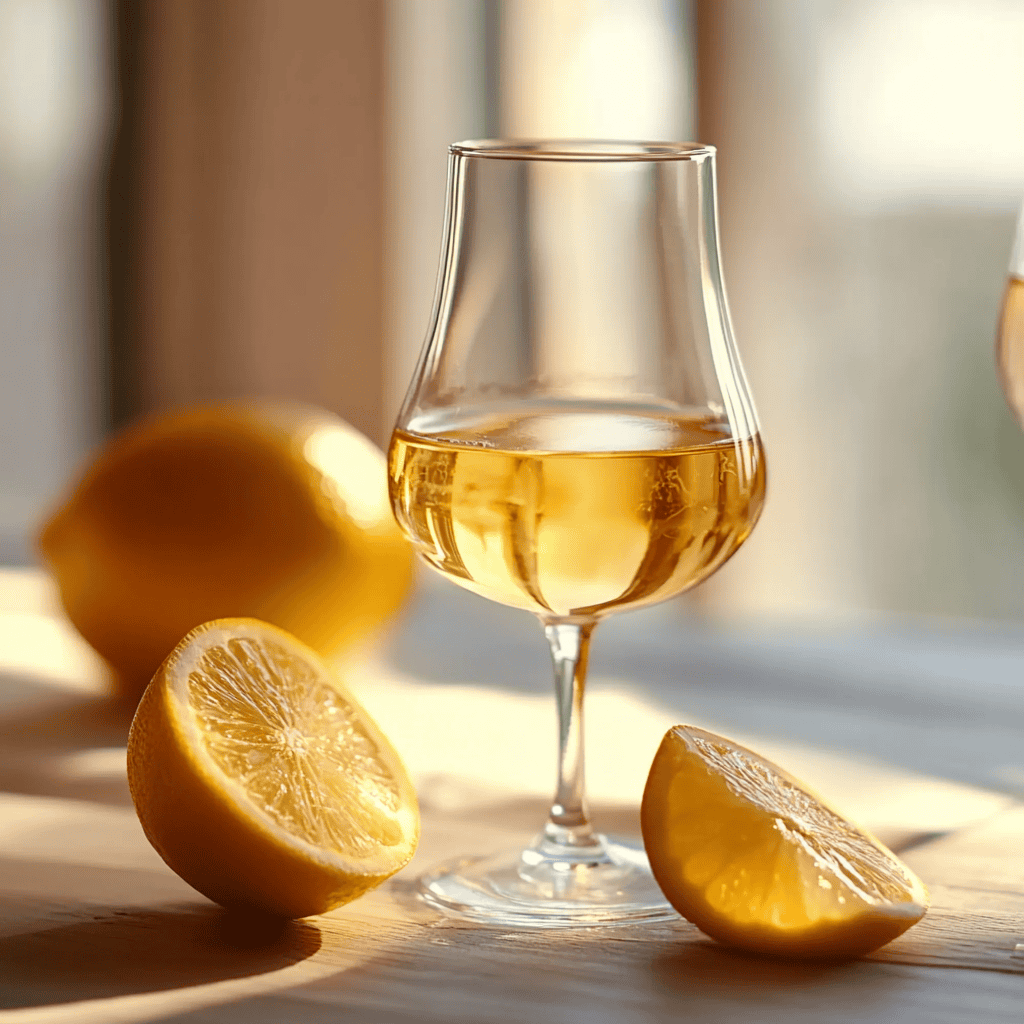
Homemade liqueur is a delightful way to bring creativity into your kitchen. By crafting your own liqueurs, you can experiment with flavors that suit your taste. This guide will show you how to make a simple yet delicious homemade liqueur using common ingredients. Whether you want a sweet fruit infusion or something herbal and aromatic, this recipe caters to all preferences. Let’s dive into the world of homemade liqueurs and discover how easy it can be.
Ingredient Breakdown
Fresh Fruits
Using fresh fruits enhances the flavor profile of your homemade liqueur. Consider using berries like raspberries or strawberries; they add sweetness and a vibrant color. Aim for about 2 cups of chopped fruit per batch.
Sugar
Sugar acts as a sweetener and helps extract flavors from the fruits. You will need approximately 1 cup of granulated sugar for balancing the tartness of the fruit. Adjust according to your taste preference.
Alcohol
Choosing high-proof alcohol is essential for creating a good base for your homemade liqueur. Vodka is a popular choice due to its neutral flavor; use about 4 cups for a balanced mix.
Water
Water dilutes the strong alcohol and helps enhance the flavors in your homemade liqueur. You will need around 1 cup of filtered water to round out the mixture, ensuring it’s not too potent.
Herbs and Spices
Adding herbs or spices can give your homemade liqueur an exciting twist. Consider using vanilla beans or cinnamon sticks; these ingredients introduce warmth and depth. Use 1-2 sticks or beans depending on your desired flavor intensity.
Step By Step Recipe: Homemade Liqueur
Prepare Your Ingredients
Begin by gathering all necessary ingredients on a clean surface. Wash and chop any fresh fruits into small pieces; this allows their flavors to infuse better into the alcohol mixture. Measure out sugar, alcohol, water, herbs, or spices according to the ingredient breakdown provided above.
Combine Ingredients
In a large glass jar or container, combine the chopped fruits with granulated sugar first. Stir gently until the sugar begins to coat the fruit evenly. This step helps release juices from the fruit as it sits in the jar, which enhances overall flavor extraction.
Add Alcohol
Pour in the high-proof vodka over the fruit-and-sugar mixture slowly. Ensure all ingredients are submerged fully in alcohol by stirring gently once again. Seal the jar tightly with a lid to prevent evaporation and contamination during infusion.
Let it Infuse
Place the sealed jar in a cool dark place at room temperature for at least two weeks; however, letting it sit longer (up to four weeks) can deepen flavors significantly. Shake the jar gently every few days to ensure even mixing of flavors.
Strain Your Liqueur
After infusing for your desired time frame, prepare another clean container lined with cheesecloth or a fine strainer. Pour the mixture through it carefully to separate solids from liquid; discard any leftover fruit bits if desired but remember they contain some essence of flavor.
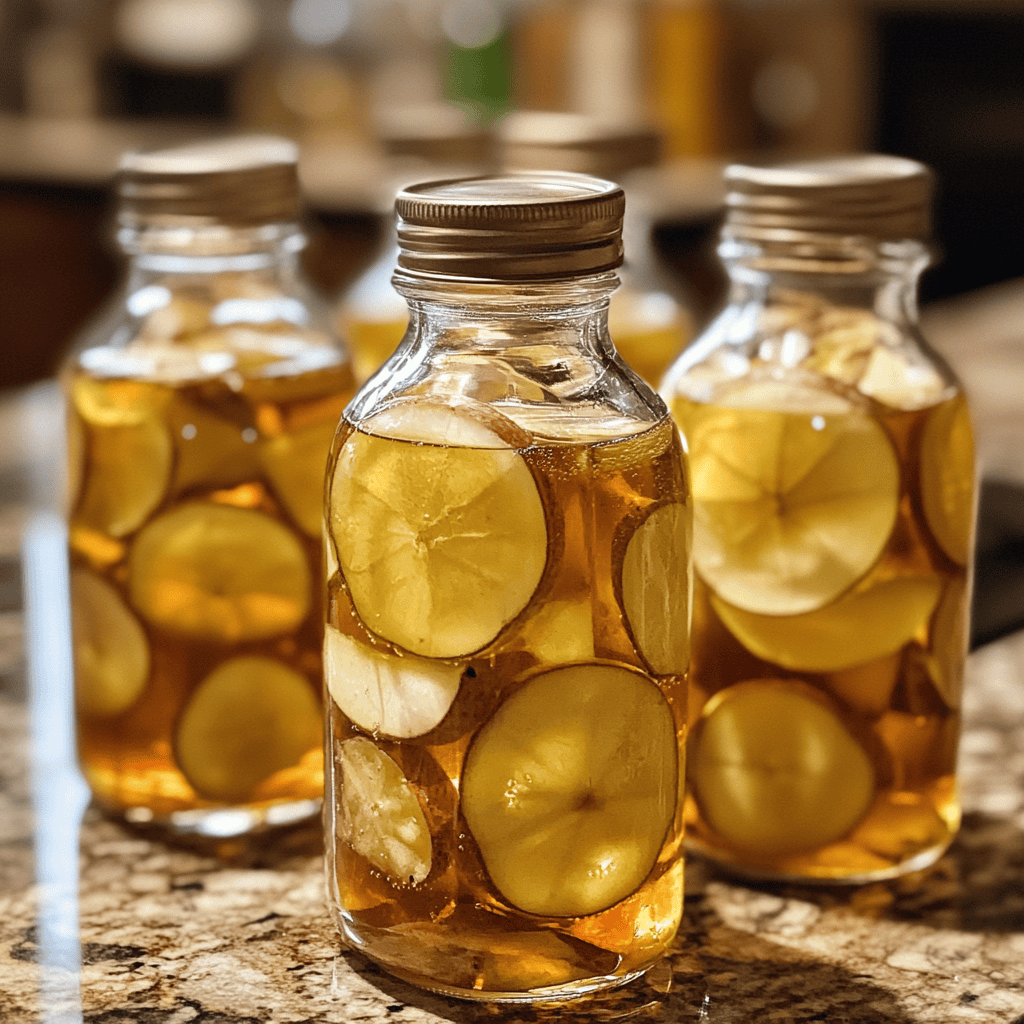
Bottle Your Liqueur
Transfer your strained liquid into clean bottles using funnels if necessary; label each bottle with names and dates for future reference. Store them in a cool dark place until ready for serving or gifting! This step personalizes each bottle beautifully for friends or family.
Serving and Storing Tips
Serve Chilled
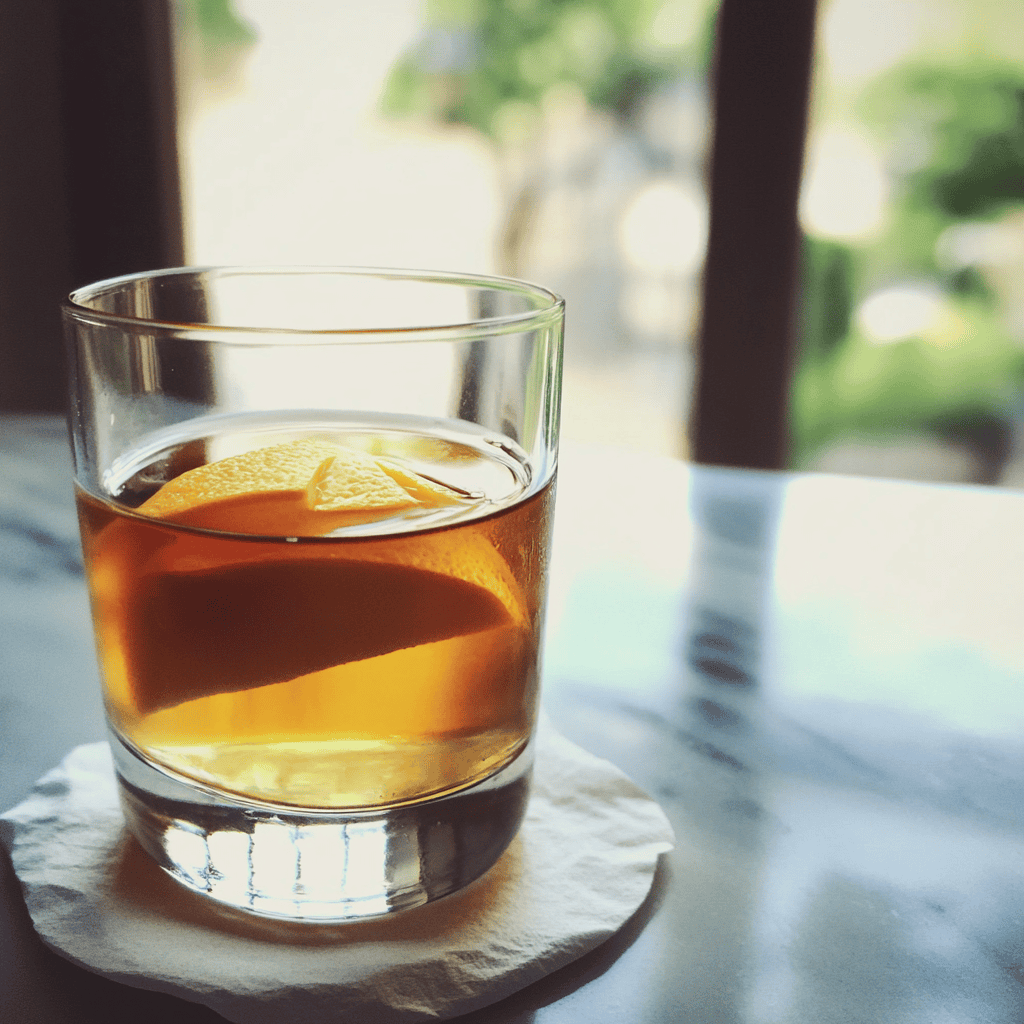
For optimal enjoyment of your homemade liqueur, serve it chilled over ice or straight from the refrigerator. The cold temperature enhances its refreshing qualities while bringing out all robust flavors developed during infusion.
Pairing Suggestions
Consider pairing your homemade liqueurs with desserts like chocolate mousse or panna cotta for an indulgent experience! They also work wonderfully in cocktails – simply mix them into classic recipes like spritzers or martinis as creative twists on traditional favorites.
Proper Storage
Store unopened bottles in dark cabinets away from sunlight exposure which could alter flavor profiles over time; however, once opened please refrigerate them promptly! Most variations last up to six months when stored properly under ideal conditions but always check before using!
By following this guide on making homemade liqueurs you’ll enjoy creating delightful beverages tailored specifically for yourself or loved ones while having fun along every step!
Mistakes to avoid
One common mistake when making homemade liqueur is using low-quality ingredients. Always opt for fresh fruits, high-proof spirits, and pure extracts. Poor quality ingredients can lead to undesirable flavors and an overall disappointing product.
Another mistake is skipping the infusion time. Many people try to rush the process by not allowing the flavors to meld properly. For best results, let your mixture sit for at least a week, or longer if your recipe calls for it.
Failing to strain your liqueur correctly can also ruin its texture. Always use a fine mesh strainer or cheesecloth to remove any solid particles after the infusion period. This will ensure a smooth, enjoyable drink.
Many novice makers underestimate the importance of balance in flavor. Too much sugar or too little acidity can make your liqueur taste off. Experiment with different ratios until you achieve a harmonious blend that suits your palate.
Lastly, don’t forget about storage conditions. Homemade liqueurs should be kept in a cool, dark place away from direct sunlight. Improper storage can lead to spoilage or loss of flavor over time.
Tips and tricks
When crafting homemade liqueur, begin by selecting the right base spirit. Vodka is a popular choice due to its neutral flavor, allowing the other ingredients to shine through. However, consider using rum or whiskey for unique flavor profiles in your beverages.
Experiment with various fruits and herbs during the infusion process. Fruits like berries, citrus, and stone fruits work exceptionally well, while herbs such as mint or basil can add an extra layer of complexity. Don’t hesitate to combine multiple flavors for an interesting twist on traditional recipes.
Adjusting sweetness is crucial for creating delicious homemade liqueurs. Start by adding small amounts of sugar or simple syrup and taste as you go. This approach allows you to find that perfect balance between sweetness and acidity.
Consider aging your homemade liqueur in oak barrels or jars with oak chips for added depth of flavor. This technique enhances the richness and complexity of your drink while introducing subtle wood notes that complement the other ingredients beautifully.
Finally, always label your creations with dates and ingredients used. This practice helps you track how long each batch has been aging and allows you to replicate successful recipes in the future effortlessly.
Suggestions for Homemade Liqueur
Use seasonal fruits when making homemade liqueurs for optimal freshness and flavor intensity. Summer berries or fall apples can produce delightful results that reflect their respective seasons.
Incorporate spices like cinnamon, cloves, or vanilla beans into your infusions for added warmth and richness. Spices can transform simple liqueurs into gourmet treats that impress friends and family alike.
Consider creating themed liqueurs based on holidays or events throughout the year. For instance, peppermint-infused liqueurs are perfect for winter celebrations, while citrus-based options shine during summer gatherings.
Don’t shy away from experimenting with unconventional ingredients such as teas or coffee beans in your homemade liqueurs. These elements can introduce bold flavors that surprise and delight those who sample them.
Always remember that patience pays off when crafting homemade liqueurs. Allowing ample infusion time will lead to more complex flavors and a truly enjoyable drinking experience.
FAQs
What is the best base spirit for homemade liqueur?
The best base spirit often depends on personal preference; however, vodka is widely recommended due to its neutral taste. It allows other flavors from fruits or spices to shine without overpowering them. Rum and gin also work well if you’re looking for something with distinct character.
How long should I let my homemade liqueur infuse?
Typically, allowing your homemade liqueur to infuse for at least one week yields good results; however, some recipes may require longer periods up to several months. Regularly taste-testing during this time helps determine when the flavors have reached their peak before straining it out.
Can I use artificial flavorings in my homemade liqueurs?
While it’s possible to use artificial flavorings in homemade liqueurs, they may lack depth compared to natural ingredients such as fresh fruits or herbs. Opting for real flavors typically leads to better-tasting drinks that are more enjoyable overall.
How should I store my homemade liqueurs?
Homemade liqueurs should be stored in cool, dark places away from direct sunlight—ideally within glass bottles tightly sealed with caps or corks. Proper storage helps preserve their flavors while prolonging shelf life significantly over time.
Is it safe to consume homemade liqueur?
Yes, consuming homemade liqueurs is generally safe provided they were made using clean equipment and high-quality ingredients throughout preparation processes! Always ensure no contamination occurs during infusions—this reduces risks associated with harmful bacteria growth!
Can I gift my homemade liqueur?
Absolutely! Gifting homemade liqueur makes an excellent present! Consider packaging it elegantly in decorative bottles along with labels detailing flavors/ingredients used—this adds a personal touch sure-to-impress recipients who appreciate unique gifts!
Summary
Creating delicious homemade liqueur requires attention to detail but can be incredibly rewarding when done right. Avoid common mistakes like using low-quality ingredients or insufficient infusion time while following essential tips for success—such as experimenting with flavors! Remember proper storage practices enhance longevity too! Enjoy sharing these delightful creations with friends and family alike!