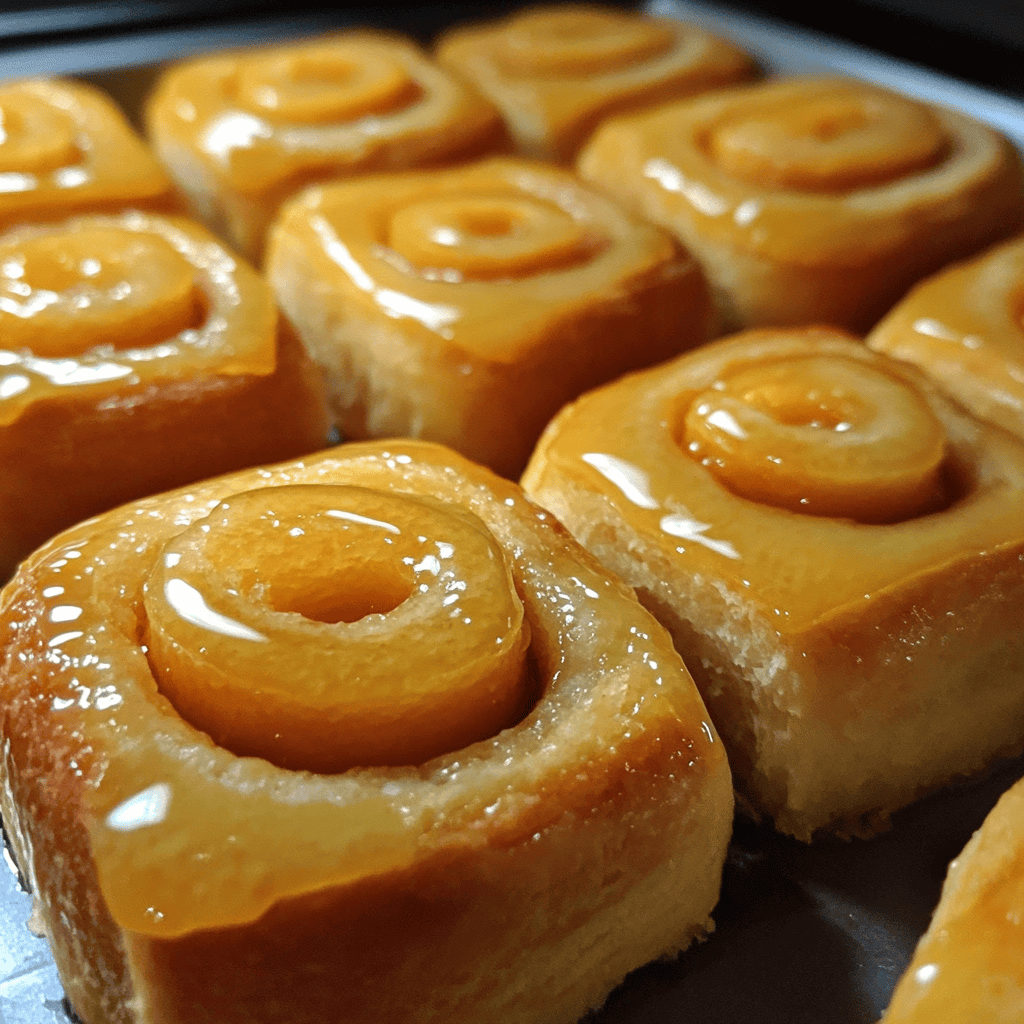
Quick Overview
Homemade glazed orange rolls are a delicious treat that combines the bright flavor of oranges with soft, fluffy dough. These rolls are perfect for breakfast or as a delightful dessert. With a warm and gooey glaze that complements the citrusy filling, they are sure to impress your family and friends. In this recipe, you will find a step-by-step guide to creating these scrumptious rolls from scratch. Get ready to indulge in the delightful taste of homemade glazed orange rolls!
Ingredient Breakdown
Flour
For this recipe, you will need 4 cups of all-purpose flour. This ingredient forms the base of the dough and provides structure. Using high-quality flour ensures your rolls rise properly and have a light texture.
Sugar
You will require ½ cup of granulated sugar. Sugar not only sweetens the dough but also helps activate the yeast during proofing. It adds flavor and contributes to the browning of your rolls in the oven.
Yeast
Two and a quarter teaspoons of active dry yeast are needed for this recipe. Yeast is essential for making your dough rise and gives it that airy texture we all love in fresh baked goods. Be sure to check the expiration date for optimal performance.
Milk
Use 1 cup of whole milk warmed to about 110°F (43°C). Warm milk activates the yeast and makes the dough softer. Whole milk provides richness that enhances the flavor and moistness of your orange rolls.
Butter
You will need ½ cup (or one stick) of unsalted butter, melted. Butter adds flavor and moisture to your dough while helping achieve that golden-brown crust when baked.
Eggs
Include two large eggs in your recipe. Eggs provide structure and richness while also acting as a binding agent in the dough. They help create a tender crumb in your finished rolls.
Oranges
You will need 2 medium-sized oranges for zesting and juicing. The zest offers vibrant flavor while juice sweetens the filling and glaze naturally. Fresh oranges will give you the best aroma and taste.
Cream Cheese
Use 4 ounces of softened cream cheese for the filling. Cream cheese adds a creamy texture that complements the sweetness of the glaze and enriches each bite with its tanginess.
Powdered Sugar
For glazing, use 1 cup of powdered sugar mixed with a little orange juice until smooth. This creates a glossy glaze that brings sweetness without overwhelming citrus notes.
Step By Step Recipe: Homemade Glazed Orange Rolls
Step 1: Prepare Your Dough
In a large bowl, combine warm milk and sugar. Sprinkle yeast over it and let it sit for about five minutes until bubbly—this indicates that your yeast is active. Next, mix in melted butter followed by eggs one at a time until well incorporated. Gradually add flour while stirring until a soft dough forms; then knead on a floured surface for about ten minutes until smooth.
Step 2: Let Dough Rise
Place your kneaded dough into an oiled bowl, turning it once to coat all sides with oil. Cover with plastic wrap or a clean kitchen towel. Allow it to rise in a warm area for about one hour or until doubled in size.
Step 3: Prepare Filling
While waiting for your dough to rise, prepare your filling by mixing softened cream cheese with sugar, orange zest, and juice in a small bowl until smooth. This mixture should be spreadable yet thick enough to stay on your rolled-out dough later on.
Step 4: Roll Out Dough
Once risen, punch down your dough gently to release air bubbles before transferring it onto a floured surface again. Roll out into a rectangle approximately ¼ inch thick (about 12×18 inches), ensuring even thickness throughout to bake uniformly.
Step 5: Spread Filling
Evenly spread the cream cheese mixture over rolled-out dough using an offset spatula or back of a spoon leaving about half an inch border around edges untouched—it’ll help seal when rolling up! Be generous but ensure even coverage so every bite has delicious filling inside.
Step 6: Roll Up Dough
Starting from one long edge closest to you, carefully roll up tightly into cylinder shape ensuring fillings stay inside as much as possible; pinch seams closed once finished rolling up completely! Trim any uneven edges if needed before slicing into equal pieces (about 12-15).
Step 7: Second Rise
Place sliced rolls into greased baking dish allowing some space between them—this allows room for expansion during baking! Cover lightly with kitchen towel again; let rest at room temperature another thirty minutes while preheating oven to 350°F (175°C).
Step 8: Bake Rolls
After resting period is over, place baking dish into preheated oven—bake homemade glazed orange rolls for approximately twenty-five minutes or until golden brown on top! Rotate halfway through if necessary for even cooking; avoid opening oven door too early!
Step 9: Prepare Glaze
While waiting on baked goodness remove from oven once done—allow cooling slightly before drizzling glaze made from powdered sugar mixed with fresh orange juice until desired consistency achieved! Aim for drizzling quality without being too runny!
Serving and Storing Tips
Serving Suggestion
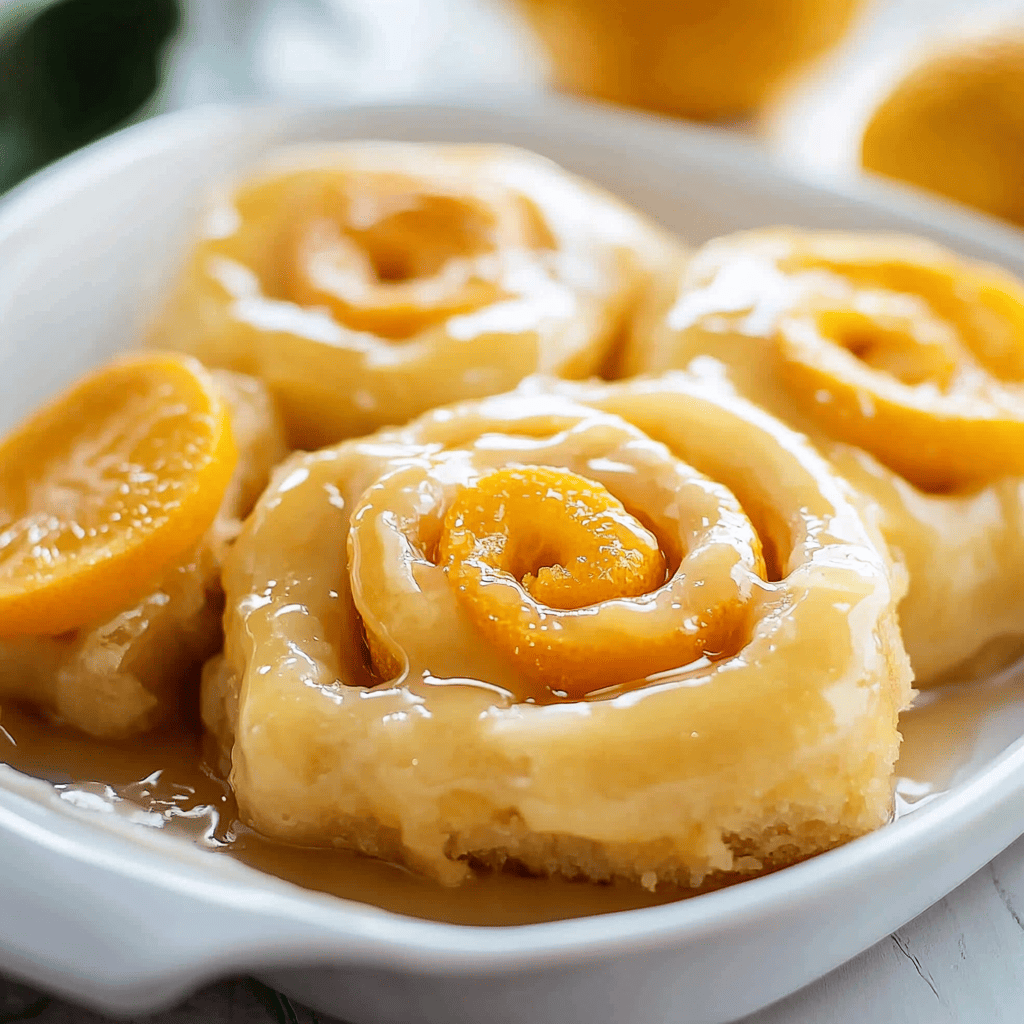
Serve homemade glazed orange rolls warm from the oven for maximum enjoyment! Pair with coffee or tea at brunch gatherings or enjoy them alone as an afternoon snack—all ages love these sweet treats! Consider adding extra zest on top for visual appeal!
Storage Instructions
If you have leftovers (although unlikely!), store in an airtight container at room temperature for up to three days—reheat individual servings briefly in microwave before enjoying again! For longer storage options consider freezing unglazed rolls wrapped tightly in plastic wrap; defrost overnight before baking fresh again!
Mistakes to avoid
One common mistake when making Homemade Glazed Orange Rolls is not allowing the dough to rise sufficiently. This step is crucial for achieving a light and fluffy texture. Always make sure that your dough doubles in size during the first rise.
Another pitfall is using too much flour when rolling out the dough. This can lead to dense rolls that lack the desired softness. Use just enough flour to prevent sticking, but don’t overdo it.
Skipping the orange zest is a significant error. The zest provides a vibrant flavor that enhances the rolls. Always incorporate fresh orange zest into your dough for the best results.
Failing to preheat the oven can also ruin your rolls. If your oven isn’t hot enough, the rolls may not rise properly while baking. Always preheat your oven before placing your rolls inside for optimal baking conditions.
Overbaking is another mistake to watch out for. Keep an eye on your rolls as they bake and remove them once they’re golden brown to maintain their moistness and flavor.
Tips and tricks
To achieve perfect Homemade Glazed Orange Rolls, measure your ingredients carefully. Using a kitchen scale can help ensure accuracy, especially with flour, which can vary in density based on how it’s scooped. Proper measurements lead to consistent results every time you bake.
Using room temperature ingredients is key for making a smooth dough. Eggs, butter, and milk should all be at room temperature before mixing them in with the dry ingredients. This helps create a more cohesive mixture and improves the texture of your rolls.
When kneading your dough, aim for about 8-10 minutes of active kneading time. This process develops gluten, giving your rolls structure and chewiness without being tough. Pay attention to how the dough feels; it should be smooth and elastic by the end of kneading.
An effective way to add flavor is by using a flavored glaze made with fresh orange juice and powdered sugar after baking. The glaze complements the orange flavor of the rolls beautifully while adding a sweet finish that makes them irresistible.
Don’t rush the cooling process after baking! Allowing your Homemade Glazed Orange Rolls to cool slightly before glazing helps prevent the glaze from melting away completely, ensuring each bite remains deliciously sweet and tangy.
Suggestions for Homemade Glazed Orange Rolls
Consider adding nuts or raisins into your dough for extra texture and flavor contrasts in your Homemade Glazed Orange Rolls. Chopped walnuts or pecans provide a delightful crunch that pairs well with the soft roll.
For an extra burst of citrus flavor, try incorporating other citrus fruits such as lemon or lime zest alongside your orange zest in both the dough and glaze. This variety creates a more complex taste profile that elevates each bite.
If you want to make these rolls ahead of time, prepare the dough up until its first rise, then refrigerate it overnight. In the morning, allow it to come back to room temperature before shaping and baking for freshly baked rolls without much hassle.
Experimenting with different fillings can make these rolls more exciting! Try adding cream cheese filling flavored with vanilla extract or even chocolate chips for a decadent twist on this classic recipe.
Pair your Homemade Glazed Orange Rolls with a delicious beverage like coffee or tea for breakfast or brunch gatherings. The combination enhances flavors and creates a cozy atmosphere that everyone will enjoy.

FAQs
What ingredients do I need for Homemade Glazed Orange Rolls?
To make Homemade Glazed Orange Rolls, you’ll need flour, sugar, yeast, milk, butter, eggs, salt, fresh oranges (for zest and juice), and powdered sugar for glazing. Each ingredient plays an essential role in creating both flavor and texture in these delightful baked goods.
Can I freeze my Homemade Glazed Orange Rolls?
Yes! You can freeze Homemade Glazed Orange Rolls either before or after baking. For unbaked rolls, shape them and place them on parchment paper before freezing until solid. Then transfer them to an airtight container or freezer bag for up to three months.
How long does it take to make Homemade Glazed Orange Rolls?
Making Homemade Glazed Orange Rolls typically takes about 2-3 hours from start to finish due to rising times; however, active preparation time is around 30-45 minutes depending on experience level in handling yeast-based recipes.
Can I use store-bought orange juice instead of fresh juice?
While you can use store-bought orange juice if you’re in a pinch, fresh juice provides better flavor in both the dough and glaze of Homemade Glazed Orange Rolls due to its bright acidity compared to processed alternatives which might contain preservatives.
How do I store leftover Homemade Glazed Orange Rolls?
Store leftover Homemade Glazed Orange Rolls in an airtight container at room temperature for up to two days or refrigerate them for about one week if you prefer longer preservation without compromising taste quality significantly during storage.
Can I substitute other fruits instead of oranges?
Yes! While oranges are traditional for this recipe, you can experiment with other fruits like lemons or limes by adjusting their zest amounts accordingly when preparing both the dough and glaze—just keep their unique flavors balanced throughout!
Summary
Homemade Glazed Orange Rolls are a delightful treat when prepared correctly. Avoid common mistakes like under-rising dough or skipping essential ingredients like orange zest for optimal results. Remember helpful tips such as using room temperature items while measuring accurately ensures consistency across batches! Lastly, feel free to experiment with variations by incorporating different fillings or fruits while storing leftovers properly maintains freshness over several days following preparation timeframes shared earlier!