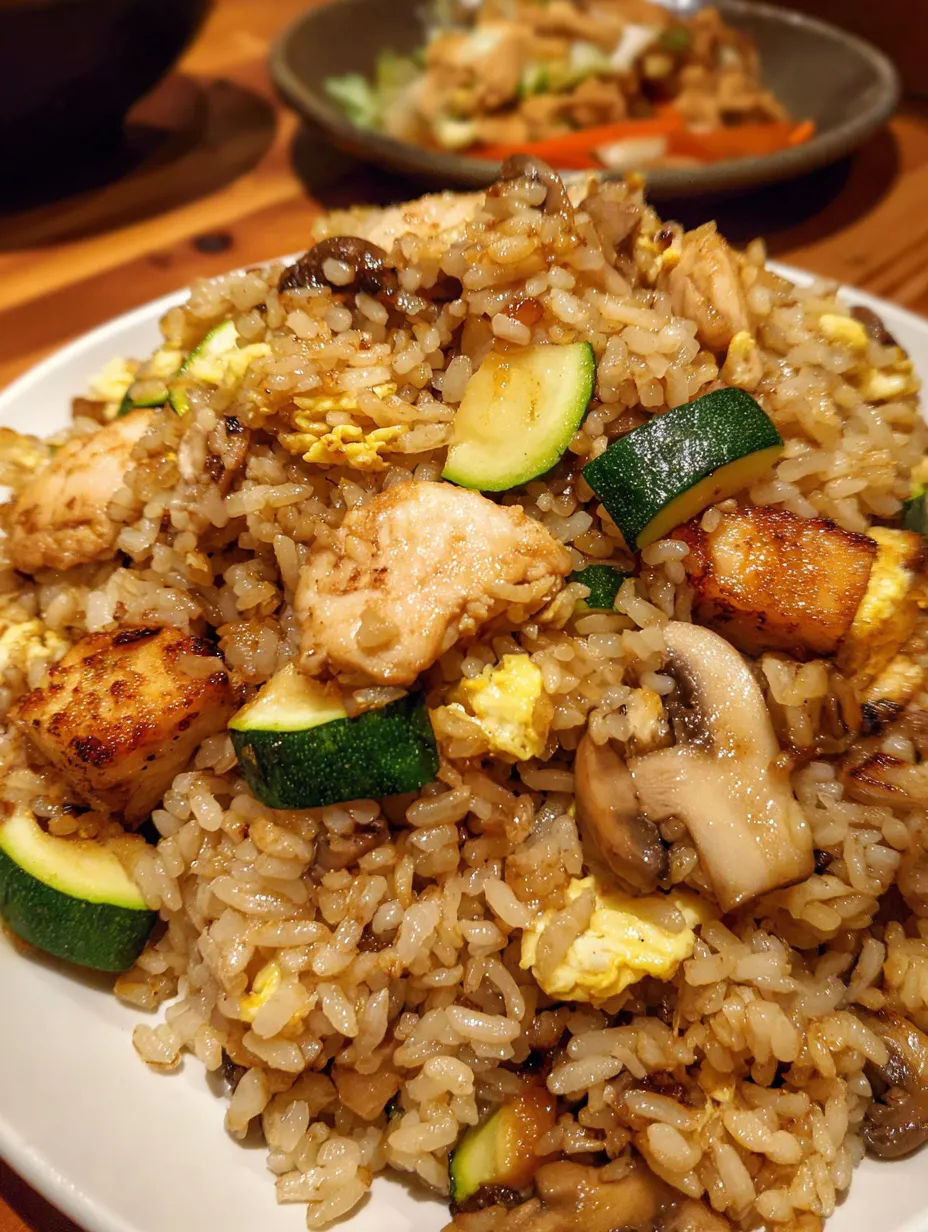
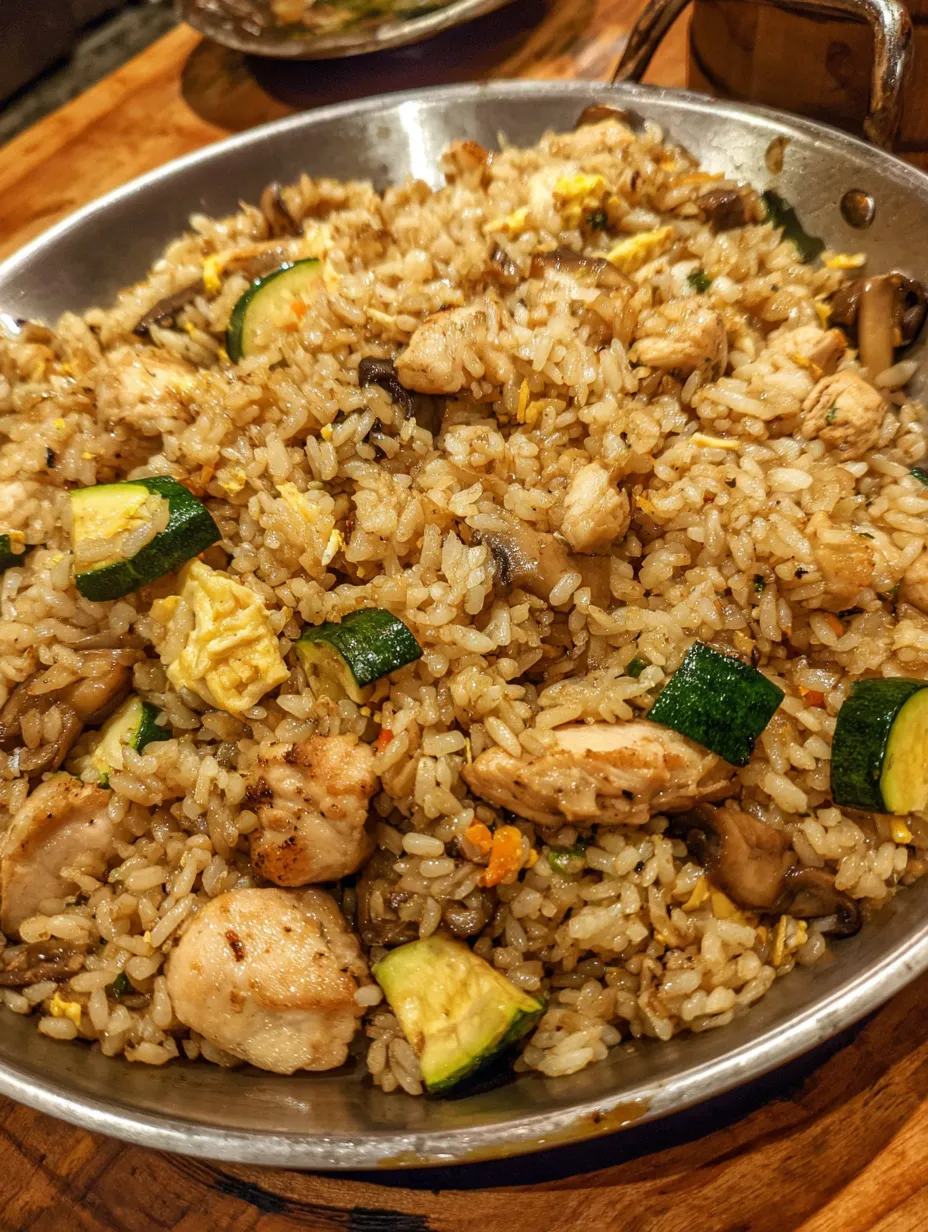
Alright, so you know that amazing fried rice you get at hibachi restaurants where the chef does all those fancy tricks with the spatulas and everything tastes like it’s been kissed by butter and garlic magic? Well, we’re bringing that exact experience to your kitchen (minus the onion volcano, sadly). This Hibachi Style Chicken Fried Rice is basically what happens when you take perfectly cooked rice, tender chicken, fresh vegetables, and that iconic buttery garlic sauce that makes hibachi food so addictive. We’re talking rice that’s got that perfect slightly crispy texture, chicken that’s juicy and flavorful, and enough butter and garlic to make you understand why everyone loves hibachi night. It’s the kind of dish that tastes like you went out to eat but cost a fraction of the price, and honestly? Sometimes it’s even better than the restaurant version.
Why You’ll Love This Recipe
- All the hibachi flavors without leaving your house
- Way cheaper than going out but just as delicious
- Ready in 30 minutes for quick weeknight dinners
- That garlic butter sauce is absolutely addictive
- Perfect for using up leftover rice
- Customizable with whatever protein and veggies you have
- Kids and adults both go crazy for this
The Good Stuff You’ll Need
For the Chicken:
- 1.5 lbs boneless, skinless chicken breasts or thighs, diced
- 2 tbsp soy sauce
- 1 tbsp sesame oil
- 1 tsp garlic powder
- Salt and pepper to taste
For the Fried Rice:
- 4 cups cooked rice, preferably day-old and cold
- 3 large eggs, beaten
- 1 cup frozen peas and carrots
- 1/2 cup white onion, diced
- 4 green onions, sliced (white and green parts separated)
- 4 cloves garlic, minced
- 3 tbsp butter (divided)
- 2 tbsp vegetable oil
For the Hibachi Magic Sauce:
- 4 tbsp butter
- 2 tbsp soy sauce
- 1 tbsp garlic, minced
- 1 tbsp sugar
- 1 tsp sesame oil
- 1/2 tsp black pepper
For Finishing:
- 2 tbsp soy sauce (for the rice)
- 1 tbsp oyster sauce (optional but adds depth)
- 1 tsp sesame oil
- Extra green onions for garnish
- Sesame seeds for sprinkling
- Yum yum sauce for serving (optional)
Let’s Do This
Step 1: Prep That Rice
This is crucial: use day-old rice that’s been refrigerated overnight.
Fresh rice is too moist and gets mushy instead of getting that perfect fried rice texture.
Break up any clumps with your hands before cooking.
Step 2: Marinate the Chicken
Toss diced chicken with soy sauce, sesame oil, garlic powder, salt, and pepper.
Let it sit for at least 10 minutes while you prep everything else.
Step 3: Make the Magic Sauce
In a small saucepan, melt 4 tbsp butter over low heat.
Add minced garlic and cook for 1 minute until fragrant (don’t burn it!).
Stir in soy sauce, sugar, sesame oil, and black pepper.
Let it simmer for 2 minutes, then remove from heat and set aside.
Step 4: Scramble Those Eggs
Heat 1 tbsp butter in a large wok or skillet over medium-high heat.
Pour in beaten eggs and scramble until just cooked through.
Remove to a plate and set aside — they’ll go back in later.
Step 5: Cook That Chicken
In the same wok, heat 1 tbsp oil over high heat.
Add marinated chicken and cook for 5-7 minutes until golden brown and cooked through.
Remove to a plate and set aside with the eggs.
Step 6: Veggie Time
Add another 1 tbsp oil to the wok.
Toss in diced white onion and white parts of green onions, cooking for 2 minutes.
Add frozen peas and carrots, cooking for another 2-3 minutes until tender.
Add minced garlic and cook for 30 seconds until fragrant.
Step 7: Fry That Rice
Push vegetables to the side and add remaining 1 tbsp butter to the center.
Add the cold rice and break up any clumps with your spatula.
Let it sit undisturbed for 2 minutes to get crispy on the bottom.
Then toss and stir-fry for 3-4 minutes, pressing rice against the hot pan.
Step 8: Bring It All Together
Add the cooked chicken and scrambled eggs back to the wok.
Drizzle with 2 tbsp soy sauce, oyster sauce (if using), and 1 tsp sesame oil.
Pour in half of the magic garlic butter sauce.
Toss everything together vigorously for 2-3 minutes.
Add green parts of green onions and toss again.
Step 9: Serve Hibachi Style
Transfer to serving plates or bowls.
Drizzle with remaining garlic butter sauce.
Garnish with extra green onions and sesame seeds.
Serve with yum yum sauce on the side if you’re feeling authentic.
Serving Suggestions
Serve with hibachi vegetables (zucchini, mushrooms, onions) on the side.
Yum yum sauce or spicy mayo for dipping makes it extra restaurant-style.
A simple cucumber salad with rice vinegar dressing cuts through the richness.
Miso soup as a starter completes the hibachi experience.
Switch It Up
Different Proteins: Try shrimp, steak, pork, or tofu instead of chicken.
Veggie Combo: Mix it up with broccoli, snap peas, bell peppers, or mushrooms.
Spicy Version: Add sriracha or red pepper flakes to the magic sauce.
Pineapple Fried Rice: Add diced pineapple for sweet and savory vibes.
Extra Garlic: Because you can never have too much garlic in hibachi-style food.
Make-Ahead Magic
Cook rice a day or two ahead for the best fried rice texture.
Prep all vegetables and protein ahead and store separately in the fridge.
The magic sauce keeps for up to a week in the fridge — make extra!
Leftover fried rice keeps for 3-4 days and reheats beautifully in a hot pan.
Questions People Actually Ask
Q: Why does my fried rice get mushy? A: Fresh rice has too much moisture. Always use day-old, refrigerated rice. Also, cook on high heat and don’t overcrowd the pan.
Q: Can I use brown rice? A: Absolutely! Just make sure it’s cold and day-old. Brown rice takes a bit longer to get crispy.
Q: What if I don’t have a wok? A: A large skillet works great! Just make sure it’s big enough so the rice isn’t crowded. High heat is key.
Q: My rice isn’t getting that crispy texture — help! A: Higher heat, less stirring (let it sit and crisp up), and make sure your rice is dry and cold to start.
Q: Can I make this without eggs? A: Sure! It won’t be exactly like traditional hibachi fried rice, but it’ll still be delicious.
Q: What’s the best rice to use? A: Medium or long-grain white rice works best. Jasmine rice is perfect. Avoid sticky rice varieties.
Print
Hibachi Style Chicken Fried Rice
- Total Time: 35 minutes
- Yield: 4–6 servings 1x
Description
Alright, so you know that amazing fried rice you get at hibachi restaurants where the chef does all those fancy tricks with the spatulas and everything tastes like it’s been kissed by butter and garlic magic? Well, we’re bringing that exact experience to your kitchen (minus the onion volcano, sadly). This Hibachi Style Chicken Fried Rice is basically what happens when you take perfectly cooked rice, tender chicken, fresh vegetables, and that iconic buttery garlic sauce that makes hibachi food so addictive. We’re talking rice that’s got that perfect slightly crispy texture, chicken that’s juicy and flavorful, and enough butter and garlic to make you understand why everyone loves hibachi night. It’s the kind of dish that tastes like you went out to eat but cost a fraction of the price, and honestly? Sometimes it’s even better than the restaurant version.
Ingredients
For the Chicken:
- 1.5 lbs boneless, skinless chicken breasts or thighs, diced
- 2 tbsp soy sauce
- 1 tbsp sesame oil
- 1 tsp garlic powder
- Salt and pepper to taste
For the Fried Rice:
- 4 cups cooked rice, preferably day-old and cold
- 3 large eggs, beaten
- 1 cup frozen peas and carrots
- 1/2 cup white onion, diced
- 4 green onions, sliced (white and green parts separated)
- 4 cloves garlic, minced
- 3 tbsp butter (divided)
- 2 tbsp vegetable oil
For the Hibachi Magic Sauce:
- 4 tbsp butter
- 2 tbsp soy sauce
- 1 tbsp garlic, minced
- 1 tbsp sugar
- 1 tsp sesame oil
- 1/2 tsp black pepper
For Finishing:
- 2 tbsp soy sauce (for the rice)
- 1 tbsp oyster sauce (optional but adds depth)
- 1 tsp sesame oil
- Extra green onions for garnish
- Sesame seeds for sprinkling
- Yum yum sauce for serving (optional)
Instructions
This is crucial: use day-old rice that’s been refrigerated overnight.
Fresh rice is too moist and gets mushy instead of getting that perfect fried rice texture.
Break up any clumps with your hands before cooking.
Toss diced chicken with soy sauce, sesame oil, garlic powder, salt, and pepper.
Let it sit for at least 10 minutes while you prep everything else.
In a small saucepan, melt 4 tbsp butter over low heat.
Add minced garlic and cook for 1 minute until fragrant (don’t burn it!).
Stir in soy sauce, sugar, sesame oil, and black pepper.
Let it simmer for 2 minutes, then remove from heat and set aside.
Heat 1 tbsp butter in a large wok or skillet over medium-high heat.
Pour in beaten eggs and scramble until just cooked through.
Remove to a plate and set aside — they’ll go back in later.
In the same wok, heat 1 tbsp oil over high heat.
Add marinated chicken and cook for 5-7 minutes until golden brown and cooked through.
Remove to a plate and set aside with the eggs.
Add another 1 tbsp oil to the wok.
Toss in diced white onion and white parts of green onions, cooking for 2 minutes.
Add frozen peas and carrots, cooking for another 2-3 minutes until tender.
Add minced garlic and cook for 30 seconds until fragrant.
Push vegetables to the side and add remaining 1 tbsp butter to the center.
Add the cold rice and break up any clumps with your spatula.
Let it sit undisturbed for 2 minutes to get crispy on the bottom.
Then toss and stir-fry for 3-4 minutes, pressing rice against the hot pan.
Add the cooked chicken and scrambled eggs back to the wok.
Drizzle with 2 tbsp soy sauce, oyster sauce (if using), and 1 tsp sesame oil.
Pour in half of the magic garlic butter sauce.
Toss everything together vigorously for 2-3 minutes.
Add green parts of green onions and toss again.
Transfer to serving plates or bowls.
Drizzle with remaining garlic butter sauce.
Garnish with extra green onions and sesame seeds.
Serve with yum yum sauce on the side if you’re feeling authentic.
Notes
Serve with hibachi vegetables (zucchini, mushrooms, onions) on the side.
Yum yum sauce or spicy mayo for dipping makes it extra restaurant-style.
A simple cucumber salad with rice vinegar dressing cuts through the richness.
Miso soup as a starter completes the hibachi experience.
- Prep Time: 15 minutes
- Cook Time: 20 minutes
Nutrition
- Calories: ~465 kcal
- Carbohydrates: ~48g
- Protein: ~32g