Description
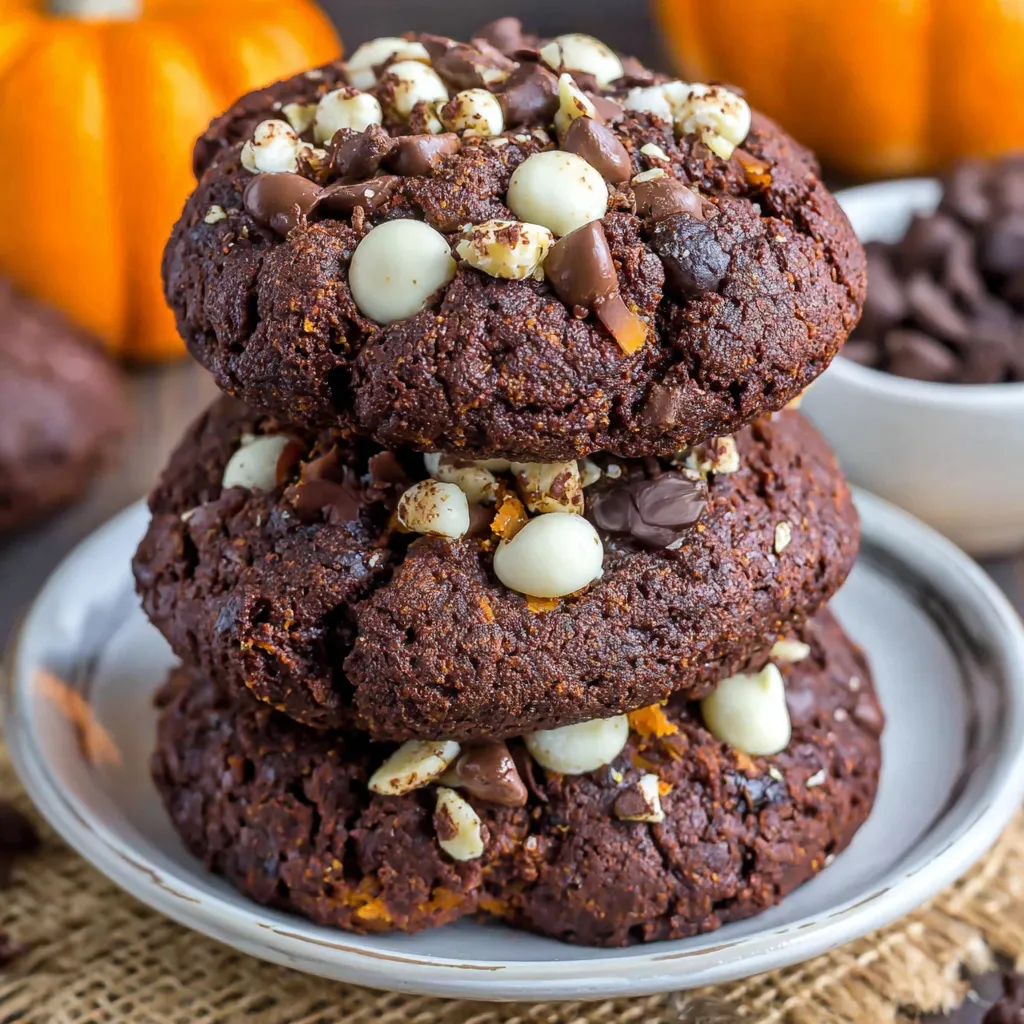
Okay, so imagine if a fudgy brownie and pumpkin bread had a baby, shaped it into cookies, and then loaded it up with three types of chocolate chips and maybe some pepitas for good measure. That’s what we’re dealing with here. Fudgy Pumpkin Cookies are basically soft, dense, ultra-chocolatey cookies with the subtle warmth of pumpkin and fall spices, studded with milk chocolate, white chocolate, and dark chocolate chips. They’re the kind of cookies that stay soft for days (if they last that long), have crispy edges and gooey centers, and make your house smell like a cozy autumn café. The pumpkin keeps them incredibly moist without making them taste like pumpkin pie—it’s more like “is that pumpkin or just really good chocolate?” I made these for a fall party once and someone accused me of buying them from a bakery. Another person ate four and claimed they were “taste testing for quality control.” These cookies inspire accusations of fraud and transparent excuses.
Ingredients
For the Cookie Dough:
- 1/2 cup (1 stick) unsalted butter, melted and slightly cooled
- 3/4 cup pumpkin puree (NOT pumpkin pie filling—just pure pumpkin)
- 3/4 cup packed brown sugar
- 1/4 cup granulated sugar
- 1 large egg
- 2 tsp vanilla extract
- 1.5 cups all-purpose flour
- 1/2 cup unsweetened cocoa powder (Dutch-process makes them extra fudgy)
- 1 tsp baking soda
- 1/2 tsp baking powder
- 1/2 tsp salt
- 1 tsp ground cinnamon
- 1/4 tsp ground nutmeg
- 1/4 tsp ground ginger
- Pinch of ground cloves
For the Mix-Ins:
- 3/4 cup semi-sweet or dark chocolate chips
- 1/2 cup milk chocolate chips
- 1/2 cup white chocolate chips
- Optional: 1/4 cup pepitas (pumpkin seeds) for topping
- Optional: 1/4 cup chopped pecans or walnuts
For Topping (Optional but Pretty):
- Extra chocolate chips of all three types
- Pepitas
- Flaky sea salt
Equipment:
- Two large mixing bowls
- Whisk
- Rubber spatula
- Cookie scoop or spoon
- Baking sheets
- Parchment paper or silicone baking mats
- Wire cooling rack
Instructions
Make sure you’re using pure pumpkin puree, not pumpkin pie filling. Check the can—it should only have one ingredient: pumpkin.
If your pumpkin puree seems watery, place it in a fine-mesh strainer over a bowl for 10 minutes to drain excess liquid. Too much moisture makes cookies spread and lose their fudgy texture.
Pat it dry with paper towels if needed. You want thick, paste-like pumpkin.
Measure out exactly 3/4 cup. Too much pumpkin makes them cakey instead of fudgy.
In a large bowl, whisk together the melted butter (make sure it’s not hot or it’ll cook the egg), pumpkin puree, brown sugar, and granulated sugar.
Whisk vigorously for about 1 minute until everything is smooth and well combined. The mixture should look glossy.
Add the egg and vanilla extract. Whisk again until fully incorporated and smooth.
The mixture will look a bit loose—that’s normal. The flour will firm it up.
In a separate bowl, whisk together flour, cocoa powder, baking soda, baking powder, salt, cinnamon, nutmeg, ginger, and cloves.
Make sure there are no cocoa lumps. Sift the cocoa powder if it’s clumpy—lumpy cocoa means lumpy cookies.
The spices should be evenly distributed throughout the flour mixture.
Add the dry ingredients to the wet ingredients all at once.
Use a rubber spatula to fold everything together. Mix just until no dry streaks remain. Don’t overmix or you’ll develop the gluten and make tough cookies.
The dough will be thick but scoopable. If it seems too wet, add a tablespoon more flour. If it’s too dry (which is unlikely), add a tiny splash of milk.
Fold in 3/4 cup of the chocolate chips (save the rest for topping). Mix until evenly distributed.
Cover the bowl tightly with plastic wrap and refrigerate for at least 2 hours, preferably overnight.
Chilling is NOT optional. It prevents spreading, intensifies flavor, and creates that fudgy texture.
Cold dough = thick, fudgy cookies. Warm dough = flat, cakey cookies. Science.
If you’re in a rush, chill for at least 1 hour, but overnight is better.
Preheat your oven to 350°F (175°C).
Line two baking sheets with parchment paper or silicone baking mats. Don’t skip this—these cookies can stick.
Let the chilled dough sit at room temperature for 5-10 minutes if it’s rock-hard from the fridge. It should be scoopable but still cold.
Get your extra chocolate chips and pepitas ready for topping.
Use a cookie scoop (2 tablespoon size) or spoon to portion out the dough.
Roll each portion into a ball between your palms. They don’t have to be perfect—rustic looks good here.
Place dough balls on prepared baking sheets about 2-3 inches apart. They spread slightly but not much.
Press 4-6 extra chocolate chips and a few pepitas into the top of each cookie. Press them in gently so they stick—this is what makes them look bakery-quality.
Use a mix of all three chocolate chip types and some pepitas for visual appeal.
Optional: Sprinkle a tiny pinch of flaky sea salt on each cookie for that sweet-salty magic.
Bake for 11-13 minutes. The edges should look set, but the centers should still look slightly underdone and soft.
DO NOT OVERBAKE. These cookies continue cooking on the pan after you remove them from the oven.
They should look puffy and soft when you pull them out. If they look fully baked, you’ve gone too far.
Let them cool on the baking sheet for 10 minutes. They’re very soft when hot and will break if you move them too soon.
After 10 minutes, transfer to a wire rack to cool completely.
Once cooled (or still warm if you can’t wait), grab one and take a bite.
Notice how fudgy and dense they are—not cakey at all.
Appreciate the multiple chocolate chip experiences happening in your mouth.
Try to share with others. This is the hardest step.
Store the rest before you eat them all. Future you will be grateful.
Notes
These are basically perfect as-is, but here are some ideas:
- Serve warm with a glass of cold milk (classic move)
- Sandwich vanilla ice cream between two cookies for an epic ice cream sandwich
- Crumble over vanilla ice cream or pumpkin ice cream
- Pair with hot apple cider or pumpkin spice latte
- Pack in lunchboxes—these don’t crumble easily
- Wrap individually and give as fall gifts
- Serve on a dessert board with other fall treats
- Prep Time: 15 minutes
- Cook Time: 12 minutes per batch
Nutrition
- Calories: ~145 kcal
- Sugar: ~13g
- Sodium: ~115mg
- Fat: ~7g
- Carbohydrates: ~21g
- Protein: ~2g