Quick Overview
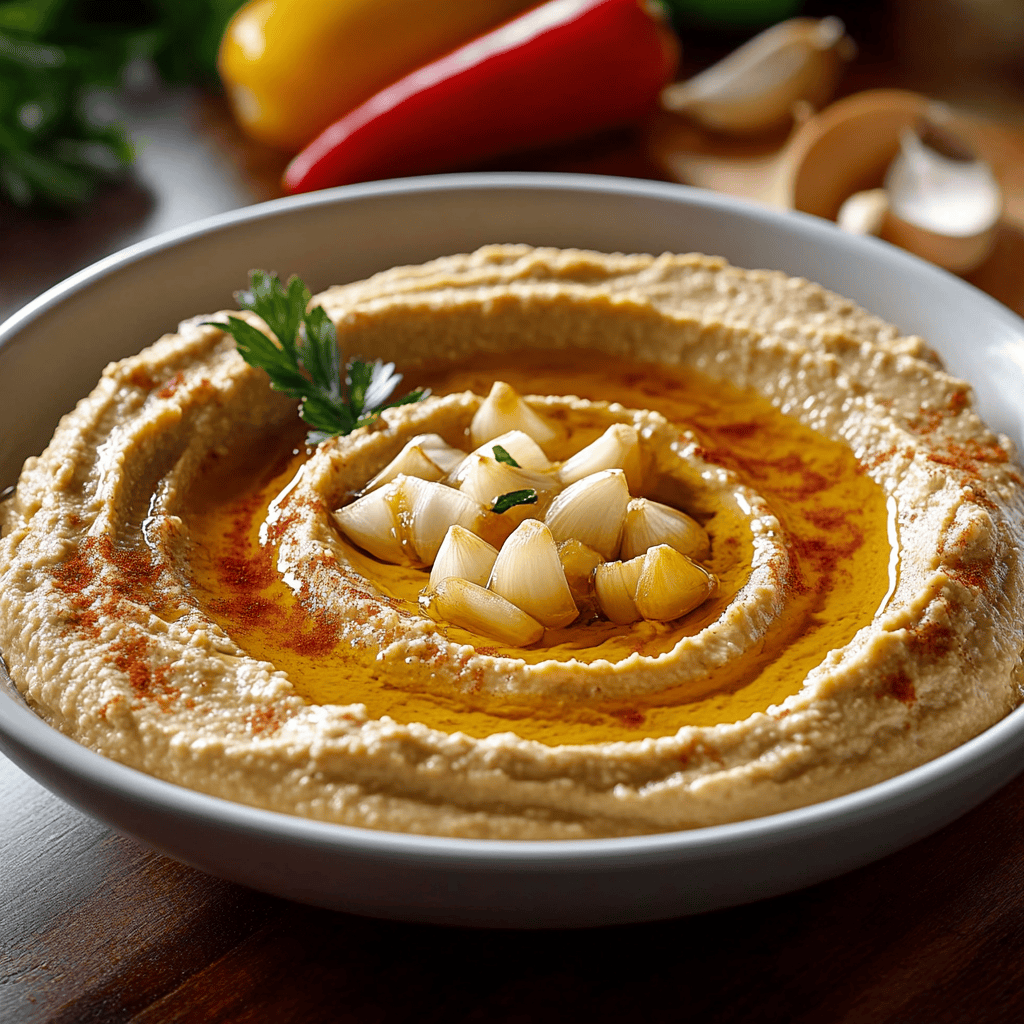
Garlic hummus is a delicious and versatile dip that can elevate any meal or snack time. This creamy Middle Eastern spread is not just tasty; it is also packed with nutrients. With simple ingredients and an easy-to-follow recipe, you can whip up your own batch of garlic hummus in no time. Whether you are serving it as an appetizer or enjoying it as a healthy snack, this recipe will surely impress your guests and satisfy your cravings.
Ingredient Breakdown
Chickpeas
Chickpeas form the base of any great hummus. You will need one can (15 ounces) of drained chickpeas for this recipe. They provide protein and fiber while giving the hummus its signature texture.
Tahini
Tahini adds richness to the garlic hummus. Use 1/4 cup of tahini paste, which is made from ground sesame seeds. It contributes a nutty flavor and creaminess essential for authentic hummus.
Garlic
For that bold flavor, include 2-3 cloves of fresh garlic. Adjust the amount according to your preference for garlicky goodness. Fresh garlic offers a vibrant taste that sets this dish apart from others.
Lemon Juice
Freshly squeezed lemon juice (about 2 tablespoons) brightens the flavors in the hummus. The acidity balances the richness of tahini and contributes to a refreshing taste profile.
Olive Oil
Extra virgin olive oil (3 tablespoons) brings smoothness to the mixture. It also enhances the overall flavor and provides healthy fats that make this dish even more satisfying.
Salt
A pinch of salt (1/2 teaspoon) helps to enhance all the other flavors in your garlic hummus. Adjust according to taste preferences; salt is crucial for rounding out the dish.
Step By Step Recipe: Garlic Hummus
Prepare Ingredients
Start by gathering all your ingredients on a clean countertop. Make sure you have your drained chickpeas ready along with tahini, fresh garlic, lemon juice, olive oil, and salt measured out. Having everything organized makes blending easier.
Blend Chickpeas and Tahini
In a food processor, combine drained chickpeas and tahini paste. Pulse them together until they start to break down into a chunky mixture. This step creates a creamy base essential for good texture in your garlic hummus.
Add Garlic and Lemon Juice
Next, add minced garlic cloves and freshly squeezed lemon juice into the food processor. Blend these ingredients together until they fully incorporate into your mixture. The goal is to achieve a smooth consistency while infusing strong flavors.
Incorporate Olive Oil and Salt
Now drizzle in the extra virgin olive oil while continuing to blend on medium speed. Scrape down the sides as needed to ensure everything mixes well. Add salt at this stage to enhance flavors; continue blending until completely smooth.
Adjust Consistency
If your garlic hummus seems too thick, add water—one tablespoon at a time—until you reach your desired consistency. Blend thoroughly after each addition until it becomes light and fluffy, perfect for dipping or spreading.
Taste Test
Once blended to perfection, do a taste test! Adjust seasoning with additional salt or lemon juice if necessary according to personal preference. This step ensures you have created balanced flavors that suit your palate.
Serving and Storing Tips
Serving Suggestions
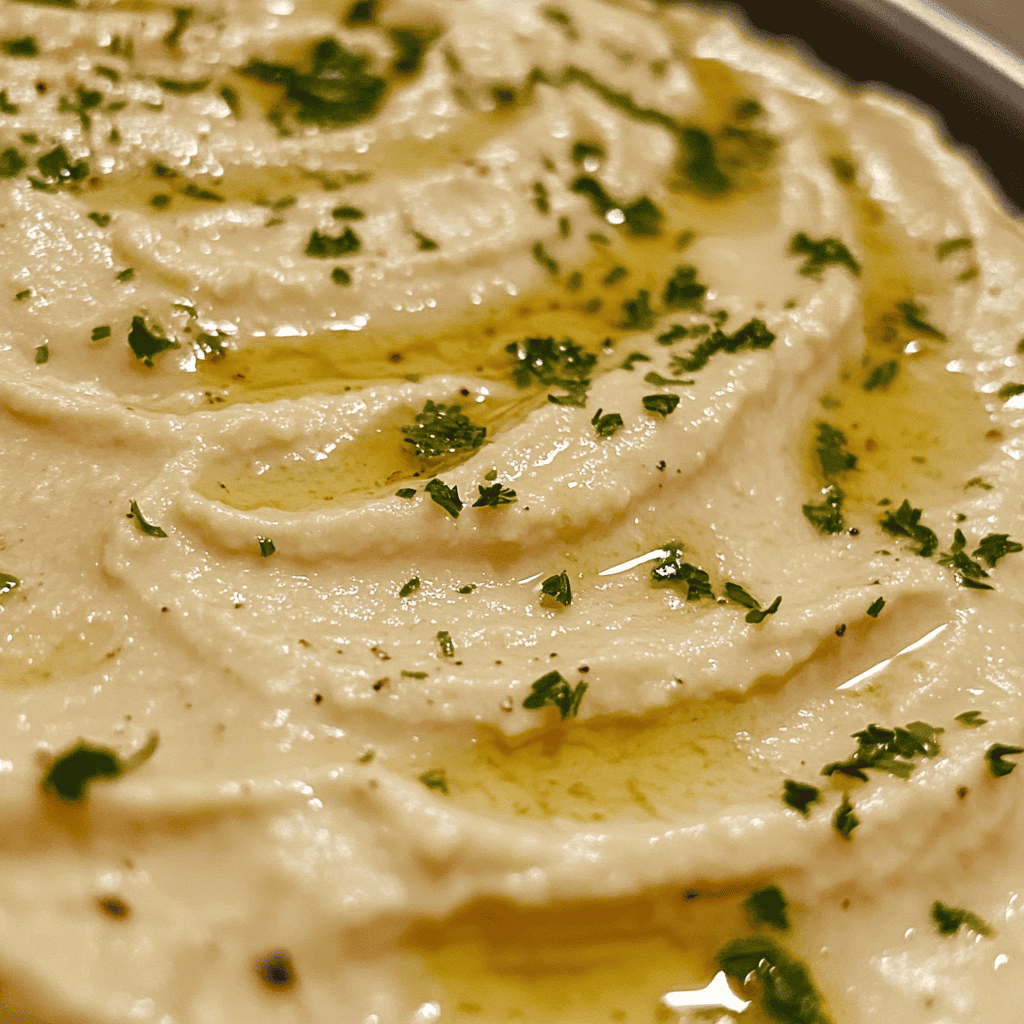
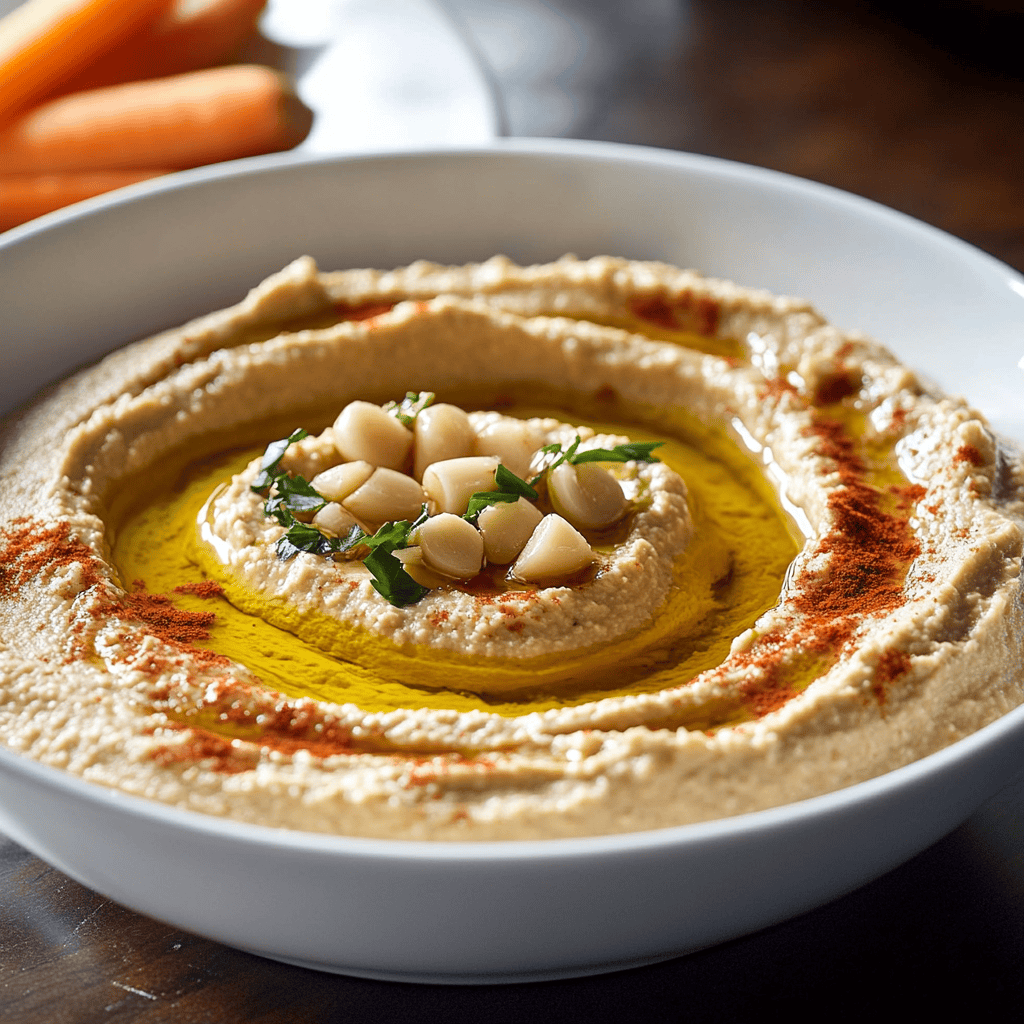
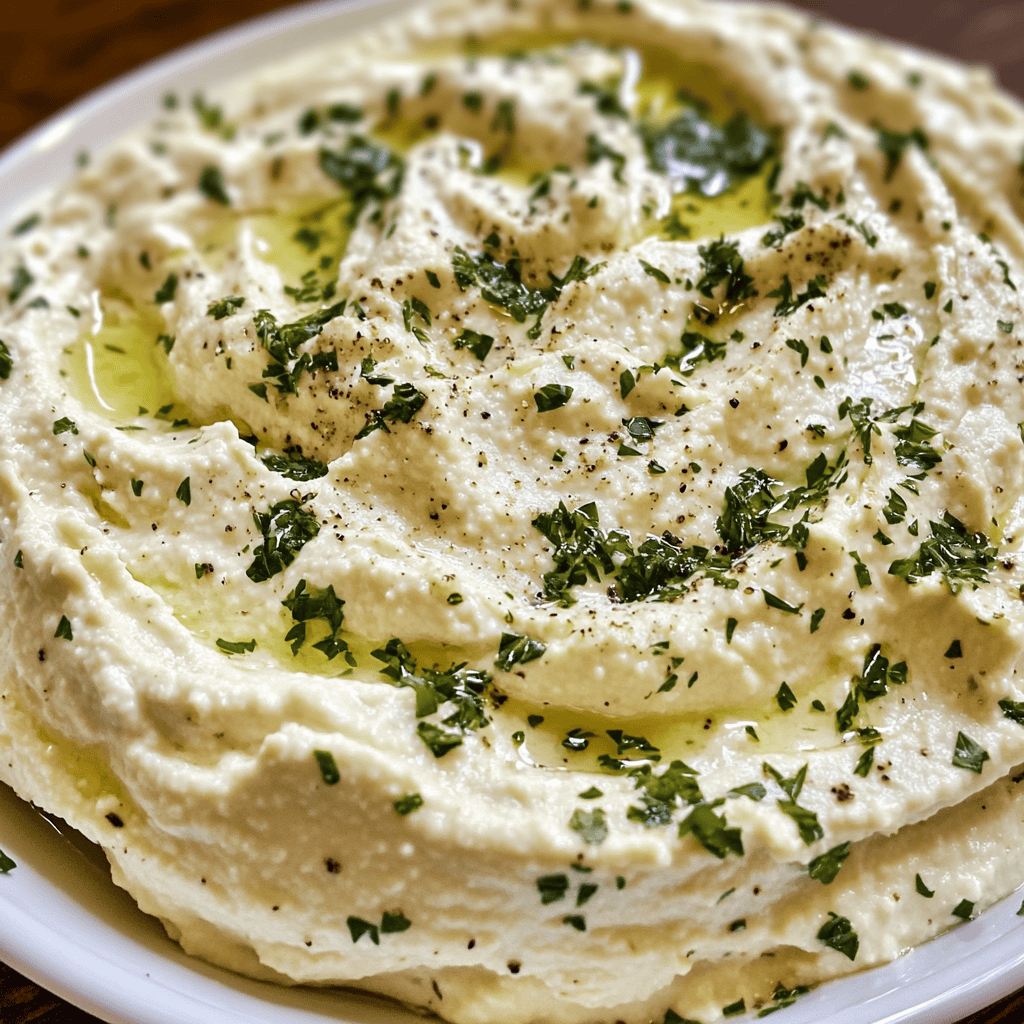
Serve your homemade garlic hummus with fresh vegetables like carrots or cucumbers for dipping. Pita chips are another excellent choice for scooping up this flavorful spread. Garnish with olive oil drizzle or chopped herbs for presentation.
Storage Instructions
Store leftover garlic hummus in an airtight container in the refrigerator for up to one week. To keep it fresh longer, consider adding a thin layer of olive oil on top before sealing; this prevents drying out while enhancing flavor retention.
Freezing Tips
For longer storage, you can freeze garlic hummus in small portions using ice cube trays or freezer-safe containers. Thaw overnight in the fridge when ready to enjoy again; stir well before serving after freezing for optimal texture improvement.
With these straightforward steps and tips at hand, making homemade garlic hummus will become second nature! Enjoy creating this delightful dip that complements various meals while being nutritious too!
Mistakes to avoid
One common mistake when making garlic hummus is using raw garlic without roasting it first. Raw garlic can overpower the dish, making it too pungent for many. Roasting mellows the flavor and adds a delightful sweetness.
Another mistake is not balancing the acidity. Adding too much lemon juice or vinegar can make your garlic hummus overly tangy. Start with a small amount and adjust as you blend to find the right flavor balance.
Using dry chickpeas without soaking them properly can lead to a gritty texture. Always soak your chickpeas overnight for a smoother finish. If using canned chickpeas, rinse them well to remove excess sodium.
A lack of seasoning is another pitfall. Garlic hummus needs salt and possibly spices to bring out its flavor. Taste as you go and add salt gradually to avoid overdoing it.
Lastly, don’t forget about texture. Some people prefer smooth hummus while others like it chunky. Blend until you reach your desired consistency, but be cautious not to over-blend, which can lead to a paste-like result.
Tips and tricks
To achieve the perfect garlic hummus, consider using tahini from high-quality sesame seeds. This adds creaminess and depth of flavor that elevates your dish. Store tahini in the refrigerator after opening, as this will keep it fresh longer and preserve its rich taste.
Incorporating olive oil into your recipe can enhance both flavor and texture. Drizzle in extra virgin olive oil as you blend for a silky finish that complements the garlicky notes beautifully. You may also reserve some oil to drizzle on top before serving for an appealing presentation.
Don’t underestimate the power of herbs and spices! Adding cumin or smoked paprika can introduce additional layers of flavor to your garlic hummus. Experiment with different combinations until you find what resonates with your palate.
For serving, pair your garlic hummus with fresh vegetables, pita chips, or warm pita bread for an inviting appetizer spread. Create a colorful platter by including sliced cucumbers, bell peppers, and cherry tomatoes alongside your dip for added crunch.
Finally, consider making a larger batch of garlic hummus and storing it in an airtight container in the fridge. It typically lasts about five days and makes for a convenient snack option throughout the week.
Suggestions for Garlic Hummus
When serving garlic hummus, adding toppings can transform it into a gourmet dip. Consider garnishing with chopped parsley or cilantro for freshness. A sprinkle of paprika adds vibrant color and enhances the dish’s visual appeal.
Pairing garlic hummus with grilled meats or fish creates an exciting contrast of flavors. The creamy texture works wonderfully against savory proteins, making for a balanced meal or appetizer choice.
For those looking to elevate their health benefits, serve garlic hummus alongside whole-grain crackers or veggie sticks instead of chips. This option keeps calorie counts low while providing essential nutrients and fiber.
Experimenting with different beans can also be rewarding; try blending white beans or black beans instead of chickpeas for unique flavors while retaining that beloved creaminess associated with traditional garlic hummus.
Lastly, consider preparing roasted vegetable platters alongside your garlic hummus as part of your table spread during gatherings or parties. Roasted veggies like carrots or zucchini provide beautiful color contrasts while complementing the creamy dip perfectly.
FAQs
What are the main ingredients in garlic hummus?
The primary ingredients in garlic hummus include chickpeas (or garbanzo beans), tahini (sesame paste), fresh lemon juice, garlic cloves, olive oil, salt, and water. These elements combine to create a smooth and creamy dip that is rich in flavor and nutrition. Optionally, spices like cumin or paprika can enhance the taste profile even further.
How long does homemade garlic hummus last?
Homemade garlic hummus typically lasts about five days when stored properly in an airtight container in the refrigerator. To maintain its freshness and quality over time, ensure that no contaminants enter the container whenever you scoop out some for serving.
Can I freeze garlic hummus?
Yes! Garlic hummus freezes well if stored correctly in airtight containers or freezer bags. It is best consumed within three months of freezing for optimal taste and texture. Thaw it overnight in the refrigerator before serving again; give it a good stir after thawing to restore its creamy consistency.
Is there a way to make garlic hummus spicier?
Absolutely! To add heat to your garlic hummus, consider incorporating ingredients such as crushed red pepper flakes or minced jalapeños during blending. Start slowly; you can always add more if needed but removing spice after adding is challenging!
What should I serve with garlic hummus?
Garlic hummus pairs beautifully with various items such as fresh vegetables like carrot sticks, cucumber slices, bell pepper strips, or cherry tomatoes. You can also serve it alongside warm pita bread or chips for dipping; even gracing grilled meats makes for an exciting culinary experience!
Can I make garlic hummus without tahini?
Yes! If you’re looking to skip tahini due to allergies or preferences, substitute it with alternatives like Greek yogurt or sun butter (sunflower seed butter). While these will alter the flavor slightly from traditional recipes using tahini; they still produce delicious results!
Summary
Creating delicious garlic hummus involves avoiding common mistakes while adhering to helpful tips that enhance flavor and texture. Remember key ingredients like chickpeas and tahini while experimenting with spices for personal touches! Pairing this dip with fresh veggies offers nutritious snacking options—making homemade garlic hummus perfect for any occasion! Enjoy experimenting until you discover flavors tailored just right!