Quick Overview
Porcupine Meatballs are a delightful twist on traditional meatballs that your family will love. These savory bites combine ground beef and rice, creating a unique texture reminiscent of the spiky creature they are named after. Perfect for any occasion, these meatballs can be served with pasta, in a sub, or simply enjoyed on their own. Join me in making this easy yet delicious meal that will impress everyone at your table.
Ingredient Breakdown
Ground Beef
Ground beef is the primary ingredient for porcupine meatballs. Use 1 pound of lean ground beef to keep the dish healthy while ensuring enough fat for flavor and moisture.
Uncooked Rice
You will need 1/2 cup of uncooked rice. This ingredient absorbs the flavors of the dish and adds bulk to the meatballs. Choose long-grain rice for best results.
Onion
One small onion finely chopped adds sweetness and depth to the flavor profile. Onions also contribute moisture to the mixture, keeping the meatballs juicy.
Egg
Add one large egg as a binder. The egg helps hold all ingredients together, preventing the meatballs from falling apart during cooking.
Garlic Powder
Use 1 teaspoon of garlic powder for an aromatic touch. This spice enhances the overall flavor without overpowering other ingredients.
Salt and Pepper
Season with 1 teaspoon of salt and 1/2 teaspoon of black pepper to taste. These two spices are essential for balancing flavors and bringing out the best in your dish.
Tomato Sauce
You will need 1 cup of tomato sauce for baking. This sauce adds acidity and richness while keeping the meatballs moist during cooking.
Step By Step Recipe: Porcupine Meatballs
Prepare Ingredients
Start by gathering all your ingredients together on a clean workspace. Measure out each ingredient accurately and chop the onion finely. This organization will streamline your cooking process and ensure you don’t miss anything important while preparing your porcupine meatballs.
Mix Ingredients
In a large mixing bowl, combine 1 pound of ground beef with 1/2 cup of uncooked rice, one chopped onion, one egg, 1 teaspoon of garlic powder, 1 teaspoon of salt, and 1/2 teaspoon of black pepper. Use your hands to mix thoroughly until all ingredients are evenly distributed without overworking the mixture to maintain tenderness in the final product.
Form Meatballs
Take small portions of the mixture (about 2 tablespoons each) and roll them into balls between your hands. Aim for consistent sizes so they cook evenly; you should get approximately 20-24 meatballs from this mixture. Place them on a baking tray lined with parchment paper to prevent sticking.
Preheat Oven
Preheat your oven to 350°F (175°C). This temperature allows the porcupine meatballs to cook through without drying out while maintaining their shape during baking.
Bake Meatballs
Once preheated, place your baking tray in the oven. Bake for about 25 minutes or until browned and cooked through. Use a thermometer if necessary; internal temperature should reach at least 160°F (70°C) for safe consumption.
Prepare Sauce
While the meatballs are baking, heat one cup of tomato sauce in a saucepan over medium heat until warmed through. You may choose to add herbs like oregano or basil if desired for extra flavor in your sauce.
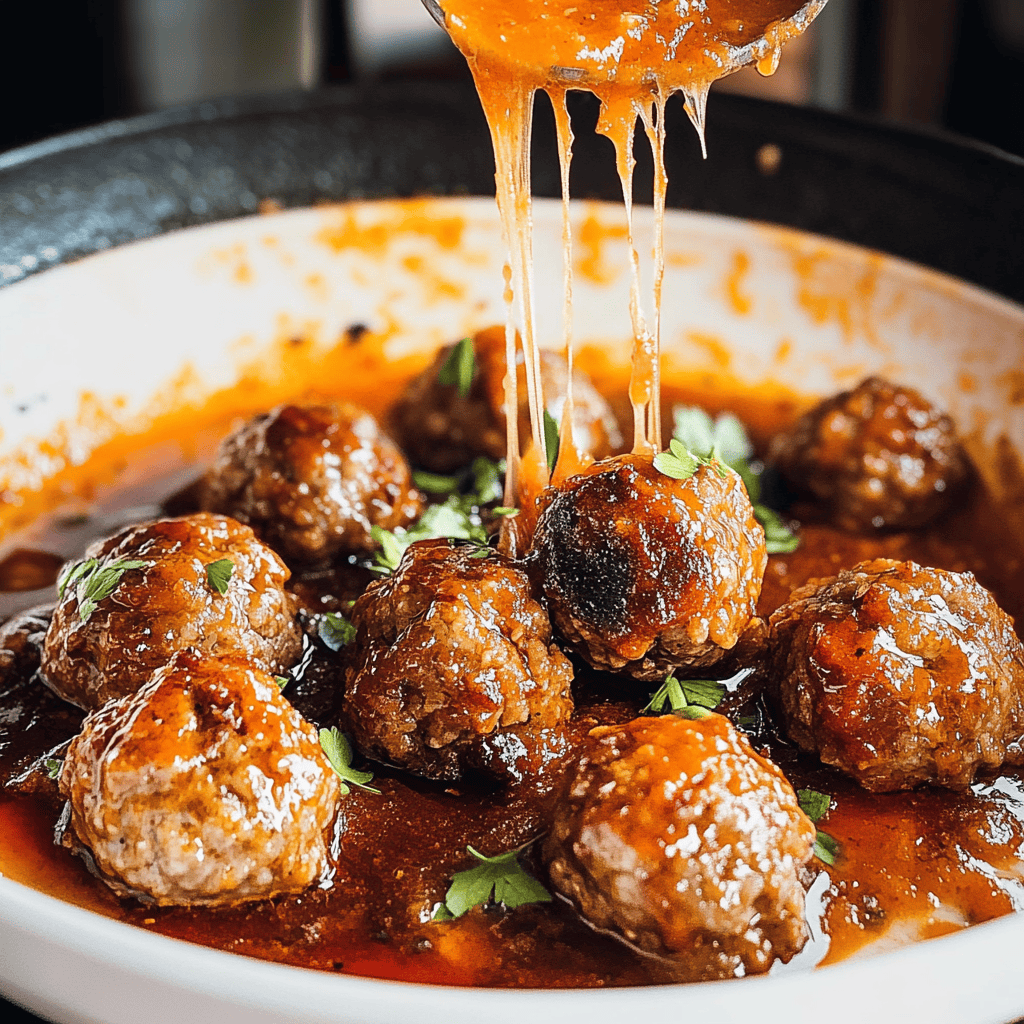
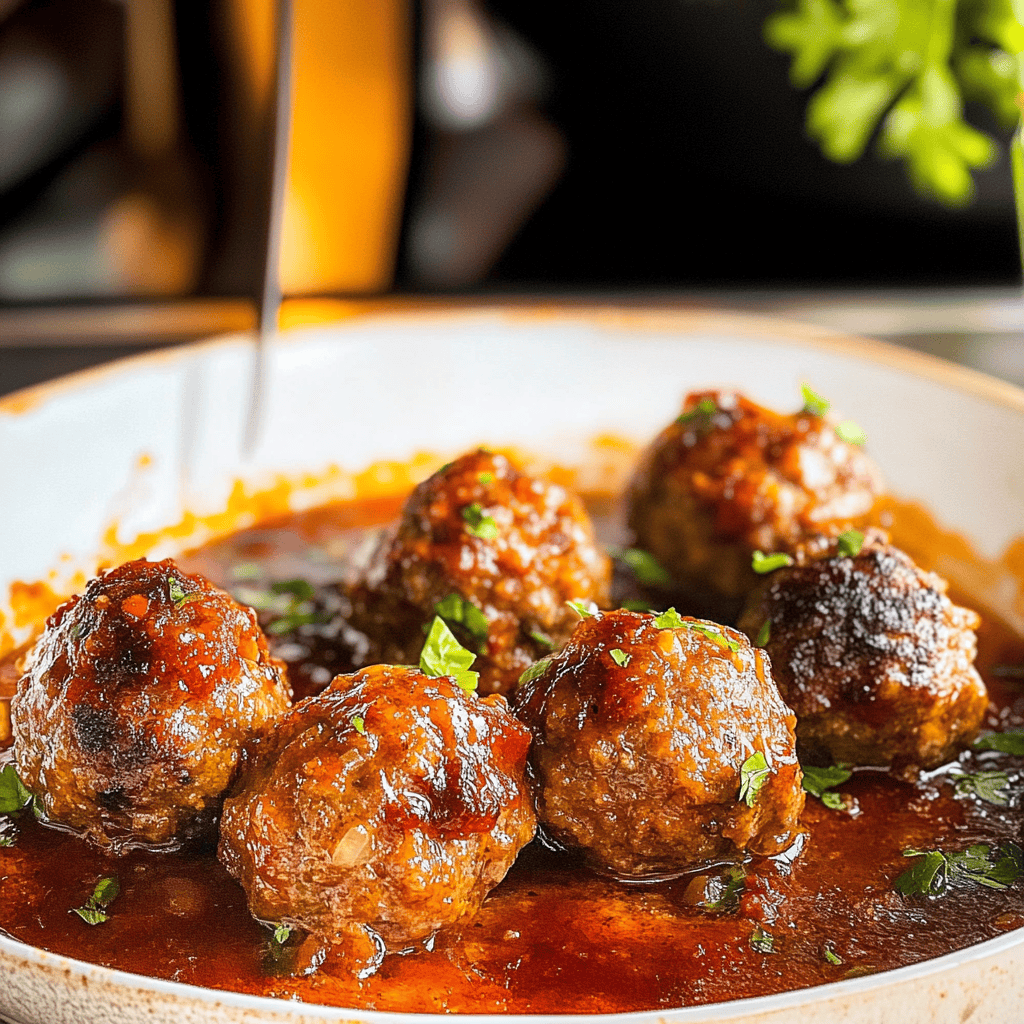
Combine Meatballs with Sauce
When the meatballs are done baking, remove them from the oven carefully using tongs or a spatula. Place them into a large serving bowl or back into the pan used for sauce. Pour warmed tomato sauce over them gently so they’re fully coated before serving.
Serving and Storing Tips
Serving Suggestions
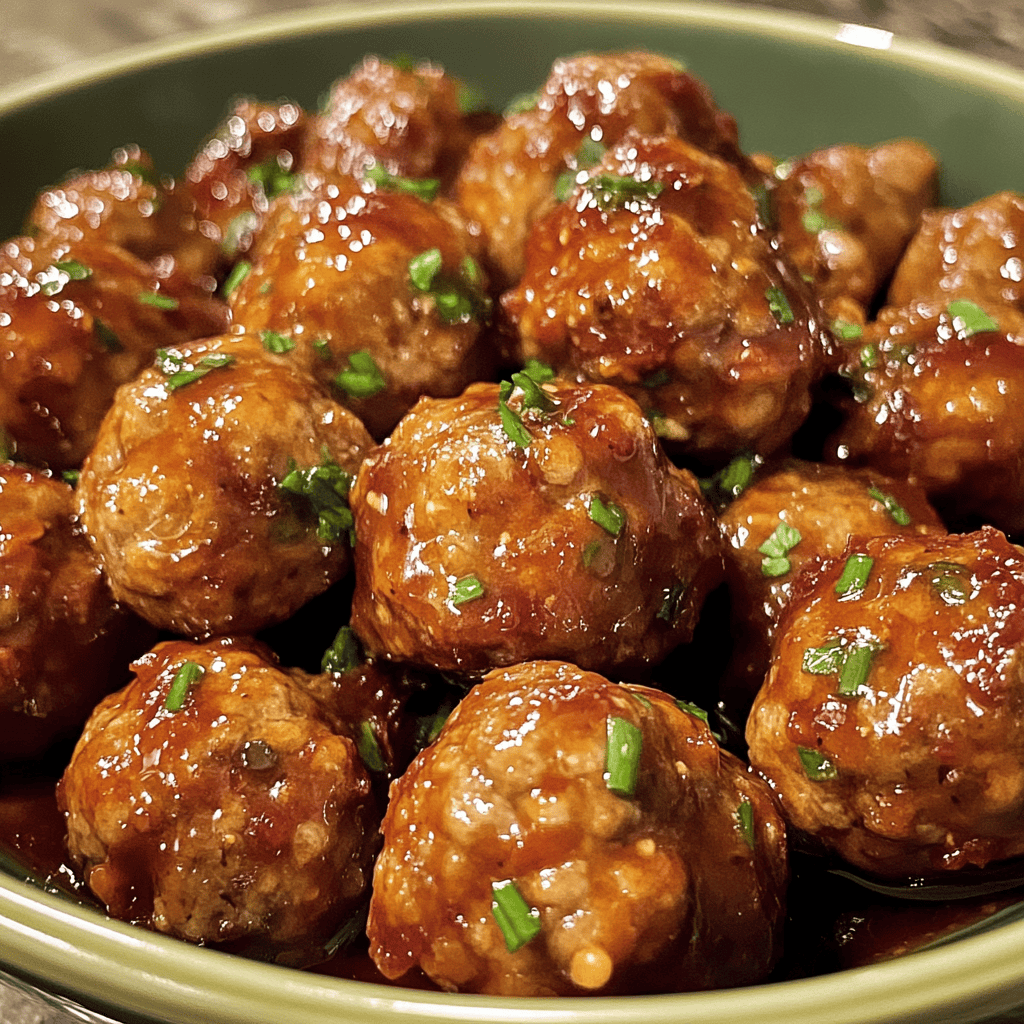
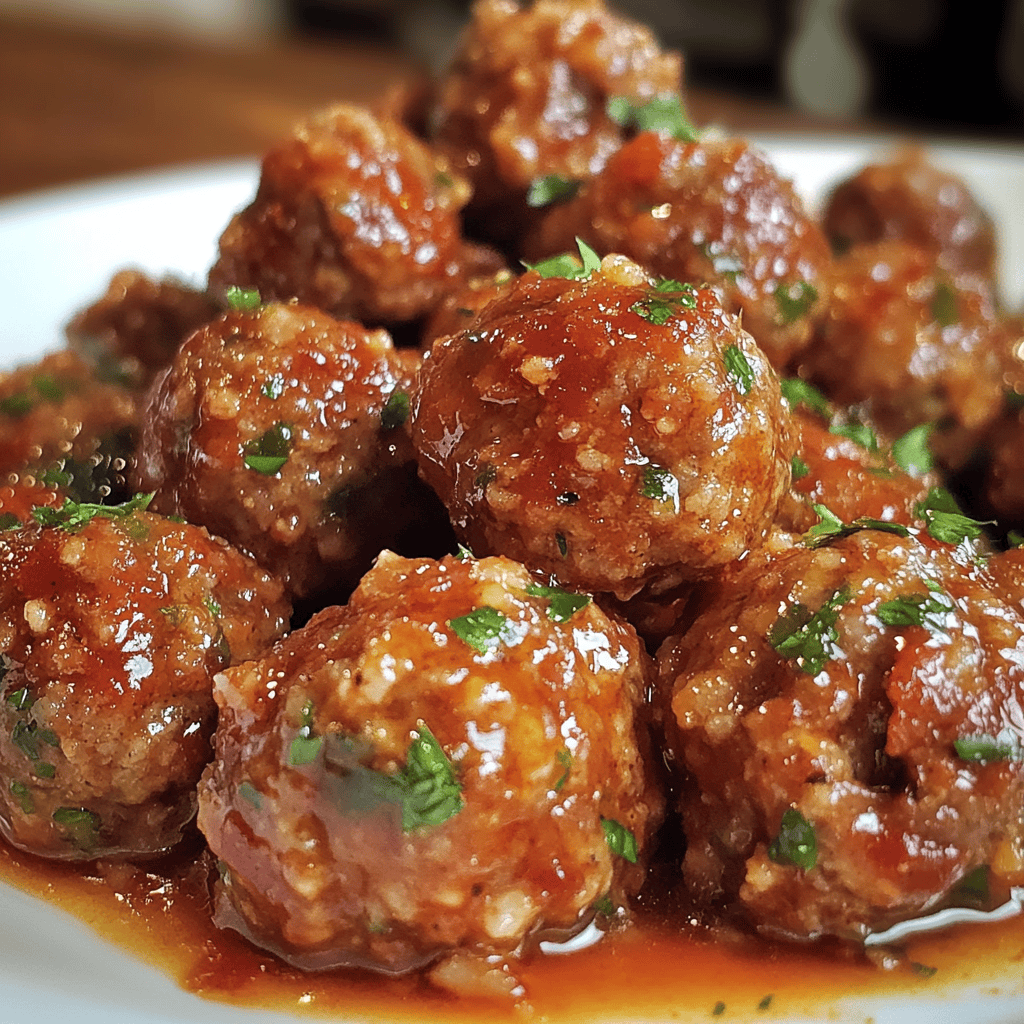
Serve porcupine meatballs warm over spaghetti or alongside garlic bread for a complete meal experience. For something lighter, pair them with steamed vegetables or a fresh salad drizzled with olive oil and vinegar dressing.
Storage Guidelines
Store any leftover porcupine meatballs in an airtight container in your refrigerator for up to three days. For longer storage options, consider freezing them; they can last up to three months when properly sealed in freezer bags or containers.
By following these instructions closely, you’ll create delicious porcupine meatballs that not only satisfy but also become a favorite among family members! Enjoy this delightful dish as part of your next meal preparation!
Mistakes to avoid
One common mistake when making porcupine meatballs is overmixing the ingredients. Overmixing can lead to tough meatballs, which are not enjoyable. To prevent this, mix just until combined, allowing the meat and other ingredients to hold their texture.
Another mistake is not letting the mixture rest. Allowing the meatball mixture to sit for about 15 minutes helps the flavors meld together. Skipping this step can result in bland meatballs that lack depth.
Not using enough seasoning is a frequent error as well. Season your mixture generously with salt, pepper, and herbs. Without proper seasoning, your porcupine meatballs may taste flat and unappealing.
Failing to monitor cooking time can also ruin your dish. Undercooking or overcooking meatballs will affect their texture and safety. Use a meat thermometer to ensure they reach an internal temperature of 160°F for beef or pork.
Lastly, neglecting to choose the right rice can lead to sticky or mushy meatballs. Use long-grain rice for better texture. Short-grain rice tends to clump together and can negatively impact the final dish.
Tips and tricks
To enhance your porcupine meatballs, consider using cooked rice instead of raw rice in your mixture. This technique adds moisture while ensuring the rice is perfectly tender by the time you serve them. Cooked rice also integrates better with ground meats, creating a fantastic blend of flavors.
Experiment with different herbs and spices for unique flavor profiles. Fresh herbs like parsley or basil can brighten up your dish, while spices such as paprika or cumin add warmth and complexity. Tailor these additions based on personal preference or what you have available in your pantry.
When shaping the meatballs, aim for uniform size for even cooking. Use a cookie scoop or your hands to form them into 1-inch balls. This not only ensures consistent cooking but also enhances presentation when served.
Consider baking instead of frying your porcupine meatballs for a healthier option. Baking reduces excess fat while still delivering delicious results. Place them on a parchment-lined baking sheet at 400°F for about 20-25 minutes, flipping halfway through for even browning.
Finally, don’t forget about sauces! A rich tomato sauce complements porcupine meatballs beautifully. You can simmer them in sauce after cooking, or simply serve alongside it for dipping, adding extra flavor without much effort.
Suggestions for Porcupine Meatballs
Pair your porcupine meatballs with a fresh green salad for a balanced meal. The crunch of lettuce and veggies contrasts nicely with the soft texture of the meatballs while providing essential nutrients.
Serve these delightful treats alongside garlic bread or crusty rolls to soak up any leftover sauce on your plate. This combination not only satisfies hunger but also creates a comforting dining experience perfect for family gatherings.
For an exciting twist, try adding cheese into the center of each meatball before cooking. As they bake, the cheese melts and creates an ooey-gooey surprise that elevates every bite.
If you’re looking to make it a complete dinner, consider serving porcupine meatballs over cooked pasta or rice. The carbohydrates will complement the protein-packed meatballs nicely while soaking up flavorful sauces.
Lastly, make extra batches and freeze them for quick weeknight meals! Freeze cooked or uncooked meatballs in airtight containers or freezer bags for easy access during busy days when you want something hearty without much fuss.
FAQs
What are porcupine meatballs?
Porcupine meatballs are savory ground beef or pork balls mixed with rice and seasonings. They get their name from how cooked rice protrudes from them like quills on a porcupine. This dish often features tomato sauce as well, enhancing its flavor profile.
Can I use other types of grains instead of rice?
Yes! While traditional recipes call for white rice, you can experiment with quinoa, brown rice, or even barley as substitutes in porcupine meatballs. Each grain will impart different textures and flavors but will work well if cooked beforehand.
How do I store leftover porcupine meatballs?
Store leftover porcupine meatballs in an airtight container in your refrigerator for up to three days. If you want longer storage options, freeze them after cooling completely; they should last around three months in the freezer when stored properly.
Are porcupine meatballs gluten-free?
Yes! Porcupine meatballs are naturally gluten-free if made without added breadcrumbs or sauces containing gluten ingredients. Always check labels on products used in preparation to ensure they meet dietary restrictions if needed.
How do I know when my porcupine meatballs are done cooking?
To determine if your porcupine meatballs are fully cooked, insert a food thermometer into one; it should read at least 160°F internally for meats like beef or pork according to food safety guidelines ensuring they’re safe to eat.
Can I make these ahead of time?
Absolutely! You can prepare porcupine meatball mixtures ahead of time by combining all ingredients except sauce then refrigerating until ready to cook later in the week or freeze raw ones until needed—just thaw before cooking!
Summary
Porcupine meatballs are a delicious dish that requires attention to detail during preparation and cooking processes—avoiding common mistakes helps ensure success! Utilize tips like incorporating various grains and experimenting with seasonings to enhance flavors further while making thoughtful suggestions regarding sides enhances overall enjoyment too! With easy storage options available along with answers provided through frequently asked questions addressing both preparation techniques and dietary concerns help simplify this tasty recipe experience overall.