Quick Overview
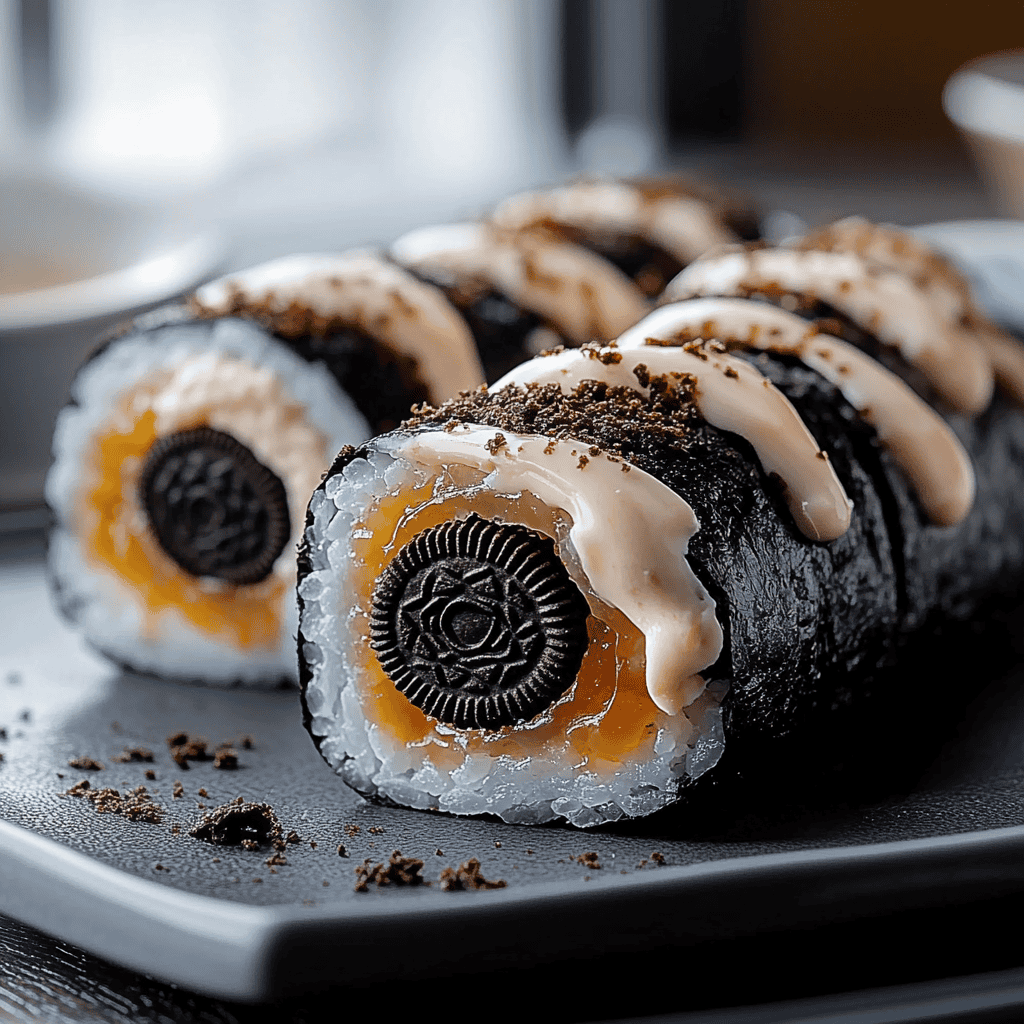
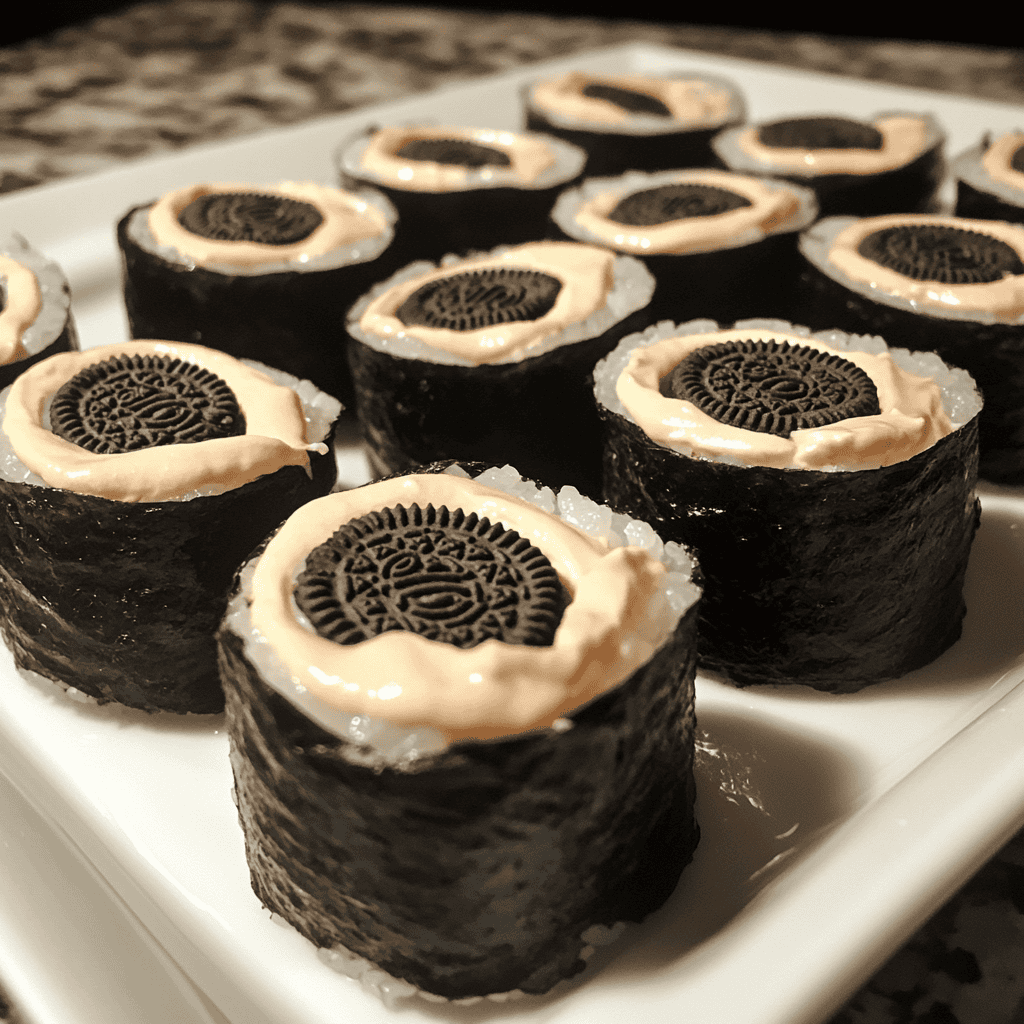
If you’re looking for a fun and delicious dessert that will impress your friends and family, look no further than Oreo sushi. This creative treat combines the classic flavors of Oreos with an imaginative presentation that mimics sushi rolls. Perfect for parties or just a sweet snack at home, this recipe is simple yet satisfying. Let’s dive into the delightful world of Oreo sushi!
Ingredient Breakdown
Oreo Cookies
You will need 12 regular-sized Oreo cookies for this recipe. The rich chocolate flavor and creamy filling provide the perfect base for your sushi rolls.
Cream Cheese
Use 4 ounces of softened cream cheese. This adds creaminess and binds the ingredients together while balancing the sweetness of the Oreos.
Rice Krispies Cereal
Gather 1 cup of Rice Krispies cereal. These add crunch and texture to your Oreo sushi, making each bite satisfying.
Fruit Roll-Ups
Get 1 to 2 fruit roll-ups in your favorite flavors. These colorful sheets serve as the outer layer of your sushi, adding vibrant colors and fruity flavors.
Optional Toppings
Consider using sprinkles or crushed nuts as optional toppings. These can enhance the visual appeal and add an extra layer of flavor to your finished dish.
Step By Step Recipe: Oreo Sushi
Step 1: Prepare the Ingredients
Start by crushing the Oreo cookies in a large bowl until they resemble fine crumbs. You can use a food processor or place them in a plastic bag and crush them with a rolling pin. Ensure there are no large chunks left; uniformity is key for easy rolling.
Step 2: Mix Cream Cheese
Add the softened cream cheese to the crushed Oreos in the bowl. Mix thoroughly until you achieve a smooth consistency that holds together well. This mixture should be thick but spreadable; adjust with more cream cheese if necessary.
Step 3: Form the Base
Take a piece of parchment paper or wax paper and lay it flat on your work surface. Use your hands to spread the Oreo mixture out into a rectangle about half an inch thick on the paper. Smooth it down evenly so that it forms a solid base for rolling later.
Step 4: Add Rice Krispies
Sprinkle Rice Krispies evenly over the entire surface of the Oreo mixture. Press down gently to help them adhere to the base without disrupting its integrity. The Rice Krispies will provide a delightful crunch throughout your dessert.
Step 5: Roll It Up
Carefully lift one edge of the parchment paper to start rolling up your Oreo base tightly into a cylinder shape. Make sure to roll slowly and securely so that everything stays intact during this process.
Step 6: Wrap with Fruit Roll-Ups
Unwrap your fruit roll-ups and lay them flat on top of each other or next to each other if you need more coverage. Place your rolled-up Oreo log onto one end of the fruit roll-up sheets and tightly wrap it around like sushi rice around fish, sealing it well as you go.
Step 7: Chill Before Slicing
Place your wrapped Oreo sushi log in the refrigerator for at least 30 minutes to firm up before slicing. This step helps maintain its shape when you cut it later on, making sure every piece looks great.
Step 8: Slice & Serve
Once chilled, take out your log from the fridge and use a sharp knife to slice it into bite-sized pieces resembling traditional sushi rolls. Clean your knife between cuts to ensure clean edges on each piece for presentation.
Serving and Storing Tips
Serving Suggestions
Serve your freshly made Oreo sushi on a platter garnished with colorful toppings like sprinkles or crushed nuts for added flair. Pair it with milk or ice cream for an even more indulgent experience that everyone will enjoy!
Storage Instructions
Store any leftover pieces in an airtight container in the refrigerator for up to three days. Be cautious not to stack them too high, as they may lose their shape or stick together if compressed too much during storage.
Enjoy making this fun treat! Your family and friends are sure to love these creative bites of sweetness!
Mistakes to avoid
When making Oreo Sushi, one common mistake is using the wrong type of rice. Sushi rice has a unique sticky texture that helps hold the ingredients together. If you use regular rice, your creation may fall apart and not achieve the desired look. Another mistake is not preparing the filling properly. Ensure your fillings are cut into small, manageable pieces to allow for easy rolling and eating. Additionally, avoid excessive pressure when rolling your sushi. Too much force can cause the rice to squish out, leading to an unappealing presentation.
A third mistake involves choosing the wrong toppings. Remember that Oreo Sushi is a dessert, so opt for sweet toppings like chocolate sauce or fruit instead of savory options. Lastly, don’t skip chilling your sushi rolls before slicing them. Chilling helps firm up the rolls, making them easier to cut without falling apart.
Tips and tricks
To create perfect Oreo Sushi, first, ensure you use high-quality ingredients. Choose fresh Oreos and look for ripe fruits like bananas or strawberries for a delightful contrast in flavors and textures. When preparing your sushi rolls, consider adding cream cheese or whipped cream as a spread on the inner layer; this adds richness and enhances flavor. Make sure to have all your ingredients within arm’s reach before you start assembling; it streamlines the process and helps maintain focus.
When rolling your sushi, use a bamboo mat for even pressure and better control. Start by placing the rice on a sheet of nori with an even layer but leave some space at one end for sealing later. Use a gentle but firm motion to roll it up tightly while ensuring no filling escapes from either end. After rolling, wrap it in plastic wrap and chill in the refrigerator for at least 30 minutes before slicing; this will help everything set nicely.
Lastly, experiment with different fillings and toppings based on personal preferences or seasonal fruits available in your area. You might discover new combinations that become family favorites!
Suggestions for Oreo Sushi
If you’re new to making Oreo Sushi, consider starting with simple fillings like sliced strawberries or bananas paired with crushed Oreos. These ingredients complement each other well and make for an enjoyable taste experience. For those who want something different, try adding peanut butter alongside the Oreos; this creates a deliciously rich flavor profile that many will love.
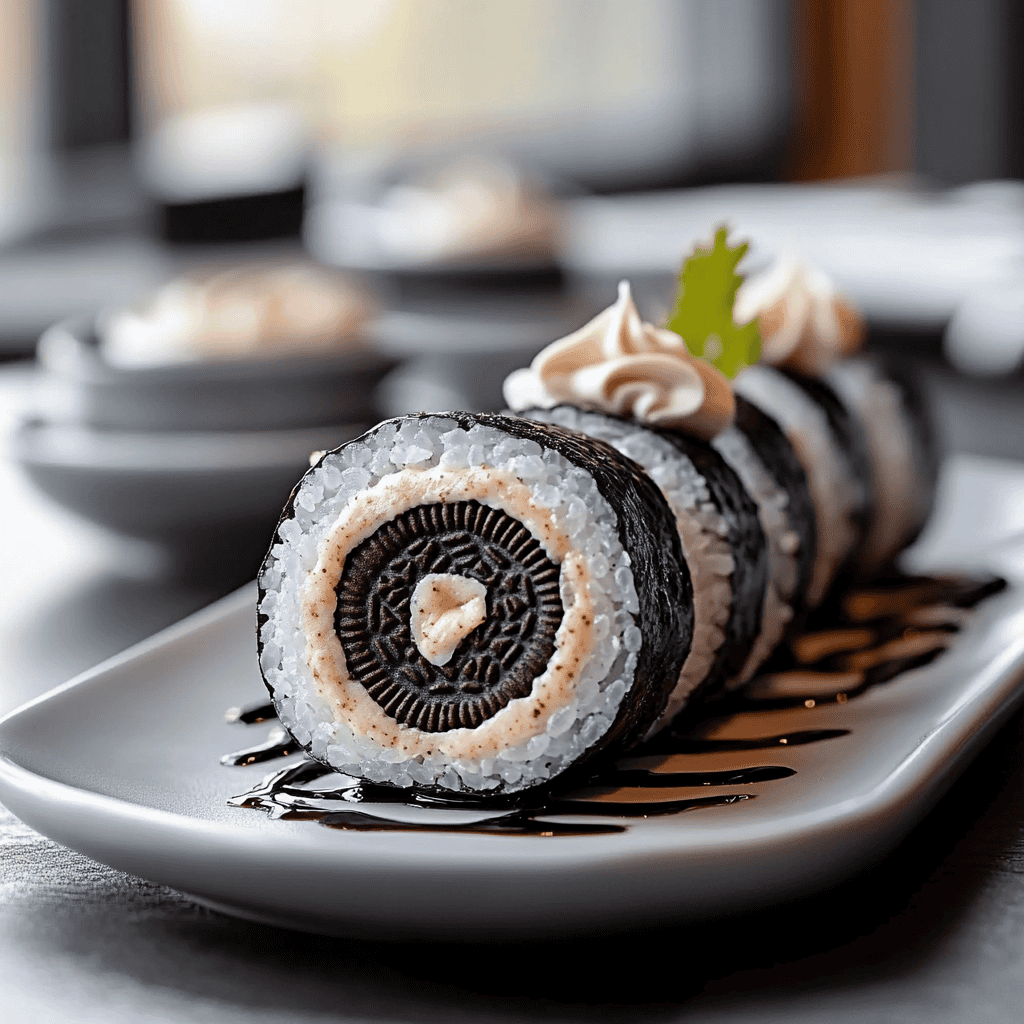
For presentation purposes, slice your completed rolls into bite-sized pieces and arrange them neatly on a serving platter. Drizzle melted chocolate or caramel sauce over the top before serving for an added touch of sweetness and visual appeal. You can also sprinkle crushed nuts or even edible glitter on top to elevate the aesthetic.
Finally, remember that Oreo Sushi is versatile! Feel free to adjust ingredient ratios according to personal preferences or dietary restrictions—vegan substitutes can work well too!
FAQs
What is Oreo Sushi?
Oreo Sushi combines traditional sushi techniques with sweet ingredients like Oreos and cream cheese or fruit fillings. It results in a fun dessert roll that appeals to both kids and adults alike. Typically made with crushed Oreos as a base instead of rice, it’s rolled up with various sweet fillings before being sliced into bite-sized pieces.
Can I make Oreo Sushi vegan?
Yes! You can easily make vegan Oreo Sushi by substituting cream cheese with plant-based alternatives such as coconut yogurt or cashew cream. Use vegan-friendly Oreos (most are suitable) along with fruits like berries or bananas for filling.
How should I store leftover Oreo Sushi?
Store leftover Oreo Sushi in an airtight container in the refrigerator if you have any after serving! It stays fresh for about 2-3 days if kept chilled properly—however, freshly made sushi always tastes best.
Can I use flavored Oreos?
Absolutely! Using flavored Oreos like mint or peanut butter can add exciting twists to your dessert sushi rolls. Just be mindful of how these flavors blend with your chosen fillings!
Is there a gluten-free version of Oreo Sushi?
Yes! To create gluten-free Oreo Sushi, ensure you use gluten-free Oreos along with rice paper wrappers instead of traditional nori sheets—or simply make sure all other ingredients are gluten-free as well!
What are some creative toppings for my Oreo Sushi?
You can get creative by drizzling chocolate syrup, caramel sauce, or even fruit puree over your finished rolls! Sprinkling crushed nuts or colorful sprinkles will also enhance both flavor and presentation.
Summary
In summary, mastering Oreo Sushi involves avoiding common mistakes like using incorrect rice types and improper fillings while applying helpful tips such as using quality ingredients and having everything prepped beforehand. Experimenting with various sweet toppings will enhance not only taste but also visual appeal! Always remember that creativity plays a big role here—so feel free to innovate while enjoying this delicious dessert treat!