Quick Overview
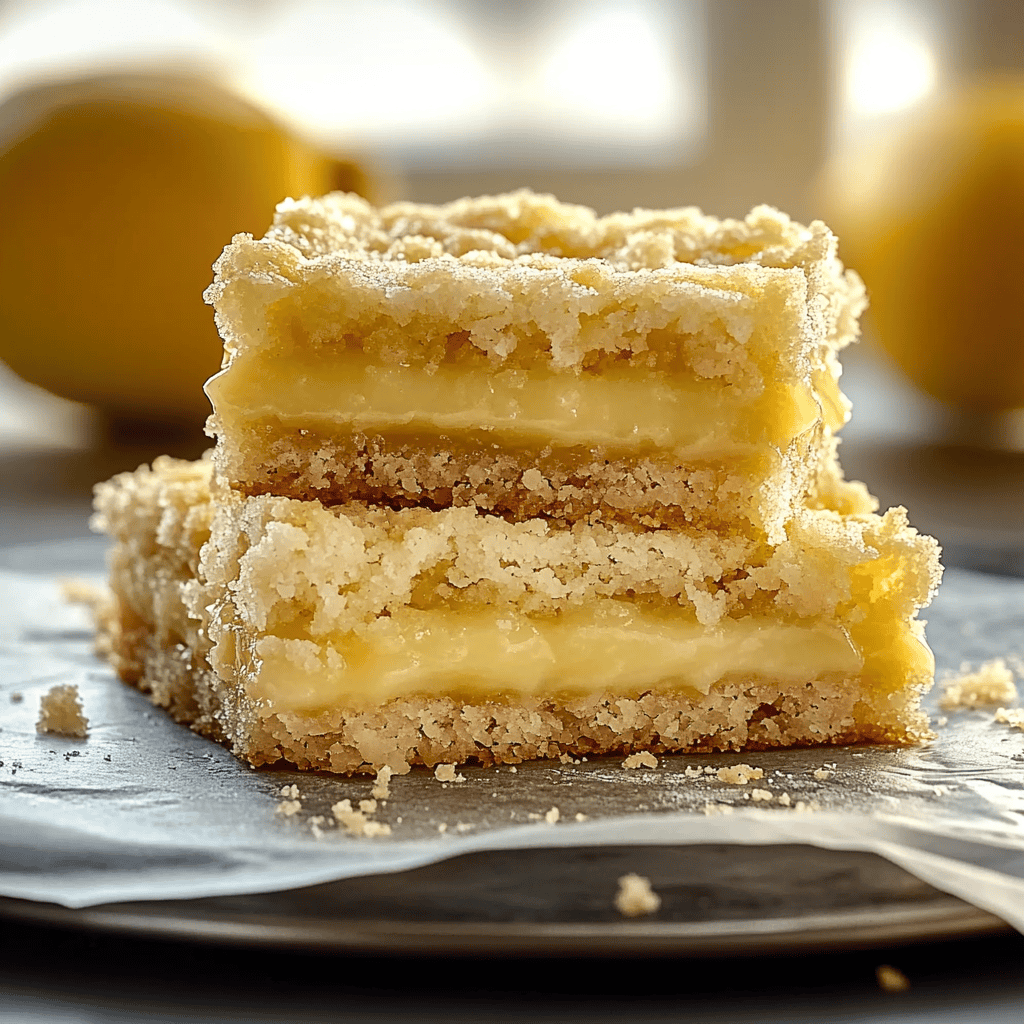
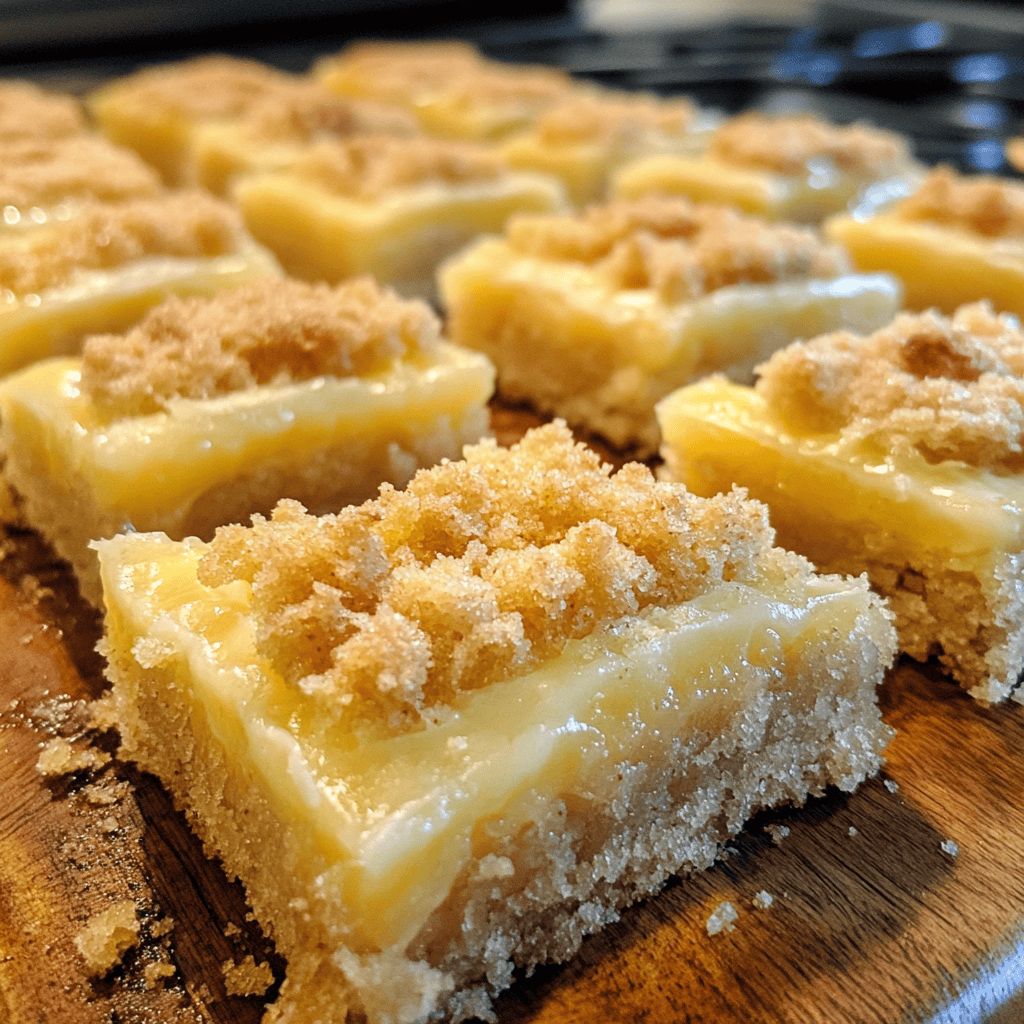
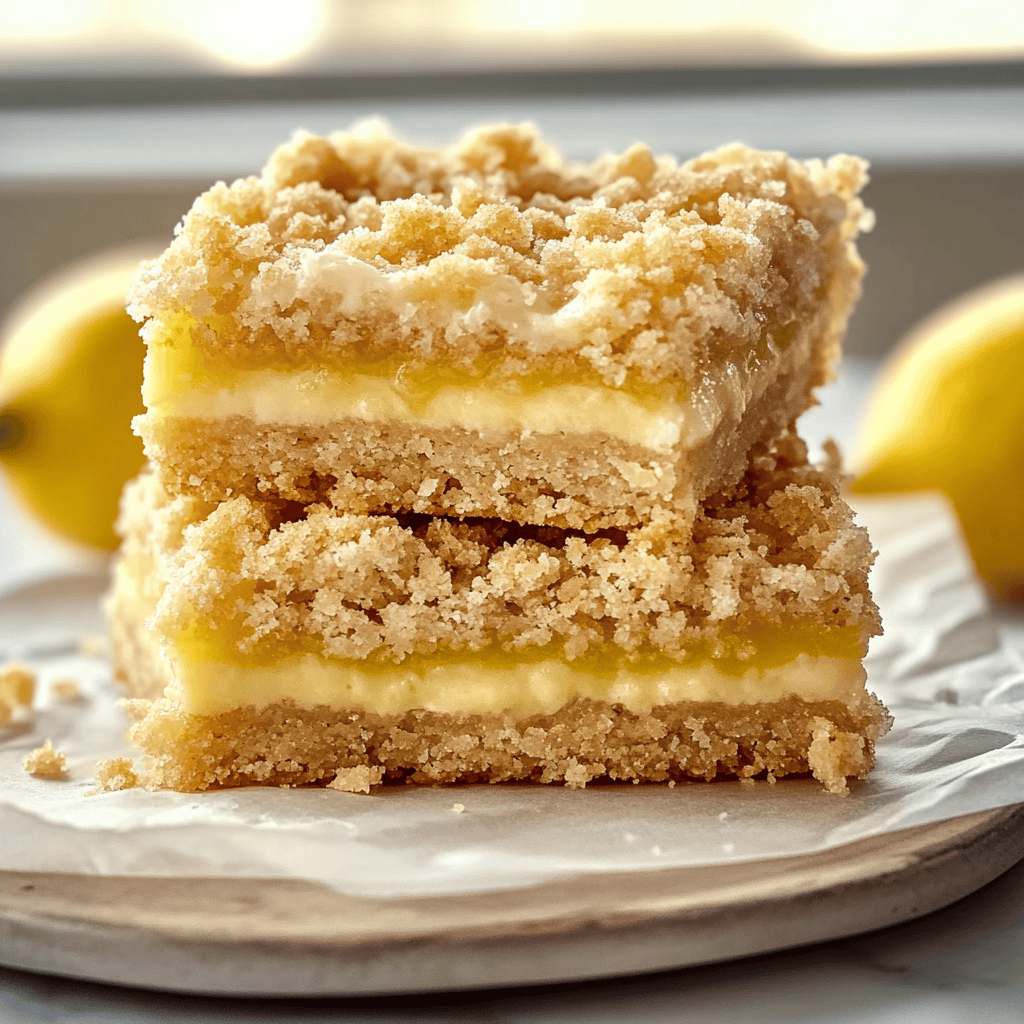
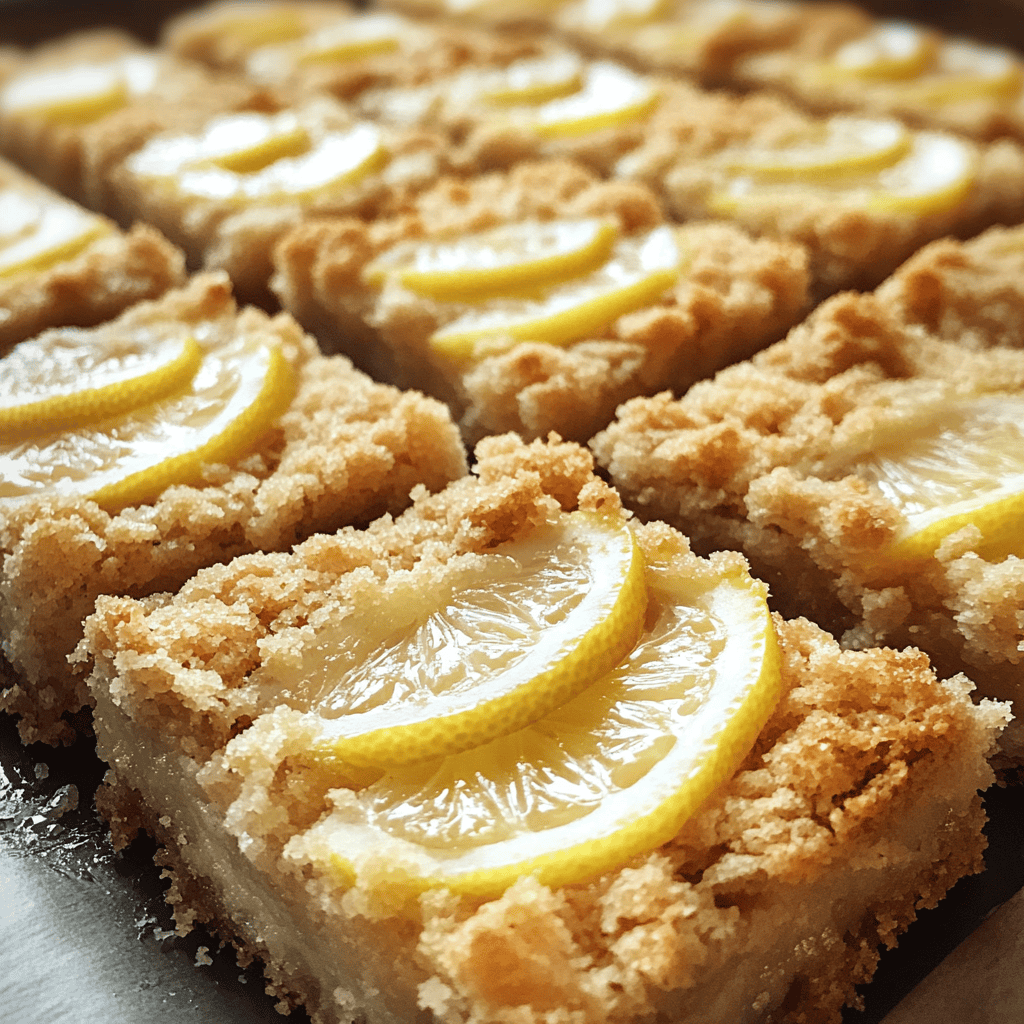
If you’re looking for a delightful treat that balances sweetness with citrus zing, Lemon Crumb Bars are your answer. These bars feature a buttery crumb base topped with a creamy lemon filling that melts in your mouth. Perfect for parties or afternoon snacks, this recipe brings sunshine to your table any time of year. Follow along as we guide you through creating these scrumptious lemon crumb bars that will impress your family and friends.
Ingredient Breakdown
H4 Sugar
For this recipe, you will need 1 cup of granulated sugar. Sugar balances the tartness of the lemons and adds sweetness to the filling and crust.
H4 All-Purpose Flour
You will need 2 cups of all-purpose flour. This forms the bulk of the crust and provides structure to the crumb bars.
H4 Unsalted Butter
Use 1 cup (2 sticks) of unsalted butter, softened. Butter adds richness and creates a tender texture in both the crust and filling.
H4 Eggs
You will need 3 large eggs. Eggs help bind the ingredients together and provide moisture in the lemon filling.
H4 Fresh Lemons
Use 2 large fresh lemons for juicing and zesting. Fresh lemons give these bars their vibrant flavor and refreshing aroma.
H4 Baking Powder
Add 1 teaspoon of baking powder. Baking powder helps create a light texture in the filling as it bakes.
H4 Powdered Sugar
You will need powdered sugar for dusting at the end (optional). It adds an elegant finish to your lemon crumb bars.
Step By Step Recipe: Lemon Crumb Bars
H4 Preheat Your Oven
Begin by preheating your oven to 350°F (175°C). This ensures that your lemon crumb bars bake evenly from the start. Prepare an 8×8 inch baking dish by greasing it lightly or lining it with parchment paper for easy removal later.
H4 Make the Crust
In a mixing bowl, combine 1 cup of softened unsalted butter with 1/2 cup of granulated sugar until creamy. Gradually add 2 cups of all-purpose flour along with 1 teaspoon of baking powder. Mix until crumbly but not overworked. Press this mixture evenly into the bottom of your prepared baking dish to form a solid crust layer.
H4 Bake the Crust
Place the crust in your preheated oven and bake for about 15 minutes or until lightly golden around the edges. Keep an eye on it to avoid over-baking; you want it firm but not browned too much as it will bake again with the filling later on.
H4 Prepare the Filling
While the crust is baking, prepare your lemon filling by whisking together 3 large eggs in a bowl until frothy. Add in 1 cup of granulated sugar followed by freshly squeezed juice from two lemons and zest from those lemons. Mix well until combined.
H4 Combine Filling Ingredients
Next, sift in 1/4 cup of all-purpose flour into your egg mixture while whisking continuously to avoid lumps. Make sure everything is well blended for a smooth filling that’s bursting with citrus flavor.
H4 Pour Filling Over Crust
Once your crust has finished baking and cooled slightly, take it out of the oven. Carefully pour your prepared lemon filling over the warm crust, spreading it evenly across using a spatula to cover every corner.
H4 Bake Again
Return your dish to the oven and bake for an additional 20-25 minutes or until set (the center should not jiggle when gently shaken). The edges should turn slightly golden while maintaining a soft texture right at its center.
H4 Cool Completely
After baking is complete, remove from oven and let cool completely at room temperature before cutting into squares. This step is crucial because it allows the filling to firm up further for perfect slicing.
H4 Dust with Powdered Sugar
Once cooled completely, dust powdered sugar over the top of your lemon crumb bars using a fine mesh sieve for an elegant finish that adds sweetness without overpowering their zesty flavor profile.
Serving and Storing Tips
H4 Serving Suggestions
Cut into squares or rectangles based on preference before serving them at room temperature or chilled! These bars pair beautifully with whipped cream or fresh berries on top if desired—a great way to impress guests!
H4 Storing Leftovers
Store leftover lemon crumb bars in an airtight container in the refrigerator for up to one week. The cold enhances their refreshing taste while keeping them fresh longer!
H4 Freezing Options
You can freeze leftover bars as well! Wrap individual portions tightly in plastic wrap then place them inside freezer-safe bags; they’ll stay good for up to three months—perfect for enjoying later!
This comprehensive guide gives you everything you need to create delicious Lemon Crumb Bars right at home! Enjoy every bite!
Mistakes to avoid
One common mistake when making Lemon Crumb Bars is overmixing the batter. Overmixing can lead to a tough texture rather than the desired crumbly finish. Mix just until the ingredients are combined for the best results.
Another frequent error is using too much lemon juice. While a tangy flavor is essential, excessive acidity can make the bars overly sour and unbalanced. Stick to the recommended amount for a perfect balance of sweetness and tartness.
Not chilling the bars long enough before cutting is another pitfall. Allowing them to chill for at least two hours helps set the filling, making it easier to cut into neat squares without falling apart.
Ignoring the quality of your ingredients can also affect your Lemon Crumb Bars. Always choose fresh lemons and high-quality butter for optimal flavor and texture. Using stale or low-quality products will compromise your dessert’s overall taste.
Lastly, failing to line your baking pan properly can result in sticky bars that are hard to remove. Use parchment paper or grease the pan thoroughly to ensure that your Lemon Crumb Bars come out easily and maintain their shape.
Tips and tricks
To achieve perfect Lemon Crumb Bars, start by measuring your ingredients accurately. Use a kitchen scale for dry ingredients like flour and sugar; this will ensure consistency in your recipe every time you make it. Accurate measurements prevent variations in texture and flavor, leading to more reliable results.
When zesting lemons, use a microplane grater for optimal zest extraction. This method allows you to get fine shavings without including any bitter white pith. The zest adds a vibrant flavor that enhances the overall taste of your bars, making them more aromatic.
For an extra touch of decadence, consider adding a powdered sugar glaze on top after baking. Mix powdered sugar with a splash of lemon juice until smooth, then drizzle it over cooled bars. This glaze not only adds sweetness but also creates an attractive finish that elevates the visual appeal of your Lemon Crumb Bars.
If you’re looking for variations, try incorporating different citrus zests like lime or orange for a unique twist on the classic recipe. Each citrus brings its own character, allowing you to customize the flavors according to your preferences while still enjoying that bright, refreshing taste.
Lastly, let your bars cool completely before slicing them into squares. Patience is key here; cooling allows the filling to set properly, preventing it from oozing out when you cut into them. Well-set bars give you clean edges and improve presentation when serving.
Suggestions for Lemon Crumb Bars
Consider pairing Lemon Crumb Bars with fresh berries or whipped cream for added flavor and texture contrast. The sweet-tartness of berries complements the lemony goodness perfectly and makes it feel like an indulgent treat.
For those who enjoy a bit of crunch, sprinkle some toasted coconut on top before serving. The nutty flavor of coconut adds another layer of complexity that enhances each bite while providing a pleasing texture contrast against the creamy filling.
If you’re preparing these bars for special occasions, serve them alongside herbal tea or lemon-infused drinks. The complementary flavors elevate the experience and create an inviting atmosphere that guests will appreciate.
You could also package individual portions as thoughtful gifts during holidays or celebrations. Wrapping them in decorative boxes adds a personal touch while showcasing your culinary skills and thoughtfulness toward friends or family.
Lastly, experiment with serving suggestions by adding a scoop of vanilla ice cream on top of warm Lemon Crumb Bars. The combination of warm crust with cold ice cream creates a delightful melty experience that everyone will love.
FAQs
Can I use bottled lemon juice instead of fresh?
While bottled lemon juice may be convenient, it’s generally less flavorful than fresh juice squeezed from lemons. Fresh juice provides better acidity and brightness, enhancing the overall taste of your Lemon Crumb Bars significantly.
How should I store leftover Lemon Crumb Bars?
Leftover Lemon Crumb Bars should be stored in an airtight container in the refrigerator. They typically last about 4-5 days when properly stored. Chilling helps maintain their freshness while keeping them firm enough for easy slicing when you’re ready to enjoy more.
Can I freeze Lemon Crumb Bars?
Yes, you can freeze Lemon Crumb Bars! Wrap them tightly in plastic wrap or aluminum foil before placing them in an airtight container or freezer bag. They can be frozen for up to three months; simply thaw overnight in the refrigerator before serving again.
What can I substitute if I’m out of butter?
If you’re out of butter, you can substitute equal parts coconut oil or margarine in your recipe for Lemon Crumb Bars. Both alternatives provide similar fat content but may slightly alter flavor profiles; however, they still yield delicious results!
Is there any way to make these bars gluten-free?
Absolutely! To make gluten-free Lemon Crumb Bars, substitute regular flour with a gluten-free blend designed for baking recipes. Look for blends containing xanthan gum which helps mimic wheat’s structure during baking for optimal results.
How do I know when my bars are done baking?
Your Lemon Crumb Bars are done baking when they are set around the edges but slightly jiggly in the center; they will firm up as they cool down afterward. A toothpick inserted into the center should come out mostly clean with just a few crumbs attached indicating they’re ready!
Summary
In conclusion, creating delightful Lemon Crumb Bars involves avoiding common mistakes such as overmixing and improper cooling techniques while implementing helpful tips like accurate measurement and ingredient quality checks. With thoughtful suggestions on pairing options and proper storage methods outlined above, you’ll ensure success every time you bake these treats! Enjoy sharing this refreshing dessert with family and friends all year round!