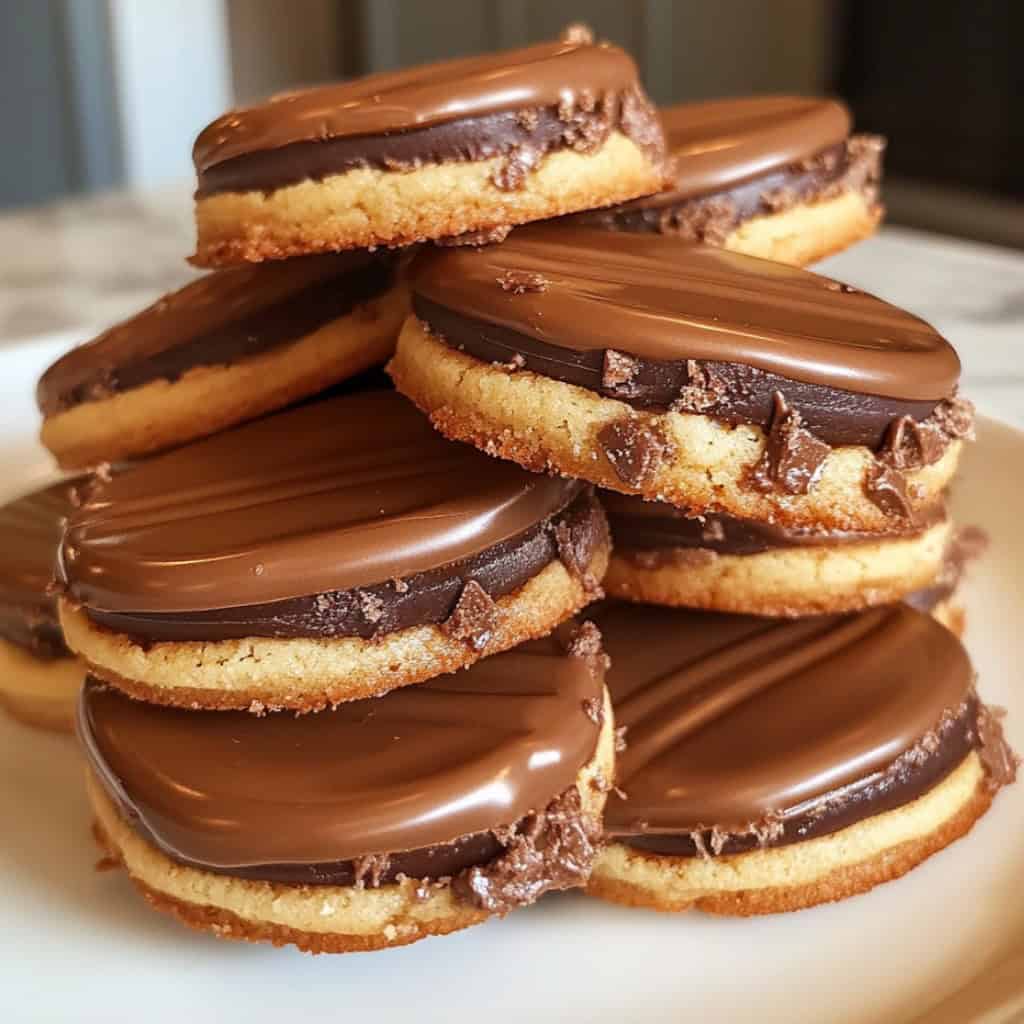
Why You Should Make These Chocolate-Covered Butter Cookies Today!
Imagine biting into a crispy, buttery cookie that’s been generously coated with rich, velvety chocolate. It’s the kind of cookie that melts in your mouth, leaving behind a taste that lingers long after the last crumb is gone. These Chocolate-Covered Butter Cookies are perfect for satisfying your sweet cravings. They are easy to make, require minimal ingredients, and are perfect for any occasion—be it a family gathering, a tea party, or just a quiet evening treat. If you love the classic combination of buttery goodness and chocolate, this recipe is a must-try. Let’s dive into this decadent and delightful treat that will surely become a favorite in your household!
Ingredients
- 1 cup unsalted butter, softened
- 1/2 cup granulated sugar
- 1 teaspoon vanilla extract
- 2 cups all-purpose flour
- 1/4 teaspoon salt
- 1 cup semi-sweet chocolate chips
- 1 tablespoon coconut oil or shortening
Instructions
- Prepare Your Dough:
- Start by preheating your oven to 350°F (175°C) and lining a baking sheet with parchment paper. In a large mixing bowl, cream together the softened butter and granulated sugar until light and fluffy. This should take about 2-3 minutes using an electric mixer.
- Add Vanilla and Dry Ingredients:
- Mix in the vanilla extract until combined. Gradually add the all-purpose flour and salt, mixing until a soft dough forms. The dough may seem a bit crumbly at first, but continue mixing until it comes together.
- Shape the Cookies:
- Lightly flour your work surface and roll out the dough to about 1/4-inch thickness. Use a round cookie cutter (about 2 inches in diameter) to cut out circles. Place the cookies on the prepared baking sheet, spacing them about 1 inch apart.
- Bake:
- Bake the cookies in the preheated oven for 10-12 minutes, or until the edges are lightly golden. Be careful not to overbake them as you want the cookies to remain soft and buttery. Once baked, remove the cookies from the oven and let them cool completely on a wire rack.
- Melt the Chocolate:
- While the cookies are cooling, melt the semi-sweet chocolate chips and coconut oil in a microwave-safe bowl. Heat in 30-second intervals, stirring after each, until the chocolate is completely melted and smooth. You can also use a double boiler for this step if preferred.
- Dip the Cookies:
- Once the cookies are cool, dip each one halfway into the melted chocolate. Let the excess chocolate drip off, then place the cookies back on the parchment-lined baking sheet. For an extra touch, you can sprinkle crushed nuts, chocolate shavings, or sea salt on the chocolate while it’s still wet.
- Set the Chocolate:
- Allow the chocolate-covered cookies to set at room temperature or place them in the refrigerator for faster setting. Once the chocolate has hardened, your cookies are ready to enjoy!
Notes
- Storage: Store these cookies in an airtight container at room temperature for up to a week. If you want to keep them longer, store them in the refrigerator for up to two weeks.
- Chocolate Options: Feel free to use milk chocolate or dark chocolate based on your preference. White chocolate is also a delicious alternative.
- Flavor Enhancements: Add a pinch of cinnamon or cardamom to the cookie dough for a unique flavor twist. A few drops of almond extract can also elevate the taste.
FAQs
1. Can I freeze the cookie dough for later use?
- Yes, you can freeze the cookie dough. Wrap it tightly in plastic wrap and store it in a freezer bag for up to three months. Thaw in the refrigerator before rolling out and baking.
2. What can I use if I don’t have coconut oil?
- If you don’t have coconut oil, you can use vegetable shortening or even butter to help the chocolate set and give it a nice shine.
3. How can I prevent the cookies from spreading too much while baking?
- Make sure your butter is not too soft, and chill the cookie dough for about 30 minutes before baking. This helps the cookies maintain their shape.
4. Can I make these cookies gluten-free?
- Yes, you can use a 1:1 gluten-free flour blend in place of all-purpose flour. Make sure to check that all other ingredients are gluten-free.
5. Why did my chocolate seize while melting?
- Chocolate can seize if it comes into contact with water. Ensure all utensils are dry and the chocolate is not overheated. Melting the chocolate slowly helps avoid this problem.
For another delectable dessert, try these Banana Cream Cheesecake Bars.
These Chocolate-Covered Butter Cookies are not only a treat for the taste buds but also a feast for the eyes. They make for an excellent homemade gift, a delightful addition to any dessert table, or a sweet indulgence for yourself. Try this recipe today and enjoy the rich, buttery flavor combined with luscious chocolate. Happy baking!