

Quick Overview
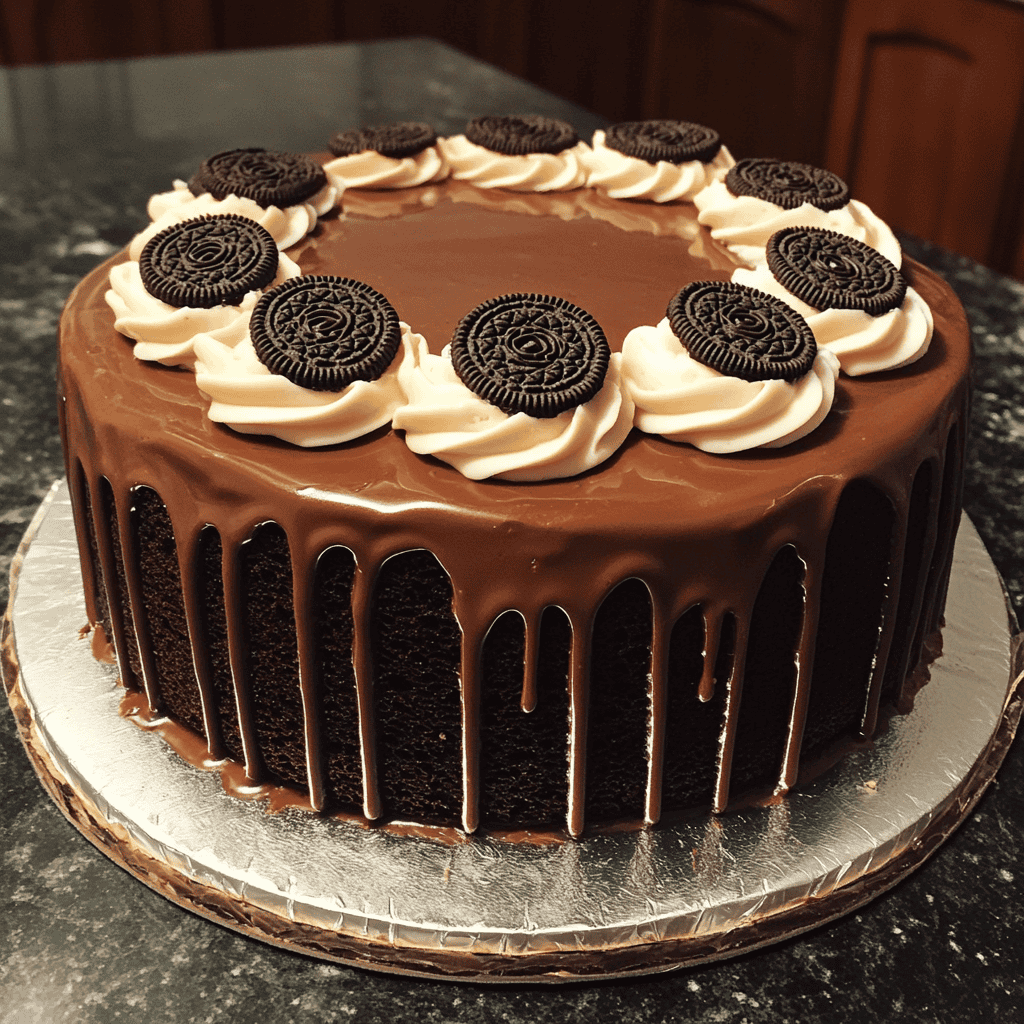
Are you ready to impress your friends and family with an indulgent dessert? This Chocolate Oreo Cake is a showstopper that combines rich chocolate flavors with the iconic taste of Oreos. Perfect for birthdays, celebrations, or simply as a treat for yourself, this cake will satisfy your sweet tooth. With its luscious layers and creamy frosting, this recipe is sure to become a favorite in your home. Let’s dive into the ingredients and get baking!
Ingredient Breakdown
H4 Sugar
Sugar is essential for sweetness in the Chocolate Oreo Cake. You will need 1 cup of granulated sugar to balance the bitterness of cocoa powder and enhance the overall flavor.
H4 All-Purpose Flour
To create a fluffy texture, use 1 ¾ cups of all-purpose flour. This ingredient helps provide structure to the cake while ensuring it remains light and airy.
H4 Cocoa Powder
Cocoa powder gives the cake its rich chocolate flavor. Use ¾ cup of unsweetened cocoa powder for depth and a dark color that makes this dessert irresistible.
H4 Baking Powder
Baking powder is vital for leavening the cake. You will need 1 ½ teaspoons to help it rise beautifully during baking, resulting in a soft crumb.
H4 Baking Soda
To enhance the reaction with acidic ingredients like cocoa powder, include 1 teaspoon of baking soda. This ensures that your cake rises perfectly and has a light texture.
H4 Salt
A pinch (½ teaspoon) of salt balances the sweetness and enhances all flavors in your Chocolate Oreo Cake. It’s crucial not to skip this ingredient!
H4 Eggs
You will need 2 large eggs at room temperature. Eggs provide moisture and help bind all ingredients together for a cohesive batter.
H4 Milk
Use 1 cup of whole milk for moisture. This ingredient helps achieve a tender crumb while creating a rich mouthfeel in every bite.
H4 Vegetable Oil
Using ½ cup of vegetable oil adds moisture without weighing down the cake. It keeps it soft and deliciously tender.
H4 Vanilla Extract
Add 2 teaspoons of vanilla extract to enhance flavor complexity. This ingredient brings warmth to the overall taste profile of your cake.
H4 Oreos
Don’t forget about Oreos! You will need approximately 15 crushed Oreos mixed into the batter and more for decoration. They add a delightful crunch and flavor that complements the chocolate perfectly.
Step By Step Recipe: Chocolate Oreo Cake
H4 Preheat Your Oven
Begin by preheating your oven to 350°F (175°C). This ensures that your cake bakes evenly from start to finish. Prepare two round cake pans by greasing them lightly with butter or oil and lining them with parchment paper.
H4 Combine Dry Ingredients
In a large mixing bowl, whisk together 1 ¾ cups flour, ¾ cup cocoa powder, 1 cup sugar, 1 ½ teaspoons baking powder, 1 teaspoon baking soda, and ½ teaspoon salt until fully combined. Make sure there are no lumps left in the dry mixture before proceeding to ensure an even texture in your cake.
H4 Mix Wet Ingredients
In another bowl, combine the wet ingredients: add 2 large eggs, 1 cup milk, and ½ cup vegetable oil along with 2 teaspoons vanilla extract. Beat gently until everything is well incorporated; this creates a smooth batter that will blend easily with dry ingredients.
H4 Combine Wet and Dry Mixtures
Gradually add the wet mixture into the dry mixture while stirring constantly until well blended. Be careful not to overmix; stop once you see no dry flour remaining. Gently fold in about 15 crushed Oreos until they are evenly distributed throughout the batter.
H4 Pour Batter into Pans
Divide the batter evenly between the two prepared round cake pans. Smooth out the tops using a spatula to ensure even baking. Tap each pan on the counter gently to remove any air bubbles trapped inside before placing them in the oven.
H4 Bake Your Cakes
Bake both pans in your preheated oven for about 30–35 minutes or until a toothpick inserted into the center comes out clean. Keep an eye on them as baking times can vary slightly depending on your oven’s calibration.
H4 Cool Cakes Before Frosting
Once baked, remove both cakes from the oven and let them cool in their pans for about ten minutes before transferring them onto wire racks. Allow them to cool completely—this step is crucial for preventing melting when you apply frosting.
H4 Prepare Your Frosting
While waiting for your cakes to cool down completely, prepare frosting by beating together softened cream cheese (8 oz) with butter (½ cup) until creamy. Gradually add powdered sugar (3 cups) along with an additional teaspoon of vanilla extract until you reach desired consistency—smooth yet spreadable!
H4 Assemble Your Cake
Once cooled completely stack one layer on a serving plate or stand; generously spread frosting over its top followed by extra crushed Oreos if desired! Place second layer on top then frost sides & top generously again garnishing further if you wish!
Serving and Storing Tips
H4 Serving Suggestions
Slice your Chocolate Oreo Cake into generous pieces so everyone can enjoy! Pair it with whipped cream or ice cream on top if desired for an extra touch of indulgence; serve alongside coffee or milk for an ideal dessert experience.
H4 Storage Instructions
Store leftover slices covered tightly either at room temperature (up to three days) or refrigerated (up to one week). For longer storage periods freeze slices wrapped securely in plastic wrap followed by foil—thaw overnight before enjoying again!
With these detailed instructions and tips, you’re now ready to create an unforgettable Chocolate Oreo Cake! Happy baking!
Mistakes to avoid:
One common mistake when making a Chocolate Oreo Cake is overmixing the batter. This can lead to a dense texture instead of a light and fluffy cake. Mix only until the ingredients are combined; don’t worry about small lumps. Another mistake is using cold ingredients straight from the refrigerator. Room temperature eggs and butter blend more easily, leading to a smoother batter. Lastly, not checking your oven temperature can result in uneven baking. Use an oven thermometer to ensure accurate temperatures for the perfect Chocolate Oreo Cake.
Tips and tricks:
To achieve the best results with your Chocolate Oreo Cake, start by prepping your pans properly. Grease them well and line the bottoms with parchment paper to prevent sticking. Incorporating crushed Oreos into both the cake batter and frosting adds delightful texture and flavor. For an extra touch, consider adding coffee or espresso powder to enhance the chocolate flavor without making it taste like coffee. It’s also essential to let your cake layers cool completely before frosting; this allows for easier handling and prevents melting. Lastly, refrigerate your frosted cake for at least an hour before serving; this helps set the frosting, ensuring clean slices.
Suggestions for Chocolate Oreo Cake:
For a fun twist on your Chocolate Oreo Cake, try adding a layer of whipped cream or cream cheese frosting between the cake layers. This addition complements the chocolate and Oreo flavors beautifully. You can also substitute some of the all-purpose flour with cocoa powder for a richer chocolate taste. If you want to make mini versions of this cake, use cupcake tins instead of round pans; just be sure to adjust baking times accordingly. Finally, consider garnishing with whole Oreos or chocolate shavings for a visually appealing finish that tempts everyone.
FAQs:
What makes Chocolate Oreo Cake special?
The unique combination of rich chocolate cake with crunchy Oreo pieces creates a delightful contrast in texture and flavor. The sweetness of Oreos paired with chocolate offers a nostalgic treat loved by many, making it perfect for celebrations or casual gatherings.
Can I use other types of cookies in place of Oreos?
Absolutely! While Oreos provide a classic flavor, you can experiment with other cookies like chocolate chip or peanut butter cookies for different tastes. Just make sure they complement chocolate well to maintain balance in your Chocolate Oreo Cake.
How do I store my Chocolate Oreo Cake?
To keep your Chocolate Oreo Cake fresh, store it in an airtight container at room temperature for up to three days. If you need to keep it longer, refrigerate it; however, allow it to come back to room temperature before serving for optimal taste.
Can I freeze my Chocolate Oreo Cake?
Yes! You can freeze both unfrosted and frosted Chocolate Oreo Cake. Wrap each layer tightly in plastic wrap before placing them in an airtight container or freezer bag. Thaw in the fridge overnight before serving, ensuring it retains its deliciousness.
What is the best way to cut my Chocolate Oreo Cake?
For clean slices without crumbling, use a sharp knife dipped in hot water before cutting each piece. Wipe the knife clean after each cut for professional-looking slices that showcase your beautiful Chocolate Oreo Cake.
Is there a gluten-free option for this recipe?
Yes! You can substitute all-purpose flour with gluten-free flour blends specifically designed for baking in your Chocolate Oreo Cake recipe. Ensure that any additional ingredients like Oreos are also gluten-free if necessary to accommodate dietary restrictions.
Summary:
Creating a mouth-watering Chocolate Oreo Cake involves avoiding common mistakes such as overmixing and using cold ingredients while employing helpful tips like proper pan preparation and cooling layers before frosting. Suggestions like incorporating whipped cream or trying different cookie types can add exciting twists. By addressing frequently asked questions regarding storage, freezing options, and cutting techniques, you’ll ensure that your delicious creation remains enjoyable long after baking!


