

Quick Overview
Sugar cookie icing is a delightful topping that takes your baked goods to the next level. Whether you’re preparing for a holiday gathering or simply want to add some flair to your cookies, mastering this simple icing can enhance any sugar cookie recipe. In just a few easy steps, you can create a smooth and glossy finish that not only looks great but tastes amazing too. Let’s dive into the details of making this essential frosting!
Ingredient Breakdown
Powdered Sugar
Powdered sugar is the base ingredient for sugar cookie icing. You will need about 2 cups of powdered sugar to achieve the right consistency. It dissolves easily and creates a smooth texture ideal for spreading or piping.
Milk
Milk adds moisture and helps dissolve the powdered sugar. You’ll require around 3-4 tablespoons of milk. Adjusting the amount will help you reach your desired thickness.
Vanilla Extract
Vanilla extract provides flavor to your icing. Use 1 teaspoon of pure vanilla extract to give your icing that classic sweet taste that pairs perfectly with sugar cookies.
Corn Syrup
Corn syrup helps achieve a shiny finish and keeps the icing from hardening too quickly. You need about 1 tablespoon of corn syrup in your mixture.
Step By Step Recipe: Sugar Cookie Icing
Step 1: Prepare Your Ingredients
Start by gathering all your ingredients on the counter. Ensure you have 2 cups of powdered sugar, 3-4 tablespoons of milk, 1 teaspoon of vanilla extract, and 1 tablespoon of corn syrup ready for use. This will streamline the mixing process.
Step 2: Mix Dry Ingredients
In a medium-sized bowl, add the powdered sugar first. Make sure there are no lumps; you can sift it if necessary. This step is crucial as it ensures that your icing has a smooth texture without any graininess.
Step 3: Add Liquid Ingredients
Pour in the milk, vanilla extract, and corn syrup into the bowl with powdered sugar. Start with 3 tablespoons of milk first; you can always add more if needed later. This combination will form the base of your icing.
Step 4: Blend Until Smooth
Using a whisk or electric mixer on low speed, mix all ingredients until smooth and well combined. Scrape down the sides of the bowl as needed to ensure everything is incorporated evenly. The mixture should be thick yet pourable.
Step 5: Check Consistency
Evaluate the consistency by lifting a spoon out of the mixture; it should flow slowly and leave a trail before disappearing back into itself. If it’s too thick, add more milk one teaspoon at a time until you reach your desired consistency.
Step 6: Color Your Icing (Optional)
If you want colored icing, now is the time to add food coloring. Start with one drop and mix well until you achieve your preferred shade. Remember that colors may darken slightly when dry.
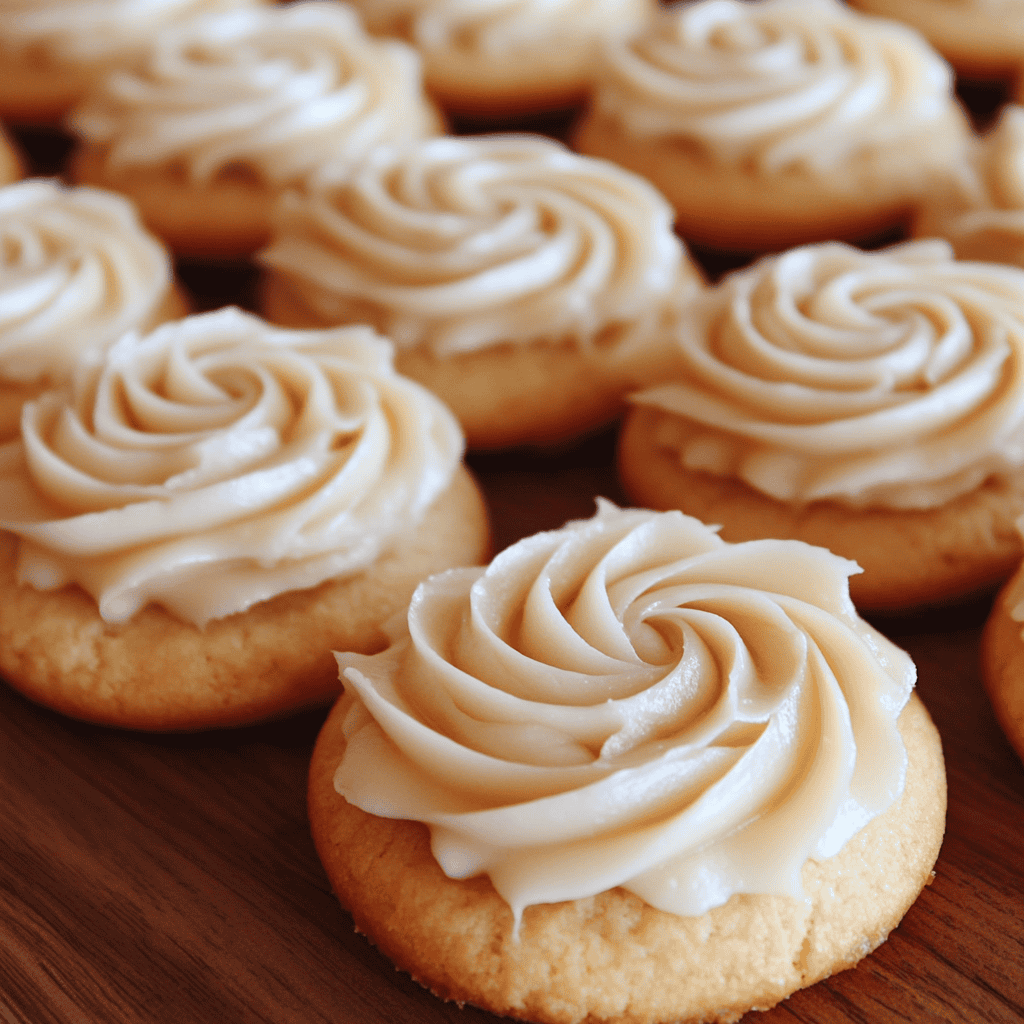
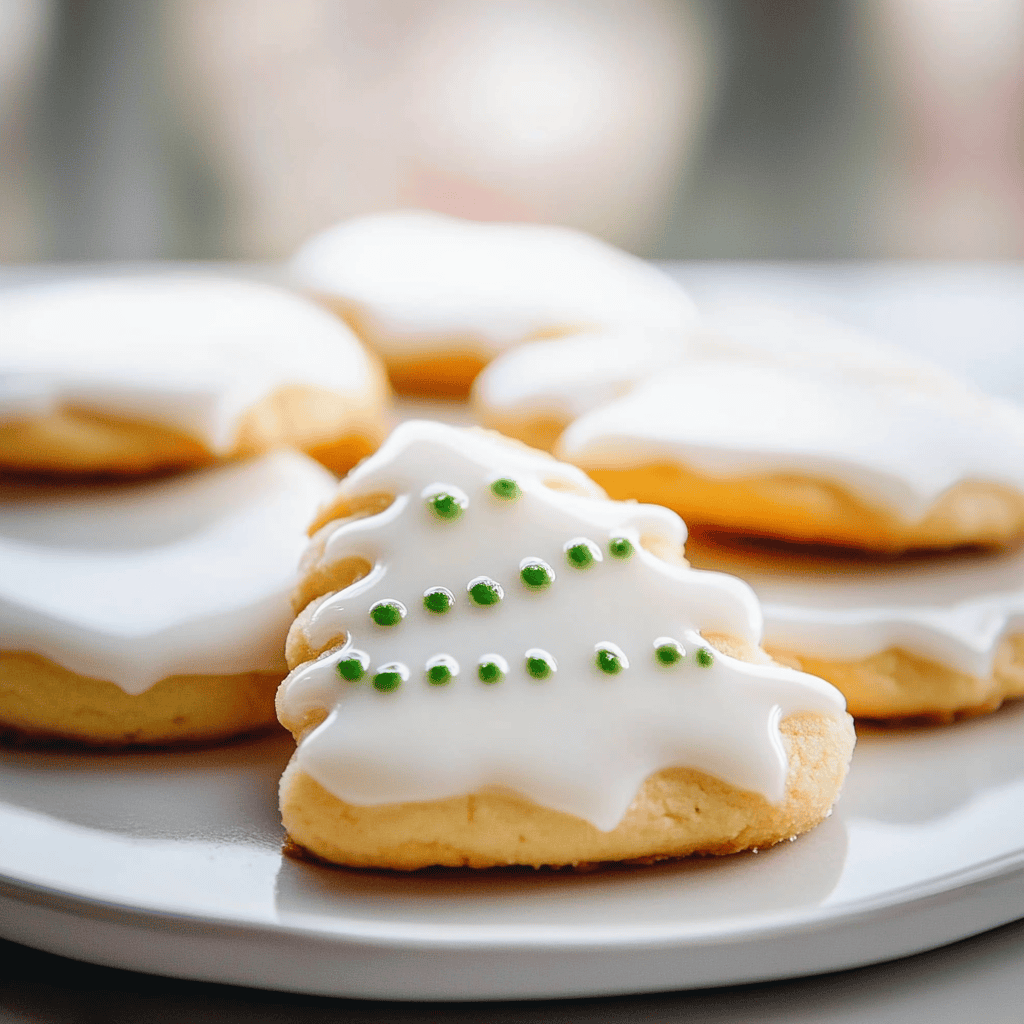
Step 7: Decorate Your Cookies
Once you’ve mixed in any colors, use piping bags or spatulas to decorate your cooled sugar cookies. Pipe outlines first if you’re creating designs with multiple colors; then fill in as desired.
Step 8: Allow to Set
Let decorated cookies sit at room temperature for several hours or until fully set before stacking or packaging them away for storage or gifting.
Serving and Storing Tips
Serving Tip: Pair with Hot Beverages
Serve iced sugar cookies alongside coffee or hot chocolate for an enjoyable treat experience. The sweetness complements these drinks beautifully and enhances their flavors.
Storage Tip: Airtight Container
Store leftover decorated cookies in an airtight container at room temperature for up to one week. This keeps them fresh and prevents them from becoming stale over time.
Storage Tip: Refrigeration
For longer-term storage, consider refrigerating un-decorated cookies after they cool completely. Wrap them tightly in plastic wrap before placing them in an airtight container; they’ll last up to two weeks!
By following these simple steps and tips, you’ll master the art of making delicious sugar cookie icing that elevates every batch of cookies you bake! Enjoy experimenting with flavors and colors to make each batch uniquely yours!
Mistakes to avoid
One common mistake is using powdered sugar that is not fresh. Old powdered sugar can clump and affect the smoothness of your Sugar Cookie Icing. Always check the expiration date on the package before starting. Another mistake is adding too much liquid too quickly. Gradually incorporate liquid into the icing to prevent it from becoming too runny. Additionally, neglecting to sift the powdered sugar can lead to a grainy texture in your icing. Sifting removes lumps and ensures a velvety finish, which is essential for beautiful cookie decoration.
Failing to let your cookies cool completely before icing is another frequent error. Warm cookies can cause the icing to melt, ruining its consistency and appearance. Be patient and allow your cookies to cool on a wire rack for at least 30 minutes before applying icing. Lastly, not testing your icing consistency can lead to disappointment. Always take a small amount of icing and test it on a cookie to ensure it spreads easily but holds its shape.
Tips and tricks
For perfect Sugar Cookie Icing, start by preparing a simple royal icing recipe with just three ingredients: powdered sugar, egg whites, and lemon juice or water. This combination creates a smooth and shiny finish ideal for decorating cookies. Make sure to mix well until stiff peaks form; this indicates the right consistency for outlining cookies.
Another tip is to use food coloring sparingly. When tinting your Sugar Cookie Icing, add color gradually until you achieve your desired hue. Bright colors may overshadow the cookie itself, so opt for pastel shades for a more elegant look. Use gel food coloring instead of liquid; it provides vibrant colors without altering the icing’s consistency.
When decorating, consider using piping bags fitted with different tips for various designs. A fine tip works well for intricate details, while wider tips create bold lines or fills. Practice on parchment paper before decorating your cookies to build confidence in your skills.
Lastly, allow each layer of icing to dry thoroughly before adding additional decorations or layers. This prevents colors from bleeding together and maintains crisp lines in your designs.
Suggestions for Sugar Cookie Icing
Consider flavoring your Sugar Cookie Icing with extracts like vanilla or almond for an extra layer of taste that complements your cookies perfectly. Just a few drops will enhance the overall flavor profile without overpowering it.
If you’re looking for variety, try incorporating different textures into your decorations by adding sprinkles or edible glitter after applying the icing but while it’s still wet. This adds visual interest and makes your cookies stand out during festive occasions.
For easier application, consider using squeeze bottles instead of piping bags when decorating larger surfaces or creating backgrounds on cookies. This technique allows for a smoother application and less mess while ensuring an even coating across each cookie.
Finally, experiment with different techniques such as marbling or flooding with your Sugar Cookie Icing to create unique designs that impress friends and family alike.

FAQs
What is the best way to store Sugar Cookie Icing?
Store Sugar Cookie Icing in an airtight container at room temperature if you plan to use it within a few days. For longer storage, refrigerate it in an airtight container; however, be sure to bring it back to room temperature before using again. Stir well after refrigeration to restore consistency.
Can I make Sugar Cookie Icing ahead of time?
Absolutely! You can prepare Sugar Cookie Icing up to two weeks in advance if stored correctly in an airtight container in the refrigerator. Just remember that you may need to re-whip or stir it again before use since it might separate over time.
How do I fix runny Sugar Cookie Icing?
To fix runny Sugar Cookie Icing, gradually add more powdered sugar until you reach the desired thickness. Start with one tablespoon at a time until achieving the perfect consistency that holds its shape yet remains spreadable.
Can I freeze decorated sugar cookies with icing?
Yes, you can freeze decorated sugar cookies with icing! Ensure they are fully dried first; then place them in an airtight container between layers of parchment paper. They should maintain their quality when thawed later.
What is the difference between royal icing and buttercream for decorating?
Royal icing uses egg whites or meringue powder combined with powdered sugar, creating a firm structure that dries hard—ideal for intricate designs like lacework on cookies. In contrast, buttercream has a richer flavor and softer texture suitable for frosting cakes but may not hold detailed shapes as effectively.
How long does Sugar Cookie Icing take to dry?
Generally, Sugar Cookie Icing takes about 24 hours to dry completely at room temperature depending on humidity levels and thickness applied. If you used a thinner layer like flooding technique, it may dry faster—usually within 4-6 hours.
Summary
Creating beautiful Sugar Cookie Icing involves avoiding common mistakes such as using old ingredients or insufficient cooling times. Implementing helpful tips like using gel food coloring or piping bags enhances decoration efforts significantly. Storing techniques also ensure freshness until you’re ready to decorate! Remember these key points: always test consistency before application and enjoy experimenting with flavors and textures while decorating your delicious treats!


