
Quick Overview
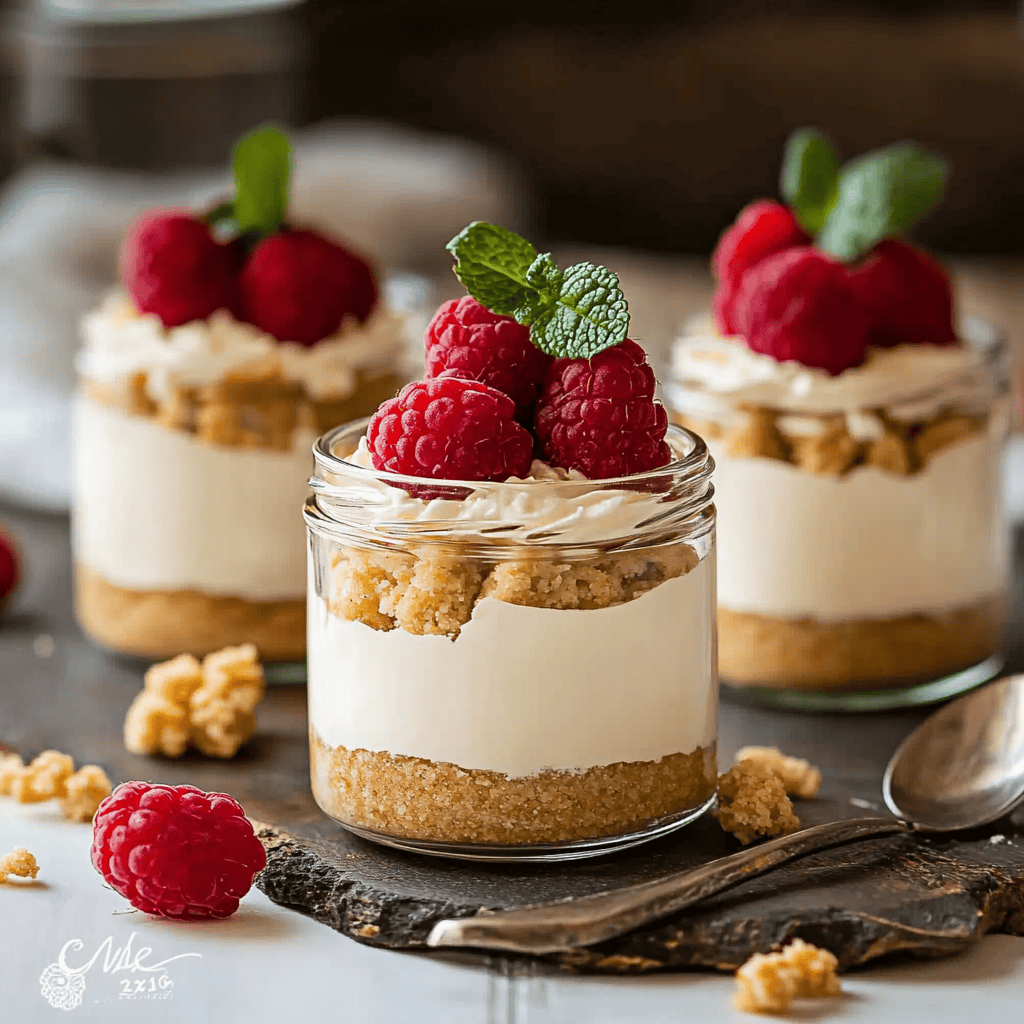
If you are looking for a simple yet indulgent dessert, these No-Bake Cheesecake Jars are perfect for you. They combine creamy cheesecake filling with a crunchy crust, all layered beautifully in a jar. Not only do they taste amazing, but they also look stunning when served. Perfect for parties or casual gatherings, these dessert jars can be prepared ahead of time, allowing you to enjoy more time with your guests. Follow this guide to create your own delightful no-bake cheesecake jars that will impress everyone!
Ingredient Breakdown
Cream Cheese
You will need 8 ounces of cream cheese for the base of your cheesecake filling. Make sure to soften it at room temperature before mixing to achieve a smooth texture. This ingredient provides the rich and creamy flavor characteristic of traditional cheesecakes.
Sugar
Add 1/2 cup of granulated sugar to sweeten the cream cheese mixture. The sugar balances the tanginess of the cream cheese and gives the filling its delightful sweetness. You can adjust the amount based on your preference.
Heavy Whipping Cream
Use 1 cup of heavy whipping cream to create a light and airy texture in your cheesecake filling. Whipping it until stiff peaks form adds volume and makes the jarred dessert feel luxurious.
Vanilla Extract
Include 1 teaspoon of pure vanilla extract for added flavor depth. This simple ingredient enhances the overall taste profile of the cheesecake filling and makes it even more delicious.
Graham Crackers
For the crust, crush about 1 cup of graham crackers into fine crumbs. Mix them with melted butter to create a base that holds everything together while providing a nice crunch.
Unsalted Butter
You will need 4 tablespoons of unsalted butter, melted, to mix with the graham cracker crumbs for your crust. This helps bind the crumbs together while adding richness and flavor.
Fresh Fruit (Optional)
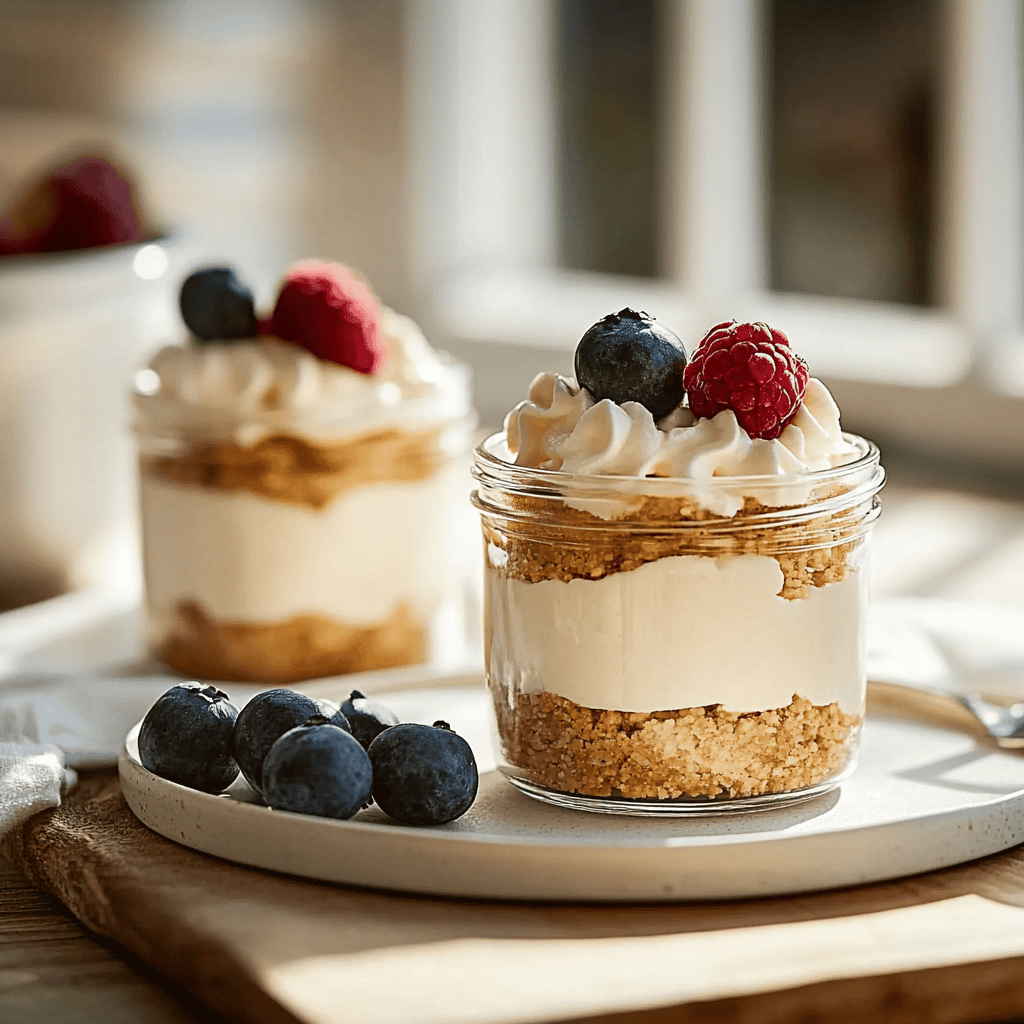
As an optional topping, you can use fresh fruit like strawberries or blueberries. About 1 cup is sufficient if you choose to add fruit. It not only looks beautiful but also adds natural sweetness and freshness to each jar.
Step By Step Recipe: No-Bake Cheesecake Jars
Prepare the Crust
Start by crushing the graham crackers until they resemble fine crumbs. You can use a food processor or place them in a zip-lock bag and crush them with a rolling pin. Once you have fine crumbs, mix them with melted unsalted butter in a bowl until well combined.
Fill Jar Bases
Spoon about two tablespoons of the graham cracker mixture into each jar as the base layer. Press down gently using a small spoon or your fingers to create an even layer across the bottom of each jar.
Make Cheesecake Filling
In another bowl, beat softened cream cheese with granulated sugar using an electric mixer until smooth and fluffy—about two minutes on medium speed works well. Ensure there are no lumps before proceeding to add other ingredients.
Add Whipping Cream
In a separate bowl, whip heavy cream until stiff peaks form. Gently fold this whipped cream into the cream cheese mixture using a spatula until fully incorporated without deflating it too much.
Incorporate Vanilla Extract
Add one teaspoon of vanilla extract into your cheesecake mixture while folding gently again to distribute evenly throughout—this step enhances flavor significantly!
Layer Ingredients
Spoon approximately three tablespoons of cheesecake filling over the crust layer in each jar after preparing both components separately—repeat this step until you reach just below the rim of each jar.
Chill Time
Cover each jar with lids or plastic wrap and place them in the refrigerator for at least four hours or overnight if possible—this chilling time helps set up the layers nicely for serving later on!
Serving and Storing Tips
Serving Suggestions
When ready to serve your No-Bake Cheesecake Jars, consider adding fresh fruit on top for added color and flavor appeal! You can also drizzle some chocolate syrup or caramel sauce over them if desired; both options enhance their presentation beautifully.
Storage Guidelines
Store any leftover jars covered tightly in the refrigerator for up to three days max; however, keep in mind that they’re best enjoyed within two days after preparation! Do not freeze these jars as freezing affects their texture upon thawing.
By following this guide closely while making delicious no-bake cheesecake jars at home, you’ll have an impressive dessert ready that everyone will love! Enjoy sharing these treats with family and friends during special occasions or everyday celebrations alike!
Mistakes to avoid
One mistake many make when preparing No-Bake Cheesecake Jars is not allowing the cream cheese to soften. Softening cream cheese helps it blend smoothly with other ingredients. If you skip this step, you may end up with lumps in your cheesecake mixture, ruining the texture.
Another common error is overmixing the filling. While mixing thoroughly is important, overmixing can incorporate too much air, leading to a fluffy rather than creamy texture. Aim for a smooth consistency without excessive beating.
Failing to properly chill your No-Bake Cheesecake Jars can also be detrimental. The cheesecake needs time to set and firm up in the refrigerator. Skipping or shortening this chilling period will result in a runny dessert that doesn’t hold its shape.
Using low-quality ingredients can affect the taste of your No-Bake Cheesecake Jars significantly. Always opt for fresh cream cheese and high-quality toppings like fruit or chocolate. Cheap substitutes may lead to disappointing results that lack flavor.
Lastly, not layering your ingredients properly could impact presentation and taste. Ensure that each layer is distinct and visually appealing by using clear jars. This enhances both the aesthetic appeal and dining experience of your dessert.
Tips and tricks
To create delicious No-Bake Cheesecake Jars, start by ensuring all ingredients are at room temperature before mixing. This step allows for easier blending and results in a smoother filling. It’s best to take out the cream cheese, sour cream, or any other dairy products from the fridge an hour before preparation to ensure optimal consistency.
Consider using a food processor for making your crust. Crushing graham crackers or biscuits manually can be tedious and inconsistent. A food processor gives you uniform crumbs that mix easily with melted butter, ensuring an even crust at the bottom of each jar.
For added flavor, experiment with different extracts such as vanilla or almond in your filling. These flavors can elevate the overall taste without overwhelming it. Just a teaspoon of extract can make a significant difference in flavor profile while keeping it simple.
When layering your cheesecake jars, use piping bags to add the filling precisely into each jar. This method helps create beautiful layers without mess and allows control over how much filling goes into each layer. You can also use a spoon if you prefer a more rustic look.
Finally, let creativity shine through with toppings! Mix fresh fruits like berries or mango slices for natural sweetness along with whipped cream for added richness. Chocolate shavings or caramel sauce can add delightful contrasts in flavor and texture while enhancing visual appeal.
Suggestions for No-Bake Cheesecake Jars
Consider using different types of cookies for the crust if you’re looking for variety in flavors. Oreo cookies work wonderfully as an alternative to traditional graham crackers, providing a rich chocolatey base that pairs beautifully with cheesecake filling.
Incorporate seasonal fruits into your No-Bake Cheesecake Jars for freshness and color throughout the year. For instance, use strawberries during summer months or pumpkin puree in fall seasons to create themed desserts that celebrate seasonal flavors.
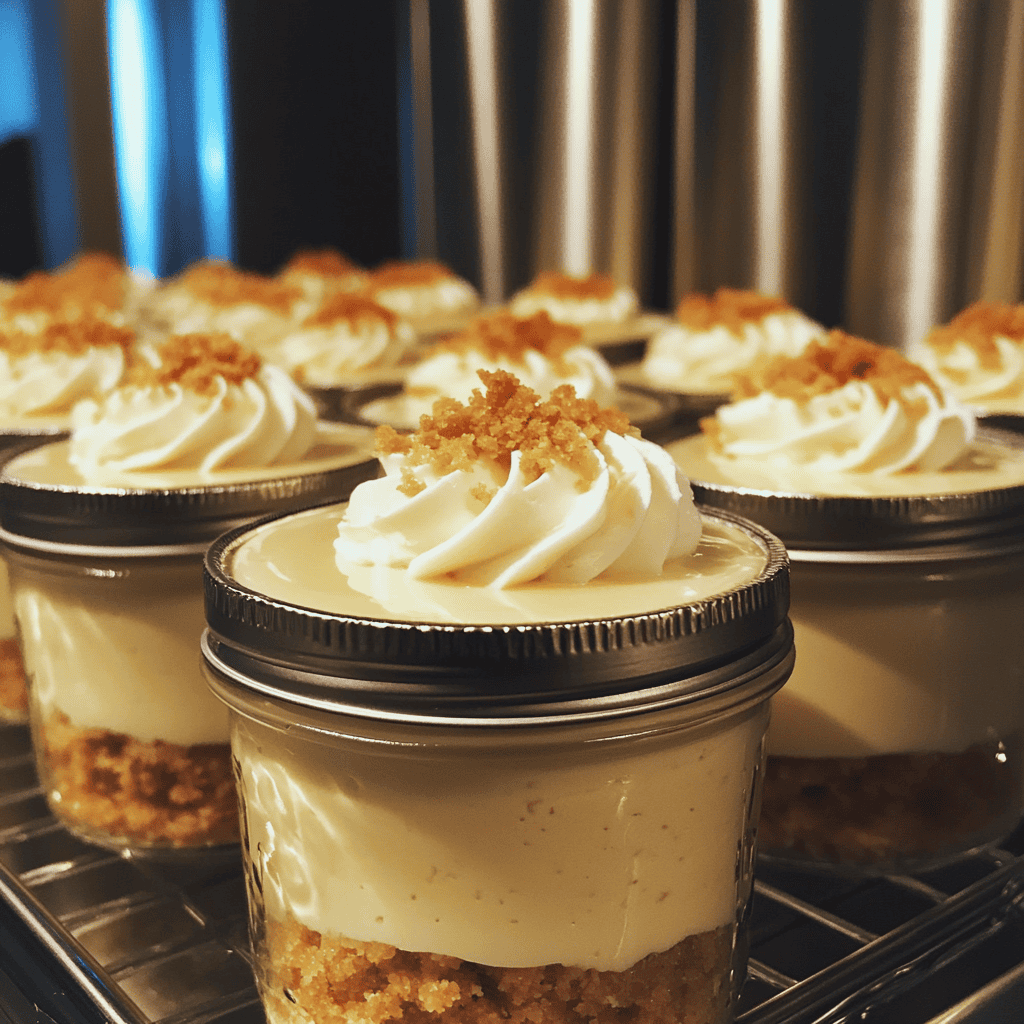
To make individual servings more portable, think about using mason jars instead of regular dessert cups. Mason jars have tight lids that make them ideal for picnics or gatherings where you want easy transport without spills.
Experiment with different types of cream cheeses like flavored varieties or even mascarpone cheese for richer textures and tastes in your cheesecake jars. Each type brings something unique to the table, enhancing depth while keeping it creamy.
Lastly, consider adding layers of flavored gelatins between cheesecake layers for visual appeal and added sweetness! Gelatin flavors like raspberry or lemon provide refreshing contrasts that complement the rich cheesecake perfectly while creating an attractive layered look.
FAQs
What are No-Bake Cheesecake Jars?
No-Bake Cheesecake Jars are individual servings of cheesecake made without baking them in an oven. They consist of a creamy filling layered over a cookie crumb crust, typically served chilled in jars or cups.
How long do No-Bake Cheesecake Jars need to set?
No-Bake Cheesecake Jars generally need at least four hours to set properly in the refrigerator; however, overnight chilling yields even better results as it allows flavors to meld together beautifully while firming up texture.
Can I substitute low-fat cream cheese?
Yes, you can substitute low-fat cream cheese if you’re looking for lighter options; however, keep in mind that this may alter texture slightly since full-fat options provide richer flavors and creaminess essential for traditional cheesecakes.
Are there vegan options available?
Absolutely! You can create vegan No-Bake Cheesecake Jars by substituting dairy products with plant-based alternatives such as cashew cream or coconut yogurt combined with agave syrup instead of sugar; these substitutions maintain great flavor without animal products.
How should I store leftover No-Bake Cheesecake Jars?
Store leftover No-Bake Cheesecake Jars tightly covered in the refrigerator where they will last up to five days; just ensure toppings like fruit are added only before serving for optimal freshness!
Can I freeze No-Bake Cheesecake Jars?
Yes! You can freeze No-Bake Cheesecake Jars for longer storage; however, note that freezing may affect texture upon thawing—it’s best enjoyed freshly made but freezing offers convenience if needed later on!
Summary
No-Bake Cheesecake Jars offer a delightful way to enjoy this classic dessert without turning on the oven. Avoid common mistakes such as not softening cream cheese or skipping proper chilling time for optimal results. Use helpful tips like crushing cookies with a food processor and experimenting with various flavors to enhance your creations further. Don’t forget about creative suggestions like utilizing seasonal fruits and mason jars for portability! With these insights combined with answers from frequent questions about No-Bake Cheesecake Jars, you’ll be well on your way toward making delicious desserts everyone will love!


