
Quick Overview
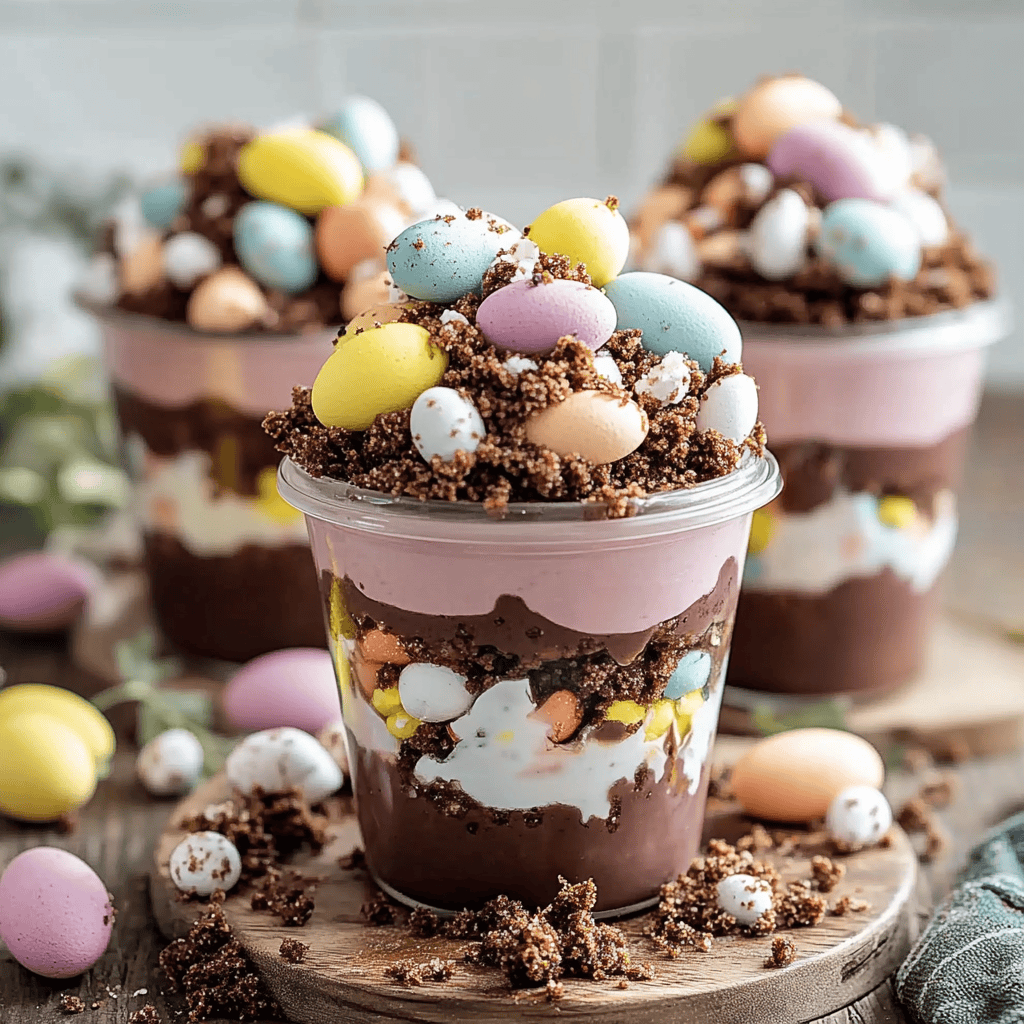
Springtime brings joy and festivity, making it the perfect season for delicious desserts like Easter Dirt Pudding Jars. These delightful treats combine creamy chocolate pudding with crushed cookies and colorful toppings to create an eye-catching dessert that kids and adults alike will love. Whether you are hosting an Easter brunch or looking for a fun activity to do with the kids, these jars are sure to impress. Let’s dive into how you can make these irresistible treats!
Ingredient Breakdown
Chocolate Pudding
For this recipe, you will need 3 cups of chocolate pudding. You can either prepare it from scratch or use instant chocolate pudding mix for convenience. Chocolate pudding adds a rich and creamy layer that forms the base of your jars.
Crushed Oreos
You will need about 15 Oreo cookies (or any chocolate sandwich cookies). Crush them into fine crumbs to create the “dirt” layer of your pudding jars. The crunchy texture complements the smooth pudding beautifully.
Whipped Topping
Use 2 cups of whipped topping (like Cool Whip) for a light and fluffy texture. This ingredient lightens up the layers and adds a creamy sweetness that balances the rich chocolate flavor.
Gummy Worms
Grab a pack of gummy worms—about 10 to 12 worms should suffice. These fun candies serve as a playful garnish that brings your dessert to life, adding an element of surprise for the little ones.
Edible Grass
You can find edible grass at most baking supply stores or online—a small bag will do. This decorative element mimics real grass and enhances the festive appeal of your jars.
Step By Step Recipe: Easter Dirt Pudding Jars
Prepare Chocolate Pudding
Start by preparing your chocolate pudding according to package instructions if using instant mix or follow your homemade recipe. Allow it to chill in the refrigerator for about 5-10 minutes until set slightly but still pourable. This ensures it layers well without becoming too thick.
Crush Oreo Cookies
Place the Oreo cookies in a zip-lock bag and crush them using a rolling pin until you achieve fine crumbs. Alternatively, you can use a food processor for quicker results. Set aside enough crumbs for layering atop your jars later.
Layer Chocolate Pudding
Begin assembling your jars by adding about half a cup of chocolate pudding at the bottom of each jar. Use a spoon or spatula to spread it evenly across the bottom so that it creates a smooth layer.
Add Crushed Oreos
Next, sprinkle a generous layer of crushed Oreos on top of the chocolate pudding in each jar. Make sure to cover the entire surface evenly; this will create that “dirt” effect that makes these jars so special.
Incorporate Whipped Topping
Spoon about half a cup of whipped topping over the crushed Oreo layer in each jar. Smooth it out gently with a spatula or spoon until it’s even with no visible Oreo bits showing through.
Repeat Layers
Repeat the layering process by adding another layer of chocolate pudding followed by crushed Oreos and then whipped topping again on top of each jar. This builds height and looks visually appealing when served.
Add Gummy Worms and Edible Grass
Finally, top each jar with gummy worms nestled into the whipped topping as if they are crawling out from underneath the dirt. Sprinkle edible grass around them to complete the festive look.
Serving and Storing Tips
Serving Size Suggestions
These jars are perfect for individual servings; aim for about 6 ounces per serving if using standard mason jars or dessert cups. Serve chilled after assembling them for maximum freshness and flavor enjoyment during gatherings.
Storing Leftovers
If you have leftover jars or components, store them separately in airtight containers in the refrigerator for up to three days. If already assembled, consume within two days for optimal texture and taste quality.
Decoration Ideas
Feel free to get creative with decorations! Add sprinkles or additional candy toppings based on your theme or occasion—this way, everyone can personalize their own dessert jar!
By following this simple yet engaging recipe for Easter Dirt Pudding Jars, you’ll have an exciting dessert that is both delicious and visually appealing—perfect for any spring celebration!
Mistakes to avoid
One common mistake is using the wrong type of pudding. Make sure to select a smooth and creamy instant pudding mix. Avoid using flavors that overpower the chocolate, such as vanilla or banana. Instead, stick to chocolate or cookies and cream for a balanced taste in your Easter Dirt Pudding Jars.
Another mistake is not allowing the layers to set properly. After assembling your jars, refrigerate them for at least two hours. This helps the layers firm up and blend flavors. Skipping this step can result in a messy presentation and watery texture.
People often overlook the importance of garnishing. While crushed Oreos are essential, don’t forget to add colorful sprinkles or gummy worms on top for that festive touch. Missing out on these fun toppings can make the dessert seem less appealing, especially for kids during Easter celebrations.
A frequent error is overfilling the jars. Stick to appropriate portion sizes, filling each jar about three-quarters full. Overfilling leads to spills and makes it difficult for guests to enjoy their dessert without mess.
Lastly, avoid using stale ingredients. Ensure your cookies are fresh and your pudding mix hasn’t expired. Using outdated components affects flavor and texture significantly, which can ruin your Easter Dirt Pudding Jars.
Tips and tricks
Start with high-quality ingredients for the best flavor in your Easter Dirt Pudding Jars. Select rich chocolate pudding mix and fresh whipped cream or Cool Whip for a light texture. The quality of these ingredients directly influences how delicious your dessert will be, so don’t skimp here.
When layering your jars, use a piping bag for a neat presentation. Layering with a piping bag allows you to control how much pudding goes in each jar while creating beautiful designs with whipped cream and cookie crumbs. This technique elevates the look of your dessert without requiring advanced skills.
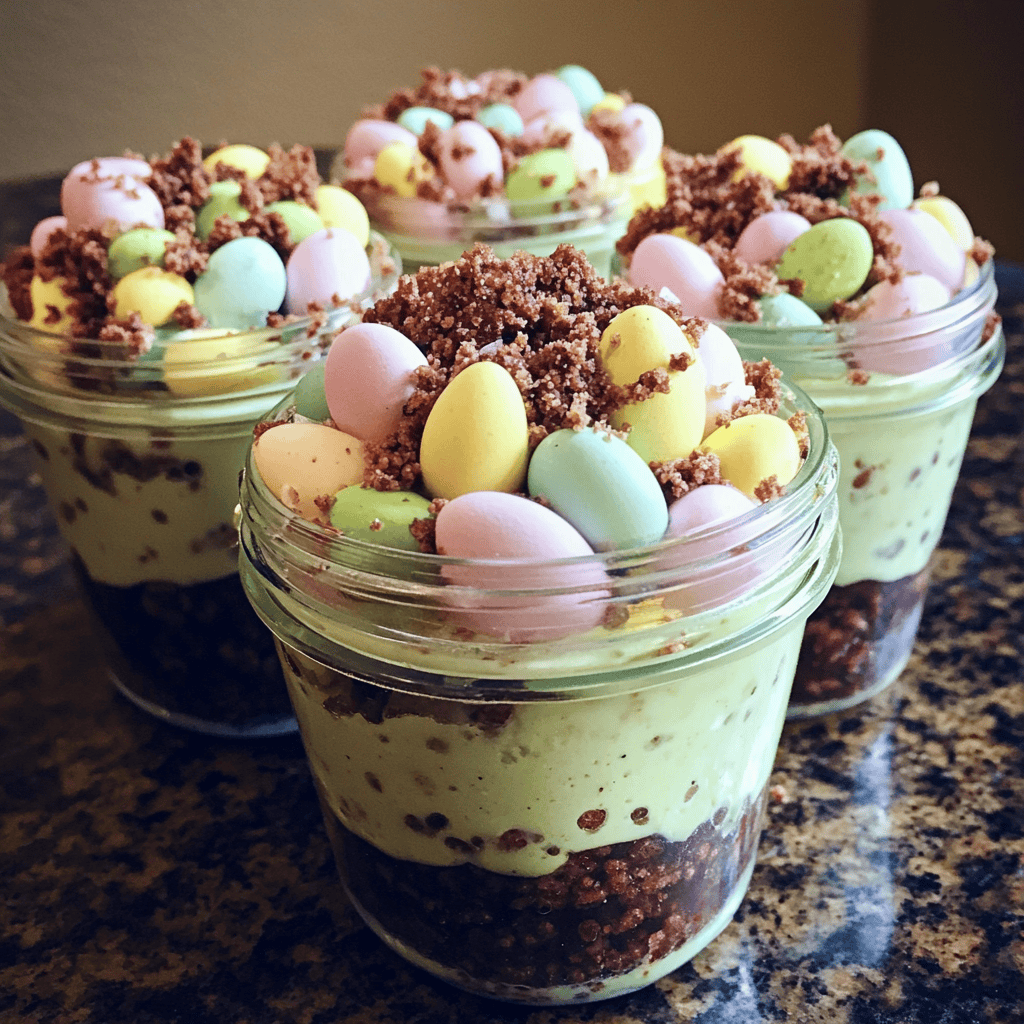
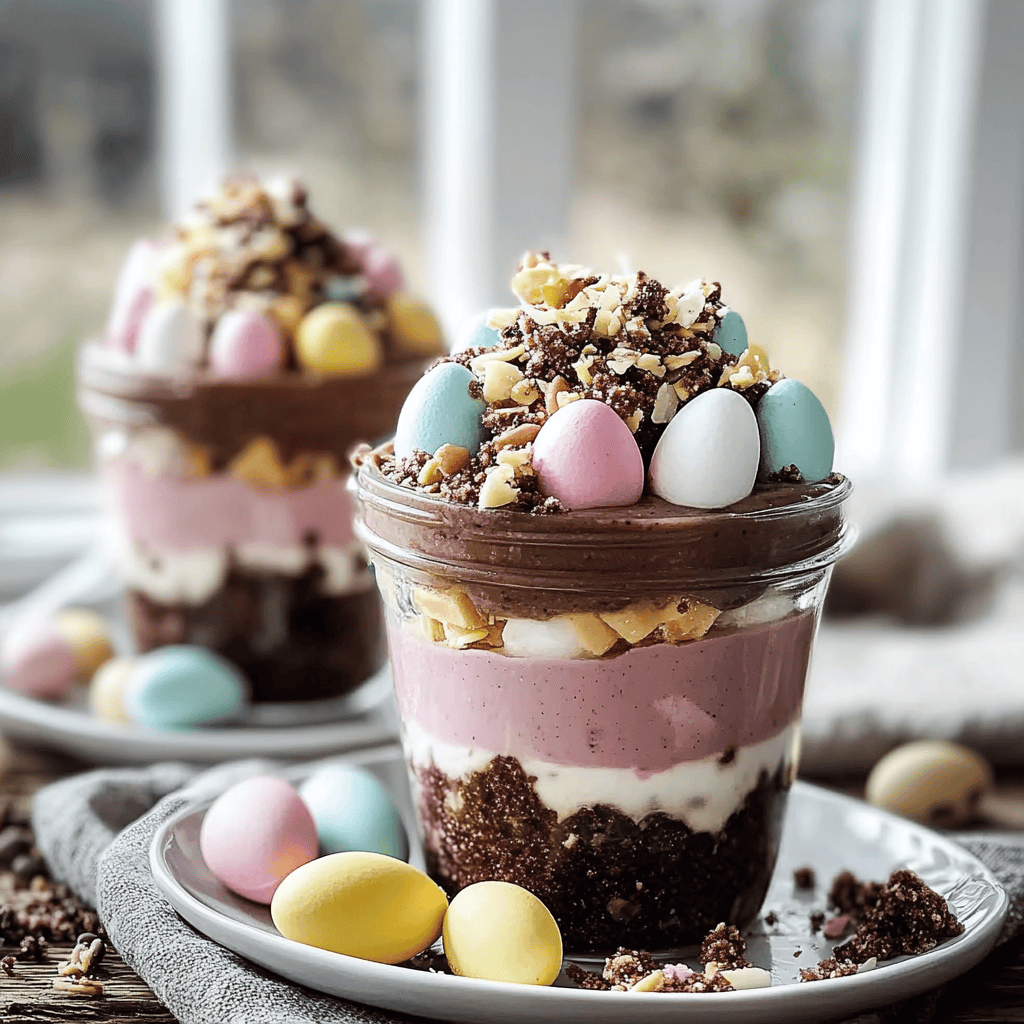
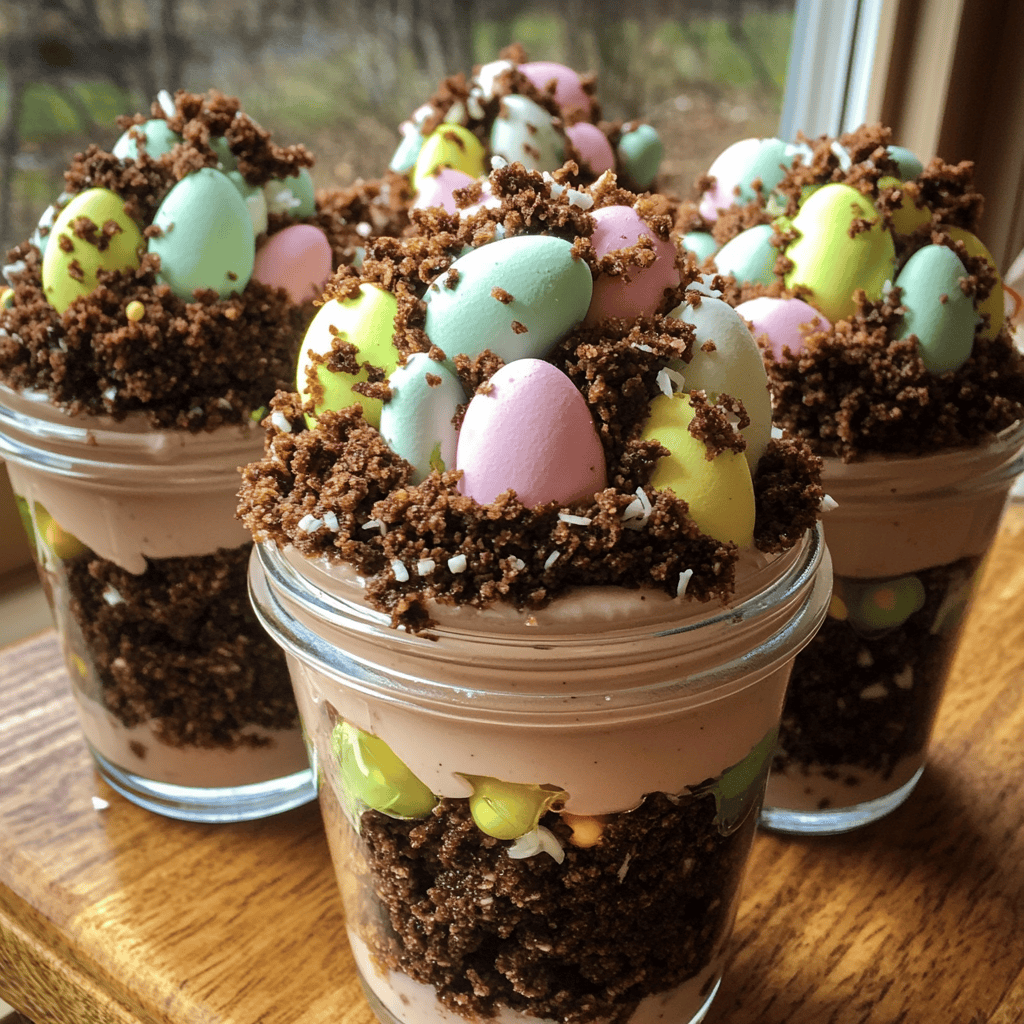
For added fun, customize your jars based on themes or colors associated with Easter. Use pastel-colored sprinkles or candies that match holiday decor to enhance visual appeal. You can also personalize each jar with different toppings based on individual preferences for added enjoyment.
Consider making a large batch ahead of time if you plan an Easter gathering. Prepare multiple jars at once to save time during busy moments leading up to the holiday meal. Just remember to keep them refrigerated until serving time so they stay fresh and delicious.
Finally, pair these delightful jars with other festive treats like decorated cookies or fruit salads for a complete dessert table experience. Combining various sweets keeps everyone engaged and offers something for everyone’s taste buds during the celebration.
Suggestions for Easter Dirt Pudding Jars
Consider using different cookie types beyond Oreos for variety in flavor textures when making Easter Dirt Pudding Jars. Chocolate wafers offer a classic taste while vanilla wafers introduce a lighter option that contrasts nicely with rich chocolate pudding.
You could also experiment with flavored puddings like butterscotch or strawberry by mixing them into layers alongside chocolate pudding layers. This creates a unique twist that surprises guests while maintaining the beloved dirt pudding concept everyone enjoys during festive occasions.
Incorporate seasonal fruits such as strawberries or raspberries between layers of pudding for freshness and color contrast in your jars. These fruits add natural sweetness while balancing out richer flavors from cookies and pudding mixes beautifully during springtime festivities.
Offering smaller-sized jars can be an excellent idea if you’re concerned about portion control or simply want guests to sample various desserts at once without feeling too full after indulging in just one treat.
Lastly, don’t forget about dietary restrictions when preparing these jars! Consider gluten-free cookie options or dairy alternatives for those who may have allergies or sensitivities among family members attending your celebration this Easter.
FAQs
What are the best types of cookies for Easter Dirt Pudding Jars?
While Oreos are traditional, you can use various cookies like chocolate wafers or even peanut butter cookies for different flavors in your Easter Dirt Pudding Jars. Choose ones that crumble well, as they create great texture layered within the pudding and maintain the dessert’s aesthetic appeal when presented attractively.
How long should I refrigerate my Easter Dirt Pudding Jars before serving?
It’s best to refrigerate your assembled jar desserts for at least two hours before serving them at an event like an Easter gathering. This chilling period allows all flavors to meld together nicely while helping maintain structural integrity within each layer of ingredients inside the jars.
Can I make Easter Dirt Pudding Jars in advance?
Yes! You can prepare these delightful desserts one day ahead of time without compromising their quality by securely covering them once assembled and keeping them chilled until it’s time to serve at your celebration event on Easter Sunday!
Is there any way to make this recipe healthier?
Absolutely! To create healthier versions of Easter Dirt Pudding Jars, consider using reduced-fat pudding mixes along with low-fat whipped toppings instead of regular options while incorporating fruits between layers rather than relying solely on cookie crumbles adds nutritional value too!
How do I keep my layered ingredients from mixing?
To maintain distinct layers when creating these treats successfully requires patience—allowing each layer enough time between additions helps prevent mixing! Chilling between layer placements works wonders ensuring they stay separate visually appealing upon serving guests their tasty creations!
Can children help make these dirt pudding jars?
Definitely! Making Easter Dirt Pudding Jars provides an excellent opportunity for kids’ involvement; they can help crush cookies, layer ingredients creatively inside jars while learning about cooking techniques—this activity encourages fun bonding moments within families during holidays!
Summary
Creating delightful Easter Dirt Pudding Jars involves avoiding common mistakes like using stale ingredients or neglecting garnishing techniques while following helpful tips about ingredient quality and presentation style choices throughout preparation stages ensures stunning results! Remembering suggestions regarding customization opportunities enhances overall enjoyment levels among guests celebrating together this festive season adds joyfulness into every bite taken from these delicious desserts prepared lovingly by hands eager sharing happiness around tables filled laughter-filled memories made special times spent enjoying life’s simple pleasures together!


