
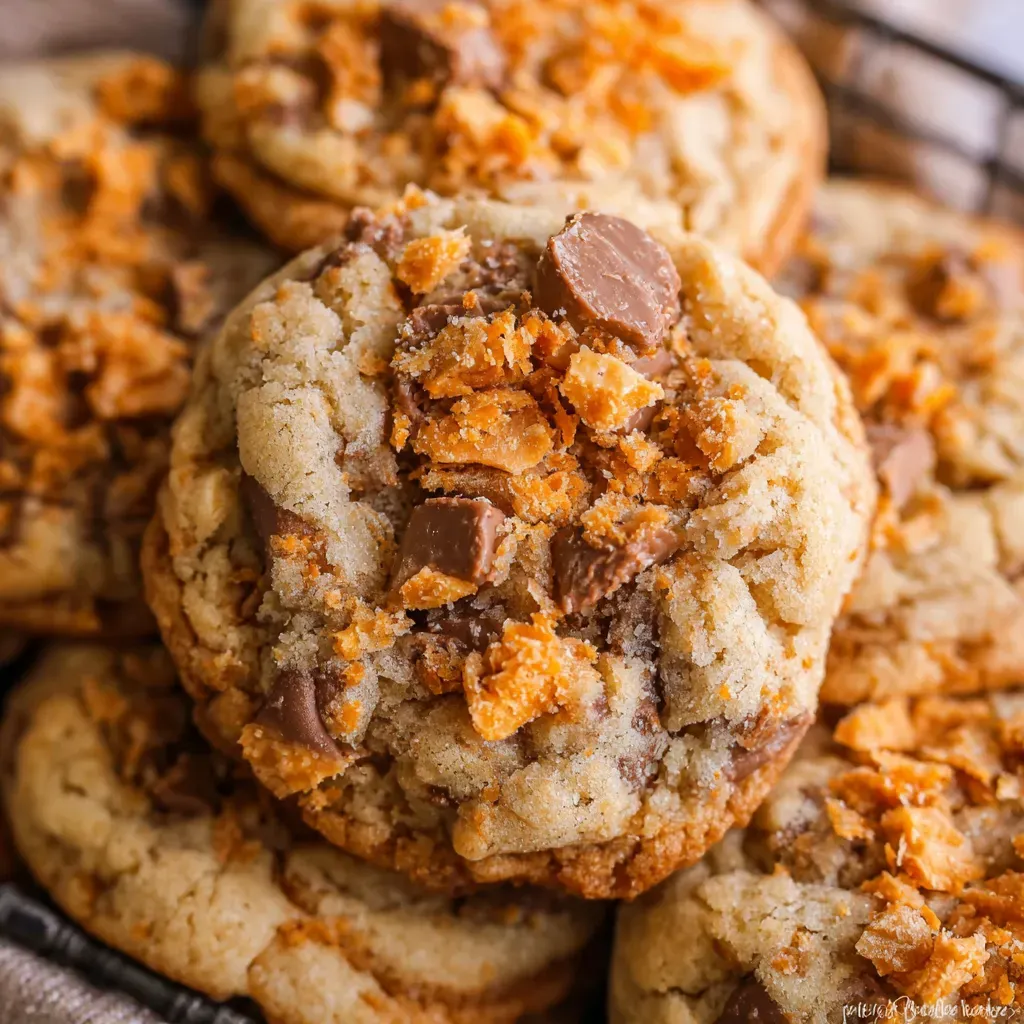
These Thick and Chewy Peanut Butter Butterfinger Cookies are a game-changer for anyone who loves peanut butter and crunchy candy surprises. Imagine biting into a soft, pillow-like cookie that’s loaded with crispety, crunchety Butterfinger pieces. The combination perfectly balances sweet, salty, and nutty flavors, making every bite irresistibly delicious.
What sets these cookies apart is their thick, tender texture paired with plenty of crunchy Butterfinger bits. They’re perfect for cookie lovers craving something with an extra layer of texture and peanut buttery goodness.
- Soft and thick peanut butter cookies with a delightful chewiness.
- Crunchy Butterfinger bits add an exciting peanut brittle-like texture.
- Easy to make with common ingredients and quick chilling time.
- Dough can be frozen for convenient future baking.
- Perfect balance of sweet, salty, and nutty flavors that will satisfy any sweet tooth.
Ingredients
- Butter (3/4 cup, softened): Provides rich creaminess and helps create the tender, thick cookie texture you crave.
- Granulated sugar (1/2 cup): Adds sweetness and helps cookies crisp slightly on the edges during baking.
- Brown sugar, packed (1/2 cup): Brings moistness and a hint of caramel flavor to complement the peanut butter.
- Peanut butter (1 cup): Use creamy, non-natural peanut butter like Jif for perfect consistency and flavor.
- Large egg (1): Binds ingredients and adds moisture, aiding in the cookie’s chewiness.
- Vanilla extract (1 1/2 teaspoons): Enhances the overall flavor with a subtle, warm sweetness.
- All-purpose flour (1 1/2 cups): The base of the cookie, providing structure and balance.
- Baking soda (1/2 teaspoon): Helps cookies rise slightly and creates a light texture.
- Baking powder (1/2 teaspoon): Adds additional lift for thickness and fluffiness.
- Kosher salt (1/4 teaspoon): Balances sweetness and intensifies the peanut butter flavor.
- Butterfinger candy (16 ounces, chopped): Chopped into coarse pieces providing crunchy, crispy peanut buttery bites throughout the dough.
Instructions
- Cream the Butter and Sugars
In a large bowl or stand mixer, beat the softened butter until smooth and creamy. Add the granulated and brown sugars and beat for about 2 minutes until fluffy and well combined. This process aerates the butter and sugars, giving your cookies a light base and tender crumb.
- Add Peanut Butter, Egg, and Vanilla
Mix in the peanut butter thoroughly, then add the egg and vanilla extract. Beat until everything is well incorporated and creamy. These ingredients enrich the dough with flavor and moisture, making sure the cookies bake up soft and chewy.
- Combine Dry Ingredients
Spoon and level the all-purpose flour into a measuring cup and add it to the bowl. Sprinkle baking soda, baking powder, and kosher salt on top, then gently mix these dry ingredients together to distribute them evenly and break up clumps. This ensures your cookies have consistent rise and flavor.
- Mix Dry Ingredients into Wet Dough
Turn the mixer on low and gently combine the dry ingredients with the wet dough. Stop as soon as the dough starts to come together but still has some visible flour. Overmixing can lead to tough cookies, so minimal mixing is key.
- Fold in Chopped Butterfinger Pieces
Add the chopped Butterfinger candy pieces and gently fold them in until evenly distributed. The buttery, crispy candy bits will add wonderful texture and bursts of peanut buttery crunch in each bite.
- Chill the Dough
Cover the dough and chill it in the refrigerator for 15 minutes to an hour to firm up. Chilling helps develop flavors and makes the dough easier to handle since it’s quite soft. Alternatively, you can chill up to 24 hours or skip chilling if needed.
- Shape and Bake Cookies
Preheat oven to 350°F (175°C). Line baking sheets with parchment paper or silicone mats. Scoop dough into 2-inch balls, spacing them 1-2 inches apart on the tray. Bake about 10 minutes until edges are set and cookies have spread slightly. If needed, gently press tops with a spatula for flatter cookies.
- Cool and Serve
Let cookies cool on the baking sheet for at least 5 minutes to set before transferring to a wire rack to cool completely. These cookies taste best once they reach room temperature when the Butterfinger pieces have firmed up for maximum texture contrast.
- You can find Butterfinger Bits pre-chopped in some baking aisles, or chop full-size or fun-size Butterfingers yourself to get the perfect texture.
- If you freeze dough balls, bake them from frozen adding 1-2 minutes to baking time and gently press on them after baking to encourage spreading.
- Leftover baked cookies can be frozen for up to 4 weeks; thaw at room temperature for best texture.
Storage Tips
Store baked cookies in an airtight container at room temperature for up to 3 days. The dough can be frozen in individual balls for up to 3 months, making future cookie cravings easy to satisfy.
Serving Suggestions
Enjoy these cookies with a cold glass of milk, a cup of coffee, or as a delightful treat for parties and gatherings. They also pair wonderfully with vanilla ice cream for a decadent dessert.
- Use creamy peanut butter (not natural) to ensure proper dough consistency and better texture.
- Don’t overmix the dough; slight flour streaks are okay to prevent tough cookies.
- Chill the dough as it makes handling easier and deepens the flavor, but you can skip chilling if pressed for time.
- Press the cookie tops lightly after baking if they don’t spread enough for a more traditional cookie shape.
FAQs
- Can I substitute natural peanut butter for regular peanut butter?
Natural peanut butter has more oil and less sugar, which can affect cookie texture and spread. It’s best to use creamy, non-natural peanut butter like Jif for optimal results.
- How should I chop the Butterfingers for these cookies?
Chop into coarse chunks about 1/4 to 1/2 inch pieces to maintain crunch and texture. Avoid powdering them to keep the cookies crisp.
- Can I make these cookies vegan or dairy-free?
This recipe relies on butter and egg, so to make it vegan/dairy-free you would need substitutes such as vegan butter and egg replacers, but keep in mind the texture may slightly differ.
- Is it necessary to chill the dough?
Chilling is recommended to help flavors develop and make the dough easier to handle, but you can skip it if short on time. The cookies will still bake well.
- How do I store leftover cookies for maximum freshness?
Store in an airtight container at room temperature for up to 3 days or freeze baked cookies sealed for up to 4 weeks.
- Can I freeze the cookie dough?
Yes, scoop dough balls into a ziplock bag and freeze for up to 3 months. Bake from frozen, adding a few minutes extra baking time.
- Why don’t I like the cookies warm?
Butterfinger melts during baking, so warm cookies may taste softer and gooey rather than crispy. Letting them cool to room temperature gives the best texture contrast.
Thick Chewy Peanut Butter Butterfinger
Equipment
- 1 large bowl or stand mixer for mixing cookie dough
- 2 baking sheets lined with parchment paper or silicone baking mats
- 1 cookie scoop about 2 inch size
Ingredients
- 3/4 cup butter softened (1 1/2 sticks)
- 1/2 cup granulated sugar
- 1/2 cup packed brown sugar
- 1 cup peanut butter not natural, preferably Jif
- 1 large egg
- 1 1/2 teaspoons vanilla extract
- 1 1/2 cups all-purpose flour spooned and leveled
- 1/2 teaspoon baking soda
- 1/2 teaspoon baking powder
- 1/4 teaspoon kosher salt
- 16 ounces chopped Butterfinger candy bars or Butterfinger Bits
Instructions
- Beat the softened butter in a large bowl or stand mixer until smooth and creamy, scraping the sides occasionally.
- Add granulated sugar and packed brown sugar, beat for about 2 minutes until fluffy with no butter chunks.
- Mix in peanut butter until well combined.
- Add the egg and vanilla extract, and beat until incorporated, scraping the sides as needed.
- In a separate bowl or on top of the flour, combine flour, baking soda, baking powder, and kosher salt, breaking up clumps.
- Add the dry ingredients to the wet mixture and mix just until the dough starts to come together but some flour is still visible, then scrape bowl sides.
- Gently fold in the chopped Butterfinger pieces until just incorporated.
- Cover and chill the dough for at least 15 minutes to an hour for flavor development and easier handling.
- Preheat the oven to 350°F and line baking sheets with parchment paper or silicone mats.
- Shape dough into 2-inch balls and space them 1-2 inches apart on the prepared sheets.
- Bake for about 10 minutes until edges are set and centers are no longer shiny.
- Optionally, press cookies gently with a spatula to flatten slightly after baking for even spread.
- Top cookies with extra Butterfinger crumbles if desired.
- Let cookies set on the pan for at least 5 minutes, then transfer to a wire rack to cool completely.
Notes
- Chilling dough improves flavor and handling but is optional.
- Dough balls freeze well; bake from frozen adding a couple minutes.
- Baked cookies freeze sealed up to 4 weeks; thaw before serving.
- Use Butterfinger Bits or crush full-size bars if Bits unavailable.
- Prefer cookies at room temperature for best texture and flavor.


