
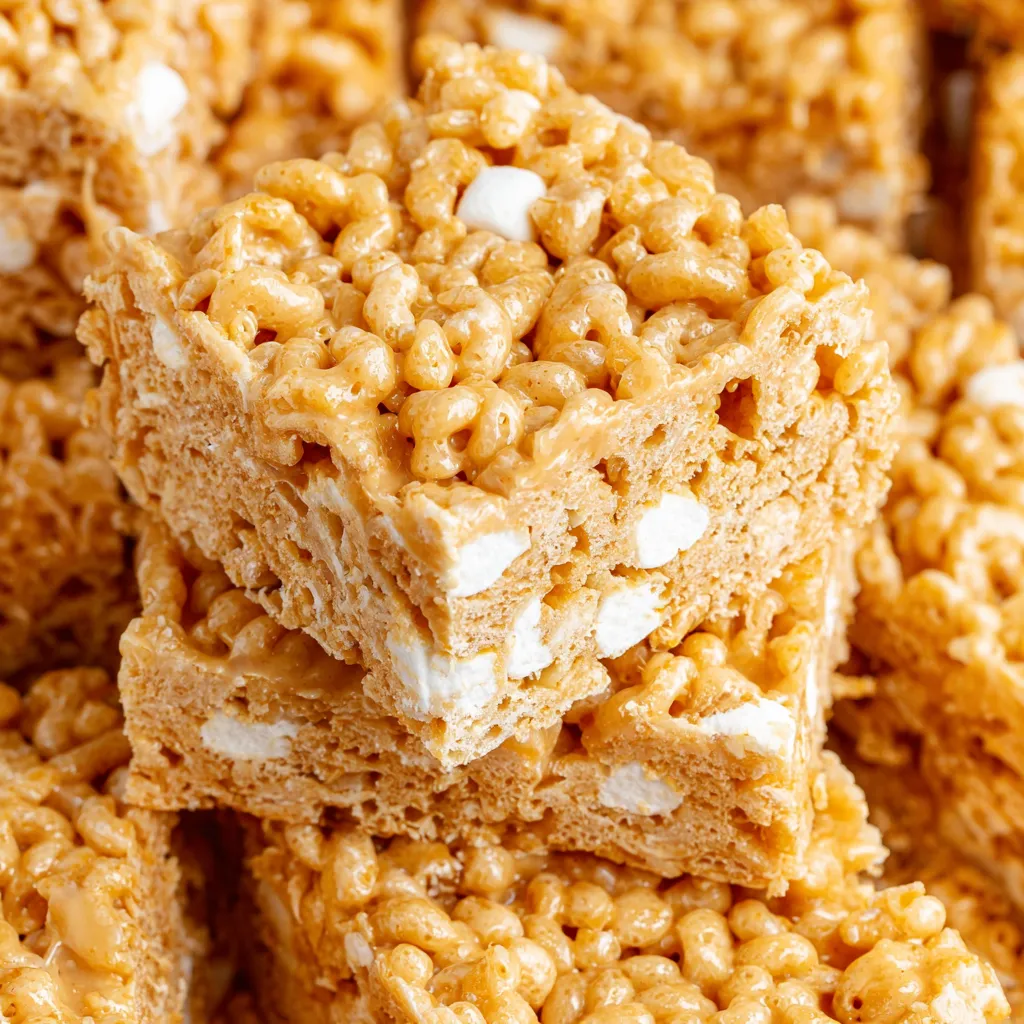
Soft, chewy, and packed with rich peanut butter flavor, these no-bake Peanut Butter Rice Krispie Treats come together in just minutes and deliver big on nostalgic comfort. They’re the perfect quick treat for after-school snacks, bake sales, parties, or anytime you’re craving something sweet and satisfying.
This version takes the classic marshmallow treat up a notch with extra gooeyness and a creamy peanut butter twist that makes every bite irresistible.
Why You’ll Love These Peanut Butter Rice Krispie Treats
- Quick and easy – No oven needed, and just one pot to clean.
- Made with pantry staples – Simple ingredients you likely already have on hand.
- Extra soft and chewy – Thanks to a double layer of marshmallows.
- Family favorite – Loved by both kids and adults.
- Great for any occasion – Snack bars, parties, school lunches, or just because.
Ingredients You’ll Need
These bars come together with just a few ingredients:
- Butter – Adds richness and helps melt the marshmallows.
- Mini marshmallows – Most get melted, but a few go in at the end for extra gooey texture.
- Creamy peanut butter – Brings in that classic flavor and helps with the chewy consistency. Non-natural peanut butter works best here.
- Vanilla extract – Boosts the overall flavor.
- Salt – Just a pinch to balance the sweetness.
- Crispy rice cereal – The base that gives the treats their signature crunch.
Quantities and instructions can be found in the full recipe card at the end of this post.
How to Make Peanut Butter Rice Krispie Treats
These come together fast, so it helps to measure everything before you start.
- Melt butter and marshmallows:
In a large saucepan over medium heat, melt the butter. Add all but 2 cups of the mini marshmallows and stir until completely melted and smooth. - Stir in peanut butter and vanilla:
Remove from heat and stir in the peanut butter, vanilla, and salt until well combined. - Add cereal:
Fold the crispy rice cereal into the melted mixture until fully coated. - Add extra marshmallows:
Stir in the reserved 2 cups of mini marshmallows for that signature gooey finish. - Press into pan:
Transfer the mixture to a greased 9×9-inch baking dish and gently press it in. Avoid pressing too firmly to keep the treats soft. - Cool and cut:
Let the bars cool at room temperature for at least one hour. Then slice into squares and enjoy.
Storage Tips
- Room temperature: Store in an airtight container for 3 to 4 days. Use parchment or wax paper between layers to prevent sticking.
- Freezer-friendly: Wrap individual squares in plastic wrap and place in a freezer-safe bag. Freeze for up to 6 weeks. Let thaw at room temperature for about 15–20 minutes before serving.
Recipe Variations
- Drizzle or dip in melted chocolate for a bakery-style treat.
- Stir in chopped nuts, candy, or sprinkles for added fun and crunch.
- Use cookie cutters to shape them for holidays or themed parties.
Frequently Asked Questions
Can I use crunchy peanut butter?
Yes, but it will add texture from the peanut pieces. Great if you like a little crunch.
Can I use regular marshmallows instead of mini?
Absolutely. Use about 40 regular-size marshmallows (roughly 10 ounces) for melting. The extra marshmallows added at the end should still be mini if possible.
Why are my treats too hard?
Pressing them too firmly into the pan or overheating the marshmallows can make them dense. Press gently and melt over medium heat.
The mixture is sticky—how do I press it in?
Lightly grease your hands or spatula with butter or non-stick spray, or place parchment paper over the mixture and press down with your hands.
Can I use a different size pan?
Yes. An 8×8-inch pan will make thicker bars. A 9×13-inch pan yields thinner ones, great for feeding a crowd.
Can I double the recipe?
Definitely. Use a 9×13-inch pan or two 9×9-inch pans. Just make sure to distribute the mixture evenly.
Final Tips for Perfect Treats
- Have all your ingredients prepped before starting – they set quickly.
- Don’t over-press into the pan – a gentle hand makes softer treats.
- Use fresh marshmallows for the best texture and melt.
Peanut Butter Rice Krispie Treats
- Total Time: 15 minutes
- Yield: 16 squares
Description
Soft, chewy, and packed with rich peanut butter flavor, these no-bake Peanut Butter Rice Krispie Treats come together in just minutes and deliver big on nostalgic comfort. They’re the perfect quick treat for after-school snacks, bake sales, parties, or anytime you’re craving something sweet and satisfying.
Ingredients
Ingredients & Details
Butter
What it does: Butter adds richness and helps melt the marshmallows smoothly, creating that classic buttery base.
Why it matters: It balances the sweetness and enhances flavor while helping to bind the mixture together.
Mini Marshmallows
What they do: Most of the mini marshmallows get melted to form the gooey base, while some are stirred in at the end for extra pockets of chewiness.
Why they matter: Using mini marshmallows ensures they melt evenly and give the treats that soft, gooey texture everyone loves.
Creamy Peanut Butter
What it does: Infuses the treats with bold, nutty flavor and helps make the mixture soft and chewy.
Best type to use: Stick with a non-natural peanut butter (like Jif or Skippy). Natural peanut butter can separate and make the bars greasy or too loose.
Vanilla Extract
What it does: Adds warmth and depth to the flavor profile, rounding out the sweetness and nutty notes.
Why it matters: It elevates the treats from simple to bakery-worthy with just a teaspoon.
Salt
What it does: A pinch of salt enhances all the flavors and balances the sweetness from the marshmallows and peanut butter.
Tip: If using salted butter, you can skip or reduce the added salt.
Crispy Rice Cereal
What it does: The crispy base that gives Rice Krispie treats their signature light, crunchy texture.
Why it matters: Acts as the structure of the treat, binding with the gooey mixture and providing that satisfying crisp bite in every square.
Instructions
Melt butter and marshmallows:
In a large saucepan over medium heat, melt the butter. Add all but 2 cups of the mini marshmallows and stir until completely melted and smooth.Stir in peanut butter and vanilla:
Remove from heat and stir in the peanut butter, vanilla, and salt until well combined.Add cereal:
Fold the crispy rice cereal into the melted mixture until fully coated.Add extra marshmallows:
Stir in the reserved 2 cups of mini marshmallows for that signature gooey finish.Press into pan:
Transfer the mixture to a greased 9×9-inch baking dish and gently press it in. Avoid pressing too firmly to keep the treats soft.Cool and cut:
Let the bars cool at room temperature for at least one hour. Then slice into squares and enjoy.
Notes
Room temperature: Store in an airtight container for 3 to 4 days. Use parchment or wax paper between layers to prevent sticking.
Freezer-friendly: Wrap individual squares in plastic wrap and place in a freezer-safe bag. Freeze for up to 6 weeks. Let thaw at room temperature for about 15–20 minutes before serving.
- Prep Time: 10 minutes
- Cook Time: 5 minutes
- Category: Dessert, Snack
- Method: No-Bake
- Cuisine: American


