
What the heck is this?
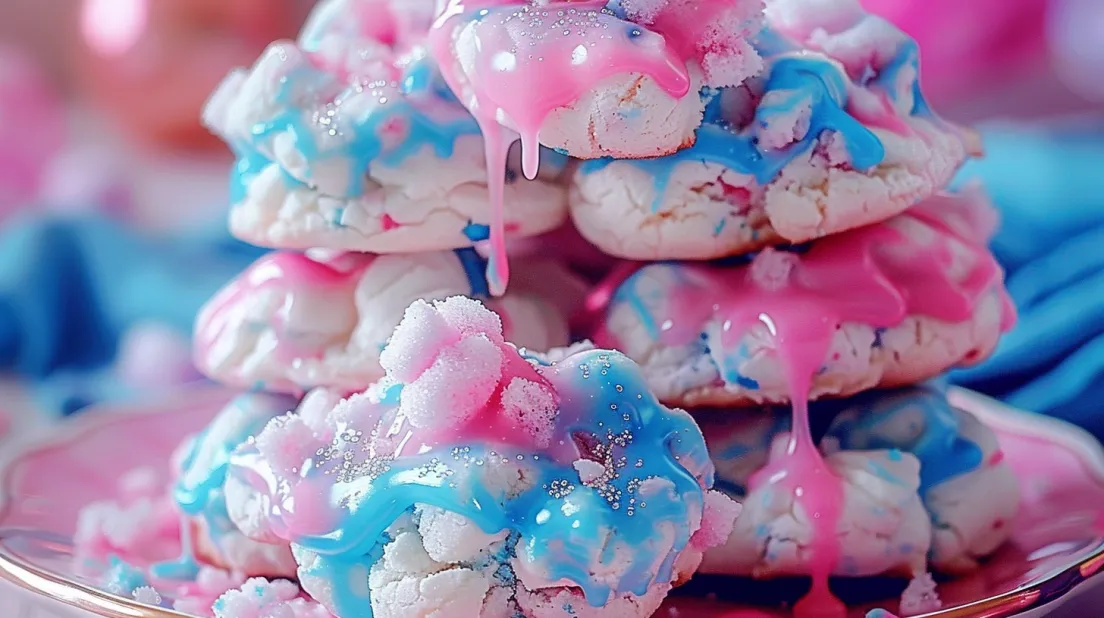
Ever wish you could turn your favorite fluffy fairground treat into a cookie? Wish granted. These Cotton Candy Cookies are soft, chewy, and swirled with dreamy pastel colors that scream childhood nostalgia. They’ve got that sweet vanilla-sugar flavor reminiscent of cotton candy without actually being sticky or giving you a sugar crash in 0.3 seconds. Think birthday party meets bake sale meets your inner 10-year-old screaming with joy. Oh — and yes, they look adorable on a dessert table, but they’re dangerously snackable straight off the cooling rack too.
Why You’ll Love This Recipe
– They’re soft-batch style cookies that stay chewy for days
– You can swirl in pretty pink and blue hues for that cotton candy look
– They actually taste like cotton candy (thanks to extract magic)
– Easy to make — no chilling, no fuss
– Kid-approved and grown-up approved
– Perfect for birthdays, baby showers, unicorn-themed anything, or just when you want to feel whimsical
The Good Stuff You’ll Need
For the Cookie Dough:
– 1 cup unsalted butter, softened
– 1 1/4 cups granulated sugar
– 1/2 cup powdered sugar
– 2 large eggs
– 1 1/2 tsp vanilla extract
– 1/2 tsp cotton candy extract (optional, but totally the vibe)
– 3 cups all-purpose flour
– 1 tsp baking powder
– 1/2 tsp baking soda
– 1/2 tsp salt
For the Fun Stuff:
– Pink gel food coloring
– Blue gel food coloring
– Extra sugar for rolling (optional)
Let’s Do This
Step 1: Cream the Dream
Preheat your oven to 350°F (175°C). Line baking sheets with parchment paper. In a large mixing bowl, beat together the butter, granulated sugar, and powdered sugar until super fluffy (3–4 minutes — don’t rush this step). Add in the eggs, vanilla, and cotton candy extract, and beat until smooth.
Step 2: Make It Doughy
In a separate bowl, whisk together the flour, baking powder, baking soda, and salt. Gradually mix the dry ingredients into the wet until a thick dough forms. It should be soft but not sticky.
Step 3: Color Party
Divide the dough into two or three bowls. Tint one with pink food coloring, the other with blue (or get wild with purple too). Stir just enough to blend the colors — no overmixing here. Take a bit of each color and gently swirl them together as you roll them into balls (about 1.5 tablespoons each). Don’t overmix — you want that swirly marble effect. Optional: Roll each cookie ball in sugar for sparkle.
Step 4: Bake It Up
Place the dough balls on your prepared cookie sheets about 2 inches apart. Bake for 9–11 minutes or until the edges are set but the centers still look soft. They’ll puff up and deflate slightly as they cool — perfect. Let cool on the baking sheet for 5 minutes, then transfer to a wire rack.
Step 5: Freak Out Over How Cute They Are
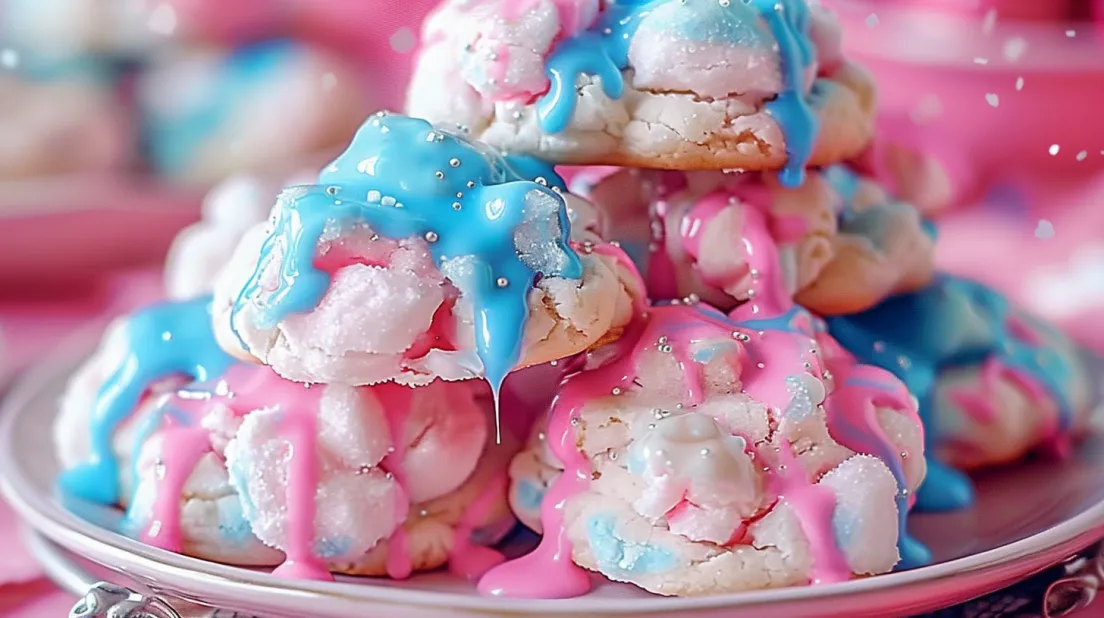
Admire your pastel, chewy, sweet-scented cookies. Bonus points if you store them in a glass jar that makes you feel like a kid at a candy store.
Serving Suggestions
Serve these at a baby shower or birthday bash with pastel sprinkles on top. Dunk them in milk (you’re never too old). Use them to make ice cream sandwiches with strawberry or cotton candy ice cream — I dare you not to scream with happiness.
Switch It Up
– Want more candy vibes? Add white chocolate chips or sprinkle crushed cotton candy on top after baking.
– No cotton candy extract? Sub with almond or cake batter extract for similar fun vibes.
– Add a drop of cotton candy flavoring oil for serious flavor punch.
Make-Ahead Tips
Make the dough and freeze the swirled cookie balls for up to 2 months. Bake straight from frozen, adding 1–2 minutes to the bake time. Baked cookies keep for 4–5 days in an airtight container.
Questions People Actually Ask
Q: Do they really taste like cotton candy?
A: With the extract, yes! Without it, they still taste sweet and dreamy — think sugar cookie with flair.
Q: Can I chill the dough?
A: You don’t have to, but if your kitchen is warm, 30 minutes of chill time can help them hold shape better.
Q: Can I use liquid food coloring?
A: You can, but gel food coloring works way better and doesn’t mess with your dough texture.
Q: Can I make these gluten-free?
A: Totally — just use a good 1:1 GF flour blend and make sure it has xanthan gum included.
The Ultimate Cotton Candy Cookies Recipe: Like a Carnival in Your Mouth (But Better)
- Total Time: 30 minutes
- Yield: ~24 cookies
Description
Ever wish you could turn your favorite fluffy fairground treat into a cookie? Wish granted. These Cotton Candy Cookies are soft, chewy, and swirled with dreamy pastel colors that scream childhood nostalgia. They’ve got that sweet vanilla-sugar flavor reminiscent of cotton candy without actually being sticky or giving you a sugar crash in 0.3 seconds. Think birthday party meets bake sale meets your inner 10-year-old screaming with joy. Oh — and yes, they look adorable on a dessert table, but they’re dangerously snackable straight off the cooling rack too.
Ingredients
For the Cookie Dough:
– 1 cup unsalted butter, softened
– 1 1/4 cups granulated sugar
– 1/2 cup powdered sugar
– 2 large eggs
– 1 1/2 tsp vanilla extract
– 1/2 tsp cotton candy extract (optional, but totally the vibe)
– 3 cups all-purpose flour
– 1 tsp baking powder
– 1/2 tsp baking soda
– 1/2 tsp salt
For the Fun Stuff:
– Pink gel food coloring
– Blue gel food coloring
– Extra sugar for rolling (optional)
Instructions
Step 1: Cream the Dream
Preheat your oven to 350°F (175°C). Line baking sheets with parchment paper. In a large mixing bowl, beat together the butter, granulated sugar, and powdered sugar until super fluffy (3–4 minutes — don’t rush this step). Add in the eggs, vanilla, and cotton candy extract, and beat until smooth.
Step 2: Make It Doughy
In a separate bowl, whisk together the flour, baking powder, baking soda, and salt. Gradually mix the dry ingredients into the wet until a thick dough forms. It should be soft but not sticky.
Step 3: Color Party
Divide the dough into two or three bowls. Tint one with pink food coloring, the other with blue (or get wild with purple too). Stir just enough to blend the colors — no overmixing here. Take a bit of each color and gently swirl them together as you roll them into balls (about 1.5 tablespoons each). Don’t overmix — you want that swirly marble effect. Optional: Roll each cookie ball in sugar for sparkle.
Step 4: Bake It Up
Place the dough balls on your prepared cookie sheets about 2 inches apart. Bake for 9–11 minutes or until the edges are set but the centers still look soft. They’ll puff up and deflate slightly as they cool — perfect. Let cool on the baking sheet for 5 minutes, then transfer to a wire rack.
Step 5: Freak Out Over How Cute They Are
Admire your pastel, chewy, sweet-scented cookies. Bonus points if you store them in a glass jar that makes you feel like a kid at a candy store.
Notes
Serve these at a baby shower or birthday bash with pastel sprinkles on top. Dunk them in milk (you’re never too old). Use them to make ice cream sandwiches with strawberry or cotton candy ice cream — I dare you not to scream with happiness.
- Prep Time: 20 minutes
- Cook Time: 10 minutes
Nutrition
- Calories: ~190 kcal per serving
- Fat: ~8g
- Carbohydrates: ~28g
- Protein: ~2g


