
What the heck is this?
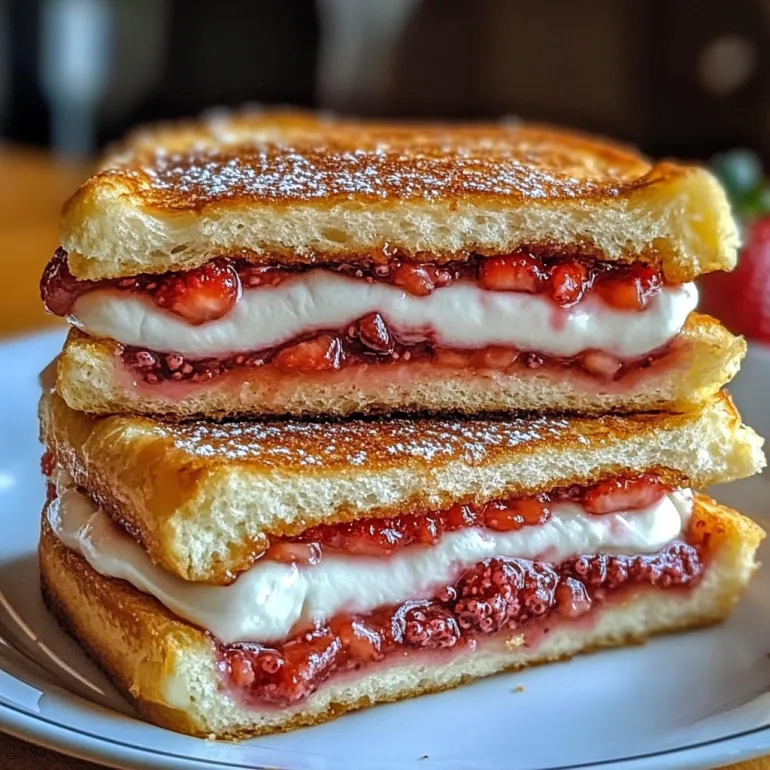
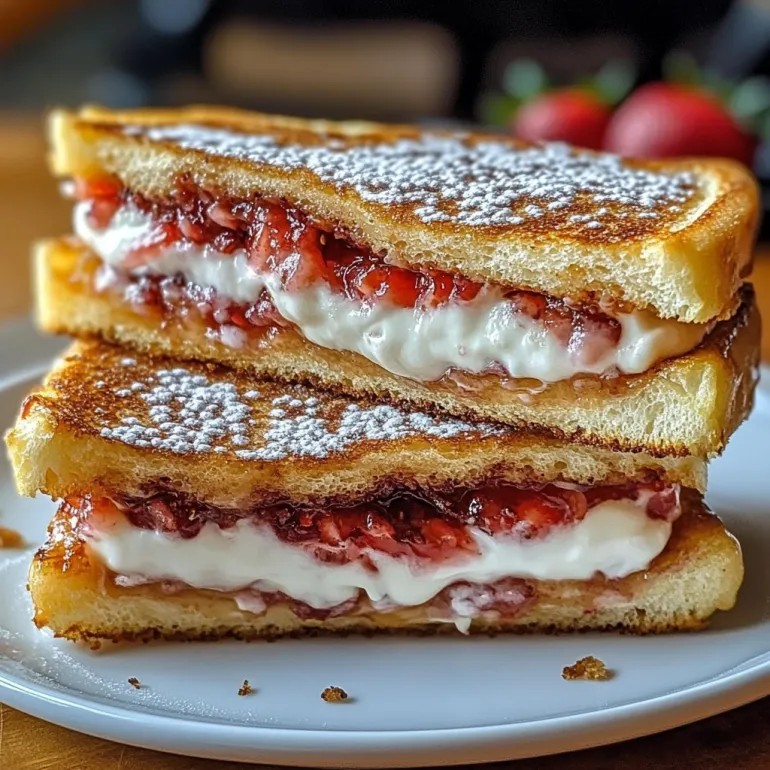
Take the creamy decadence of strawberry cheesecake, sandwich it between buttery slices of bread, dunk it in a golden, crispy coating, and fry the whole thing until it’s warm and oozing. That’s what we’re dealing with here. Fried Strawberry Cheesecake Sandwiches are pure dessert indulgence—crispy on the outside, rich and creamy on the inside, with sweet strawberry swirls that make every bite feel like a state fair, a diner, and your favorite cheesecake factory all wrapped into one. You don’t need them. But you absolutely deserve them.
Why You’ll Love This Recipe
It’s cheesecake. It’s fried. It’s handheld. What more do you want?
Perfect for parties, date nights, or just treating yourself like royalty.
Ridiculously easy to throw together with basic ingredients.
The contrast between the crispy exterior and melty interior is straight-up addictive.
Customize it with different berries, sauces, or even chocolate chips.
The Good Stuff You’ll Need
For the Filling:
4 oz cream cheese, softened
2 tbsp powdered sugar
1/4 tsp vanilla extract
1/4 cup strawberry jam or preserves (or fresh mashed berries)
For the Sandwiches:
6 slices white bread (soft and squishy works best)
Butter, softened (for spreading)
For the Breading & Frying:
1 egg
2 tbsp milk
1/2 cup flour
1 cup panko or regular breadcrumbs
1/2 tsp cinnamon
Oil for frying (vegetable or canola)
Optional for Serving:
Powdered sugar (for dusting)
Extra strawberry jam or fresh strawberries
Whipped cream or vanilla ice cream (go big or go home)
Let’s Do This
Step 1: Make the Cheesecake Filling
In a small bowl, mix together the softened cream cheese, powdered sugar, and vanilla extract until smooth. Fold in the strawberry jam or mashed berries until slightly swirled but not fully blended—you want some gorgeous streaks in there.
Step 2: Build the Sandwiches
Lay out 6 slices of bread. Spread a generous amount of cheesecake filling onto 3 of them. Top each with another slice of bread to make 3 sandwiches. Press down gently. Trim off the crusts if you’re feeling fancy (or just want even frying).
Step 3: Set Up the Breading Station
In three separate shallow bowls:
- Put the flour in one.
- Beat the egg with milk in the second.
- Mix the breadcrumbs with cinnamon in the third.
Carefully dip each sandwich first in flour, then in the egg mixture, then coat completely in the cinnamon breadcrumb mix. Press the crumbs on so they stick.
Step 4: Fry ‘Em Up
Heat 1/2 inch of oil in a skillet over medium heat until shimmering (about 350°F if you’ve got a thermometer). Fry each sandwich for about 2–3 minutes per side until golden brown and crispy. Don’t overcrowd the pan—work in batches if needed. Remove and drain on paper towels.
Step 5: Serve and Devour
Dust with powdered sugar. Slice each sandwich in half diagonally for that diner look. Serve warm with a side of strawberry jam, whipped cream, or even a scoop of vanilla ice cream for full dessert drama.
Serving Suggestions
Serve these after brunch for a sweet finish, or turn them into the star of a dessert board with extra berries and dips. Drizzle with chocolate sauce or a quick berry compote if you want to really impress. They’re also insanely good cold, kind of like French toast and cheesecake had a baby.
Switch It Up
Chocolate swirl: Replace strawberry with Nutella or chocolate ganache.
Peach or blueberry jam: Go seasonal with your fruit flavor.
French toast style: Dip the sandwiches in egg-milk mix before frying for an even more decadent finish.
Mini bites: Cut into quarters and fry for cute party treats.
Make-Ahead Tips
You can make the sandwiches and bread them ahead of time—just keep them in the fridge until ready to fry. Fried leftovers can be reheated in the oven or air fryer (350°F for 5–7 min) to get that crispy edge back. Don’t microwave unless you want sadness.
Questions People Actually Ask
Q: Can I use whole wheat or gluten-free bread?
A: Sure, but soft white bread gives the best texture. Gluten-free options work fine too—just make sure they don’t fall apart when dipped.
Q: What kind of oil should I use?
A: Any neutral oil with a high smoke point like canola, vegetable, or peanut oil.
Q: Can I bake these instead of frying?
A: Technically, yes—brush with butter and bake at 400°F for 12–15 min until crispy. They won’t be as glorious, but still tasty.
Q: Is this a breakfast or a dessert?
A: It’s both. It’s whatever you want it to be. It’s happiness in sandwich form.


